Chocolate tarts may look fancy, but they’re surprisingly simple to make. Rich, silky, and deeply chocolaty, this dessert is pure bliss in every bite.
The best part? You only need a handful of basic ingredients you likely already have. No complicated steps. No baking degree required!
Why You’ll Love This Recipe
No Fancy Tools or Ingredients
Let’s be honest, some dessert recipes feel like they require a culinary degree and a trip to five different stores. Not this one.
You won’t need a stand mixer, candy thermometer, or anything you don’t already have in your kitchen.
All it takes is a bowl, a whisk, a tart pan, and a few pantry staples like chocolate, cream, and biscuits. That’s it. This tart proves that delicious doesn’t have to mean difficult or expensive.
Quick and Easy for Beginners
If you’ve never made a tart before, don’t sweat it. This recipe is super beginner-friendly. The crust is just crushed biscuits mixed with melted butter with no rolling, chilling, or praying involved.
The filling? Melted chocolate and cream. It comes together in minutes, and the hardest part is waiting for it to chill. If you can stir and pour, you’re already halfway there.
Fancy Enough for Special Occasions
Despite how easy it is, this tart looks like something from a bakery window. The smooth, glossy chocolate ganache, nestled in a buttery crust, is pure eye candy.
Serve it at a birthday dinner, date night, or holiday gathering and watch your guests’ eyes light up. It’s the kind of dessert that makes people think you spent hours in the kitchen, even though you didn’t.
Easy to Customize
Once you’ve mastered the base recipe, the possibilities are endless. Top it with fresh raspberries for a pop of color. Sprinkle sea salt flakes for a sweet-and-salty twist.
Add crushed nuts, edible flowers, or even a drizzle of caramel. This tart is your blank (and very chocolatey) canvas. Dress it up or keep it simple because it’s delicious either way.
Ingredients Overview
A. For the Crust (No food processor needed!)
- 1½ cups crushed digestive biscuits or graham crackers
These form the buttery, crumbly base. Use a rolling pin or the bottom of a glass to crush them finely. - 6 tbsp unsalted butter (melted)
Holds the crust together and adds a rich, toasty flavor. - 1 tbsp sugar (optional)
Add only if your biscuits aren’t sweet enough on their own. Totally skippable.
B. For the Filling
- 200g semi-sweet or dark chocolate (chopped)
The star of the show—smooth, intense, and melt-in-your-mouth delicious. Go for quality chocolate if you can. - 1 cup heavy cream
Gently heats the chocolate and creates a silky, ganache-style filling. - 2 tbsp butter
Adds richness and that glossy, bakery-style finish. - Pinch of salt
Balances the sweetness and brings out the chocolate flavor. - 1 tsp vanilla extract (optional)
Adds warmth and depth to the filling, but totally fine to skip if you don’t have it on hand.
Equipment You’ll Need
Here’s the basic equipment you’ll need to whip up this chocolate tart with ease:
- 9-inch tart pan (preferably with a removable base)
Makes it easy to press in the crust and even easier to lift the tart out cleanly for serving. - Mixing bowls
One for the crust, one for the filling. Nothing fancy, but just roomy enough to stir comfortably. - Whisk or spatula
A whisk helps blend the ganache smoothly, while a spatula is perfect for scraping every last bit of chocolatey goodness. - Saucepan
Used to gently heat the cream before pouring it over the chocolate. No need for boiling, just a soft simmer. - Measuring cups and spoons
Accuracy is key, even with simple recipes. These help keep everything balanced and delicious.
Step-by-Step Instructions
This tart is all about simple steps that lead to big flavor. Just follow each part carefully, and you’ll be slicing into silky chocolate perfection in no time.
1. Make the Crust
Start with the easiest crust ever. In a bowl, mix your crushed digestive biscuits or graham crackers with the melted butter.
Stir until every crumb is coated—it should feel like wet sand. If it still looks dry, add another tablespoon of melted butter.
Now, press the mixture into your tart pan.
Use the back of a spoon or the bottom of a glass to press it down firmly and evenly, and don’t forget to go up the sides! You want a nice, compact base that holds its shape.
Pop it in the fridge for 15 minutes to chill and firm up. If you prefer a slightly crisper crust, bake it at 175°C (350°F) for 8 to 10 minutes. Let it cool completely before adding the filling.
2. Prepare the Chocolate Ganache Filling
While the crust chills or cools, move on to the magic: the ganache.
In a small saucepan, heat the heavy cream over medium heat.
Keep an eye on it because once it starts to simmer around the edges, remove it from the heat. Do not let it boil. Boiling cream can split and ruin the texture.
Immediately pour the hot cream over your chopped chocolate in a bowl. Let it sit for one full minute—no stirring yet! This gives the chocolate time to soften gently.
After a minute, grab your whisk or spatula and start stirring from the center outward. It’ll look messy at first, then transform into a glossy, smooth ganache.
Stir in the butter, a pinch of salt, and vanilla if you’re using it. The butter gives it shine and a touch of extra richness.
3. Assemble the Tart
Once the crust is ready and the ganache is smooth, it’s time to bring it all together.
Pour the ganache into the crust, using a spatula to smooth the top evenly. Give the tart pan a few gentle taps on the counter because this helps pop any air bubbles hiding below the surface.
Now, the hard part: patience. Chill the tart in the fridge for at least 2 to 3 hours, or until fully set. You’ll know it’s ready when the center is firm to the touch and doesn’t jiggle.
Once set, slice and serve. It’s rich, so smaller slices go a long way. Or not, we don’t judge.
Topping Ideas (Optional but Fun)
This chocolate tart is fantastic on its own, but a little garnish can turn it into a showstopper. Think of toppings as the final brushstrokes on an edible masterpiece.
You don’t need them, but they add flair, flavor, and just the right amount of wow.
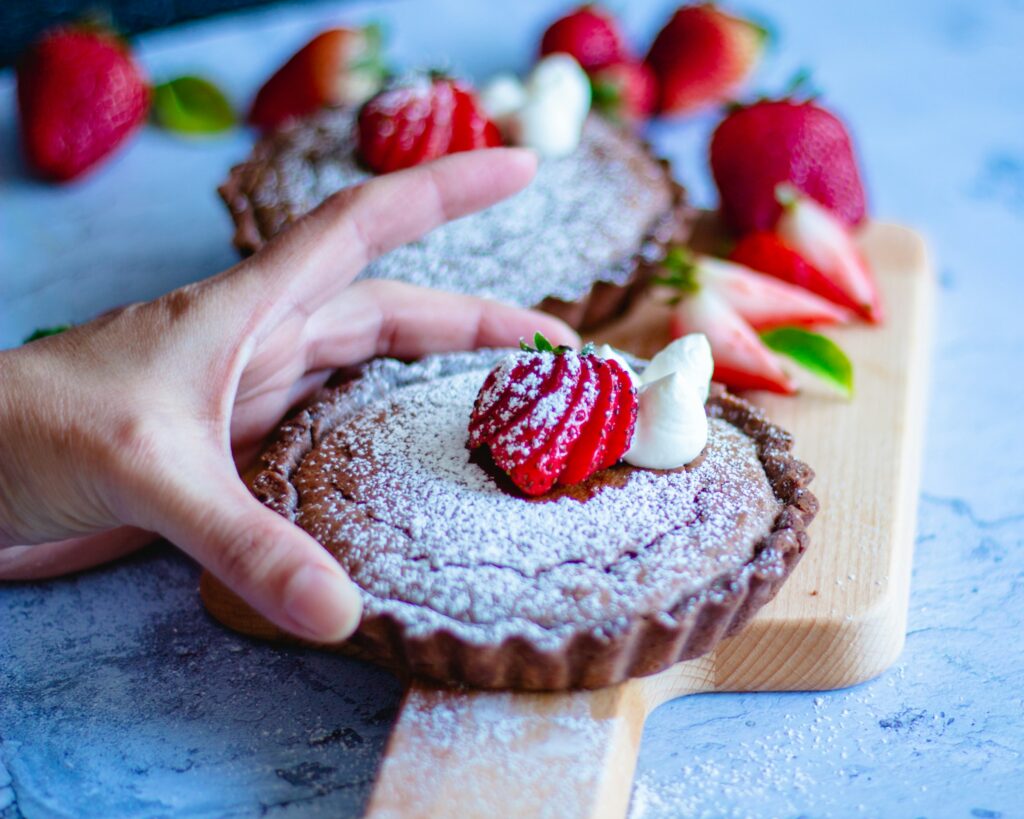
Fresh Berries
Strawberries, raspberries, or even sliced cherries make a beautiful contrast against the dark chocolate. Their natural tartness cuts through the richness, while the pop of color adds instant elegance.
Scatter a few on top just before serving or arrange them like you’re plating for a magazine shoot (no pressure).
Flaky Sea Salt
A light sprinkle of sea salt flakes over the ganache? Game changer. It balances the sweetness and enhances the chocolate flavor like magic.
Just a pinch goes a long way, so don’t go full pretzel here. Think subtle sparkle, not snowfall.
Whipped Cream
Cool, fluffy, and light as air—whipped cream brings balance to the dense, rich tart. A dollop on the side or piped rosettes around the edge add visual charm and creamy contrast.
Bonus points if it’s homemade, but even the store-bought kind does the trick.
Shaved Chocolate or Cocoa Powder
Want a dramatic, chocolate-on-chocolate moment? Use a vegetable peeler to create chocolate curls, or dust the top lightly with unsweetened cocoa powder.
It’s simple, classy, and keeps the flavor theme strong. Great if you’re aiming for that minimalist-chic dessert vibe.
Crushed Nuts
Add crunch and character with a sprinkle of chopped pistachios, almonds, or hazelnuts. Toasted nuts bring out a nutty warmth that pairs beautifully with chocolate.
Plus, they add texture that makes every bite a little more exciting.
Storage Tips
Once your chocolate tart is set and sliced, storing it the right way keeps every bite just as dreamy as day one.
For short-term storage, cover the tart tightly with plastic wrap or foil and keep it in the fridge. It’ll stay fresh for up to 4 to 5 days.
This also makes it a great make-ahead dessert for dinner parties or weekend cravings.
When you’re ready to serve, you can enjoy it straight from the fridge for a firmer texture, or let it sit at room temperature for about 15 minutes to soften slightly for a silkier mouthfeel—totally up to your preference.
If you’ve got leftovers or want to prep in advance, this tart freezes beautifully, too.
Just wrap individual slices or the whole tart in plastic wrap and a layer of foil to prevent freezer burn, then freeze for up to a month. When the craving hits, thaw overnight in the fridge.
Final Thoughts
If you can melt chocolate and crush cookies, you’ve already got this. No tricks. No stress. Just a rich, simple tart that looks as good as it tastes.
Try it once, just once, and you’ll see how easy it is to make something that feels fancy without the fuss. Next time, go wild with toppings or make it your own twist!
FAQs
Can I use milk chocolate instead of dark chocolate?
Yes, absolutely. Just know that milk chocolate is sweeter and softer, so the filling will be a bit lighter in flavor and may set slightly softer.
If you prefer a more intense chocolate taste, stick with dark or semi-sweet.
What can I use instead of digestive biscuits or graham crackers?
Crushed Oreos (without the filling), vanilla wafers, shortbread cookies, or even pretzels can work. Just aim for a dry, crunchy base that can soak up the butter and hold shape.
Is there a dairy-free version of this tart?
Yes! Use dairy-free chocolate and swap the heavy cream for full-fat coconut cream.
Replace the butter in both crust and filling with vegan butter or coconut oil. The texture may be slightly different, but still rich and delicious.
Can I make it a day ahead?
Definitely. In fact, it’s even better the next day once the ganache has fully set. Just cover it and store it in the fridge overnight. Add any fresh toppings right before serving.
How do I prevent a soggy crust?
If you’re worried about sogginess, bake the crust for 8–10 minutes at 175°C (350°F) after pressing it into the pan.
Let it cool completely before adding the filling. Baking helps firm it up and adds a toasty flavor, too.

Delicious Chocolate Tart Recipe with Simple Ingredients
Difficulty: Easy8
servings15
minutes10
minutes2
hours30
minutesA rich, silky chocolate tart made with just a handful of ingredients—no fancy tools or baking skills required.
Ingredients
- For the crust:
1½ cups crushed digestive biscuits or graham crackers
6 tbsp unsalted butter, melted
1 tbsp sugar (optional)
- For the filling:
200g semi-sweet or dark chocolate, chopped
1 cup heavy cream
2 tbsp butter
Pinch of salt
1 tsp vanilla extract (optional)
Directions
- Make the crust: Mix crushed biscuits, melted butter, and sugar (if using) in a bowl. Press into a 9-inch tart pan, covering the base and sides. Chill for 15 minutes, or bake at 175°C (350°F) for 8–10 minutes for a firmer base. Cool completely.
- Prepare the ganache: Heat cream in a saucepan until just simmering. Pour over chopped chocolate and let sit for 1 minute. Stir until smooth, then mix in butter, salt, and vanilla.
- Assemble the tart: Pour ganache into the cooled crust, smooth the top, and gently tap to release air bubbles. Chill for 2–3 hours until set.
- Serve: Top with fresh berries, sea salt, whipped cream, or nuts if desired. Slice and enjoy!
Notes
- Store in the fridge for up to 5 days, or freeze for up to 1 month (wrap tightly).
- Use milk chocolate for a sweeter tart or coconut cream for a dairy-free version.

Hi, I’m Sorenna Blythe, the baker and writer behind Mix Whisk Bake. I share simple, reliable recipes and honest kitchen moments to help home bakers bake with confidence and joy. When I’m not testing new treats, you’ll find me sipping coffee and dreaming up my next bake.


