Homemade soft pretzels sound tricky, but they’re honestly easier than tying your shoes on a busy morning. You only need a few pantry staples, a warm oven, and a little confidence. That’s it.
The dough comes together fast, and before you know it, your kitchen smells like a cozy bakery.
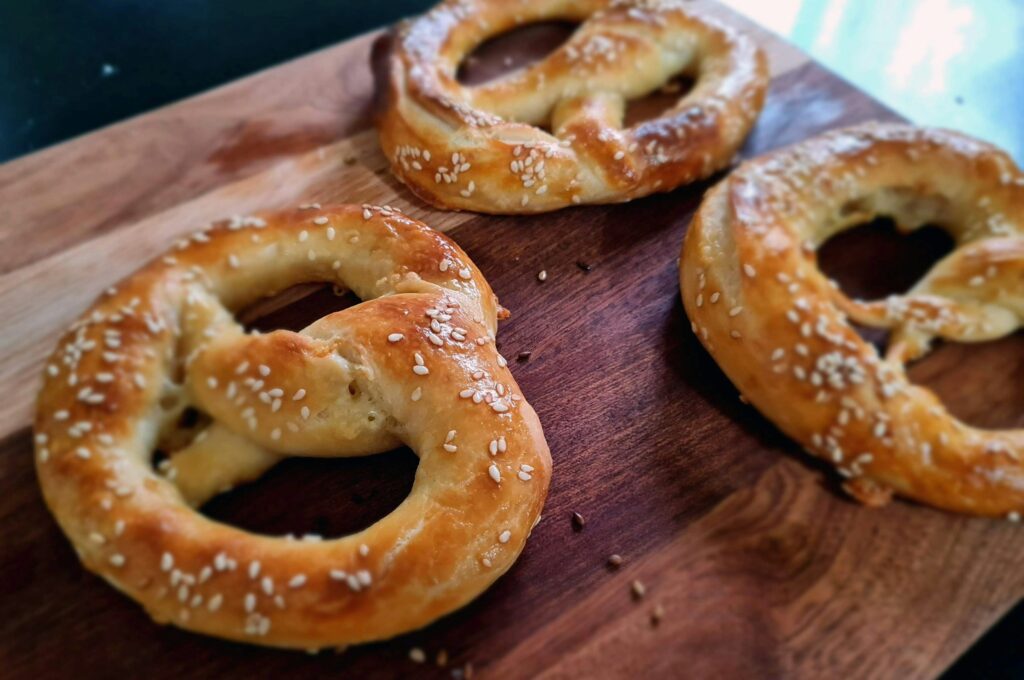
Each pretzel turns out soft, chewy, and full of that classic flavor you’d expect from your favorite pretzel stand. Give it a try, and your future self will thank you!
Why You’ll Love This Recipe
Made with basic ingredients
You don’t need fancy flour blends or strange pantry items. All you need are flour, water, yeast, a bit of sugar, salt, baking soda, and butter (optional). Those are staples you probably already have.
That keeps the cost low and the prep simple. Substitutions are friendly here — swap brown sugar for white, use melted butter instead of oil — and the pretzels still behave.
No hunting for a specialty store. Just open the pantry and get going.
Beginner-friendly dough
This dough forgives a lot. It isn’t fussy about perfect measuring or Olympic-level kneading. Mix until it’s smooth, knead for a few minutes, and you’re golden.
If the dough feels sticky, a little flour on your hands is all it takes. If it’s too stiff, add a splash of water.
You’ll learn the “feel” quickly — it’s like learning to ride a bike, only flatter and less wobbly. Even first-timers come away with soft, shaped pretzels that look far better than you’d expect.
Quick rise time
You won’t be waiting all afternoon. With warm water and active yeast, the dough puffs up in about an hour. That means you can mix, shape, and bake in a single afternoon, or a long show episode.
A short rise also keeps the texture light and chewy instead of dense. If you’re in a hurry, a slightly warmer spot speeds things up; if you plan ahead, a slow cold rise in the fridge adds flavor.
Perfect for snacks, parties, and dipping sauces
Pretzels are wildly versatile. Serve them warm with beer cheese for game night, or with mustard at a family gathering. Cut them into bites for a kid-friendly snack tray.
Make a sweet version with cinnamon sugar for dessert. They travel well to potlucks and impress guests more than store-bought bites ever will.
Plus, dipping sauces are the fun part. Mix a quick honey mustard, melt some cheddar, or go classic with spicy brown mustard. One recipe, endless ways to shine!
Ingredients You’ll Need
- Flour
The base of the dough. It gives the pretzels structure and that chewy bite everyone loves. - Water
Helps bring the dough together and activates the yeast. Warm water speeds up rising. - Yeast
The magic behind the puff. It helps the dough rise and creates a light, soft texture. - Sugar
Feeds the yeast and adds a touch of sweetness. It also helps the pretzels brown beautifully in the oven. - Salt
Balances the flavor and strengthens the dough. Without it, the pretzels taste flat. - Baking soda (for the water bath)
This is what gives pretzels their iconic dark-golden crust and chewy exterior. Skipping it changes the whole vibe. - Butter (optional but recommended)
Brushed on top for extra flavor and softness. It adds that little “bakery-style” richness. - Coarse salt for topping
The finishing touch. It adds crunch and that classic pretzel taste you expect from every bite.
Tools & Equipment
- Mixing bowl
Your main workspace. This is where the dough comes together and starts its rise. - Whisk or spoon
Useful for mixing the wet ingredients and bringing the dough together before kneading. - Baking sheet
Holds the shaped pretzels and ensures even baking. - Parchment paper
Prevents sticking and makes cleanup a breeze. It also helps the pretzels keep their shape. - Large pot
Needed for the baking soda water bath, which gives pretzels their signature chewy crust. - Slotted spoon
Makes it easy to lift the pretzels out of the water bath without tearing or burning your hands. - Kitchen scale (optional)
Great for precise measurements and evenly sized pretzels, but not required if you prefer cups.
Step-by-Step: How to Make Soft Pretzels
1. Make the Dough
Warm the water until it feels like a warm hug, but not hot. Stir in the yeast and sugar; wait a minute for a little foaming proof that the yeast is alive.
Add the flour and salt, then mix until a shaggy dough forms. Turn the dough out and knead by hand or with a mixer until it’s smooth and slightly springy to the touch.
Think of the dough like a soft pillow: it should hold its shape but still give when pressed.
Place it in a lightly oiled bowl, cover, and let it rise until doubled in size — usually about an hour in a warm spot.
If you’re impatient, a slightly warmer spot speeds this up; if you like more flavor, chill it in the fridge overnight.
2. Shape the Pretzels
Punch the risen dough down gently; don’t beat it like you’re in a rage. Divide the dough into equal pieces — golf-ball to baseball size, depending on how big you want the pretzels.
Roll each piece into a rope roughly 18–24 inches long (visual cue: long enough to wrap once around your hand and cross over).
Bring the ends up, cross them, and fold down to the bottom to form the classic pretzel loop. Tighten the twist so the knot holds during the water bath.
If your ropes are too thin, the pretzels cook too fast and lose chew; if too thick, they stay doughy inside. Aim for even thickness from end to center.
3. Baking Soda Water Bath
Bring a large pot of water to a simmer and add baking soda. The alkaline bath is the secret.
Gently slide each shaped pretzel into the bath for about 20–30 seconds; use a slotted spoon to flip and lift.
This brief dip roughs the surface and raises the pH, which helps the crust brown deeply and become chewy. Skip this step, and you’ll get bread, not pretzels.
Lay each boiled pretzel back on the parchment-lined sheet, giving them room to breathe.
4. Add Toppings
Brush the tops with melted butter right after the bath for extra softness and shine. Sprinkle coarse salt for the classic salty bite.
For sweet pretzels, swap butter for butter+vanilla, then dust with cinnamon sugar. Be bold but balanced, as a heavy hand with salt will shout; a light sprinkle will sing.
5. Bake
Preheat your oven to 425°F (220°C). Bake the pretzels for about 12–15 minutes, or until a deep golden brown develops. Rotate the pan halfway if your oven has hot spots.
When they’re done, transfer pretzels to a wire rack to cool for a few minutes; this keeps the bottoms from steaming and getting soft. Serve warm.
If you must wait, pop them back in a hot oven for a few minutes to refresh that fresh-baked glow.
Serving Suggestions
Serve your pretzels warm with a gooey cheese dip. Melt sharp cheddar with a splash of milk and a little mustard for a crowd-pleasing dip that clings perfectly to each bite.
Keep a bowl of spicy brown or honey mustard handy for a tangy, classic pairing; mix equal parts mustard and honey for a sweet-tangy twist kids love.
For a dessert route, drizzle warm caramel or dip ends in melted chocolate, then sprinkle with flaky sea salt or crushed nuts for a grown-up-sweet contrast.
Build a party platter by arranging pretzel bites around small bowls of dips, add sliced apples or grapes for freshness, and tuck in cured meats or cheese cubes for variety.
Label the bowls so guests know what’s what — “spicy” and “kids’ friendly” save awkward faces.
If you’re short on oven space, keep pretzels warm in a low oven (200°F / 95°C) covered loosely with foil so they don’t dry out.
Finally, offer toothpicks or small tongs for hygienic snacking, and a stack of napkins because pretzels and dips are delicious, but they can get gloriously messy.
Variations
Cinnamon sugar pretzels
Make these by brushing warm pretzels with melted butter right out of the oven, then tossing them in a mix of cinnamon and sugar (about 1/4 cup sugar to 1–2 tsp cinnamon for a dozen pretzels).
For extra stickiness, brush with a thin glaze of powdered sugar + milk before rolling. Serve warm so the sugar melts slightly and creates a light crackle on the crust.
They’re perfect for breakfast or as a sweet snack with coffee.
Pretzel bites
After making the ropes, cut them into 1–1.5 inch pieces instead of shaping full pretzels. Boil and bake exactly the same way; they’ll need a minute less in the oven.
Bites are great for dipping and party trays. For variety, toss them in garlic butter and parsley after baking for a savory hit.
Stuffed pretzels (cheese, chocolate)
Roll the dough into small squares, add a tablespoon of filling (cheddar, cream cheese, or a chunk of chocolate), then fold and seal tightly before shaping or baking into knots.
Freeze stuffed pretzels on a tray first if you worry about leaks, then transfer to a bag for later baking.
Bake a touch longer than plain pretzels if the dough is thicker, and check for filling oozing; a quick egg wash helps seal and brown the surface.
Cheese gives that melty surprise; chocolate turns these into a dessert-level delight.
Whole-wheat version
Swap up to half the all-purpose flour for whole-wheat to keep the texture light while adding nutty flavor.
Because whole-wheat flour absorbs more liquid, add a tablespoon or two of extra water and knead a bit longer to develop gluten. Expect a slightly denser crumb and deeper color.
These hold up well with bold toppings like coarse sea salt or za’atar and make a heartier snack.
Common Mistakes to Avoid
Over-kneading or under-kneading
Kneading builds gluten, but there’s a sweet spot. Over-kneading the dough makes it tight and springy, making pretzels dense and chewy in the wrong way.
Under-knead and it won’t hold shape or develop that pleasant chew.
Aim for dough that’s smooth, slightly tacky, and stretches without ripping — the “windowpane” test is fancy but useful: stretch a bit of dough; it should thin without tearing.
If it rips immediately, knead for a few more minutes. If it fights back too much, let it rest for 10 minutes and try again.
Using too much flour
Flour is a slippery slope; add too much, and you’ll weigh the dough down. Measure carefully. If the dough looks dry while mixing, add tiny splashes of water rather than a handful of flour.
A slight tackiness on your hands is normal; scraping every last crumb of stickiness away usually ruins the texture.
Skipping the water bath
Pretzel or just bread? The baking soda bath is the difference. Skip it, and you’ll get a soft roll with a pale crust.
The alkaline bath sets the crust quickly and encourages that deep mahogany color and signature snap.
Keep the dunk brief (20–30 seconds), and use a slotted spoon to avoid tearing the dough.
Not shaping tight enough
Loose shaping equals saggy pretzels. If the twist isn’t snug, the pretzel can open up in the water bath or oven and lose its classic loop.
Pull the ropes even in thickness and pinch the ends tightly when folding; a firm but gentle seal will hold through the bath and bake.
Visual check: the knot should sit snug on the loop, not flop like a tired hat.
Make-Ahead Options
Freezing shaped dough
If you want fresh pretzels on demand, freeze the shaped dough before the water bath. Place them on a baking sheet lined with parchment and freeze until firm, then transfer to a freezer bag.
When you’re ready to bake, let the frozen pretzels thaw until slightly soft, give them the baking soda bath, and bake as usual.
This method keeps the dough from over-proofing and lets you enjoy warm pretzels anytime without starting from scratch.
Freezing baked pretzels
Fully baked pretzels freeze beautifully. Let them cool completely, wrap each one tightly, and store them in a sealed freezer bag. They’ll stay fresh for up to two months.
This is great for parties or busy weeks when you want a quick snack that still tastes homemade. Just thaw at room temperature or reheat straight from the freezer.
How to reheat without drying out
To bring pretzels back to life, warm them in a 350°F (175°C) oven for 5–8 minutes. For an even softer result, mist them lightly with water before reheating because it helps restore steam and chew.
Avoid microwaving unless you’re desperate; it turns pretzels soft and rubbery fast. For frozen pretzels, reheat directly in the oven for 10–12 minutes.
They’ll come out warm, fragrant, and almost as good as the day you baked them.
Final Words
Homemade soft pretzels might look fancy, but they’re surprisingly simple once you dive in. Just a handful of everyday ingredients and a few easy steps can turn your kitchen into a mini bakery.
Give it a go, and you’ll be shocked at how quickly they disappear off the tray!
FAQs
Can I use instant yeast?
Yes, absolutely. Instant yeast works just as well as active dry yeast. You can mix it directly into the flour without dissolving it first.
The rise time stays about the same, but if your kitchen is cool, give it a few extra minutes.
Can I skip the baking soda bath?
You can, but you won’t get true pretzels. The bath is what creates the deep color and chewy crust. Skipping it will give you soft rolls instead.
If you want that classic pretzel flavor and texture, the baking soda dip is non-negotiable.
How do I store leftover pretzels?
Store them in a paper bag or lightly covered container at room temperature for up to two days. This keeps the crust from getting soggy.
For longer storage, freeze them individually and reheat in the oven when ready to enjoy.
Can I make these gluten-free?
Yes, but you’ll need a high-quality gluten-free baking blend with xanthan gum to mimic gluten’s stretch. The dough will feel softer and won’t shape exactly the same, but the flavor stays great.
Expect a slightly more delicate pretzel, and keep the ropes shorter to avoid tearing.

How to Bake Soft Pretzels with Simple Ingredients
Difficulty: Easy8
Pretzels15
minutes15
minutes1
hour30
minutesSoft, chewy homemade pretzels made with simple pantry ingredients and a quick baking soda bath for that classic pretzel flavor.
Ingredients
1 ½ cups warm water
2 ¼ tsp active dry or instant yeast
1 tbsp sugar
4 cups all-purpose flour
1 ½ tsp salt
¼ cup baking soda (for water bath)
2 tbsp melted butter (optional, for brushing)
Coarse salt for topping
Directions
- In a mixing bowl, combine warm water, yeast, and sugar. Let it sit 1–2 minutes until slightly foamy.
- Add flour and salt. Mix until a dough forms, then knead for 5–7 minutes until smooth.
- Cover and let rise for 1 hour, or until doubled.
- Preheat oven to 425°F (220°C). Line a baking sheet with parchment.
- Divide the dough into 8 pieces. Roll each into a long rope and twist into a pretzel shape.
- Bring a large pot of water to a simmer and add baking soda.
- Drop each pretzel into the water for 20–30 seconds, then place it on the baking sheet.
- Brush with butter (optional) and sprinkle with coarse salt.
- Bake 12–15 minutes, or until golden brown.
- Cool briefly on a wire rack and serve warm.
Notes
- If dough feels sticky, add 1–2 tbsp flour.
- For sweet pretzels, skip salt and coat in cinnamon sugar after baking.
- Pretzels freeze well; reheat at 350°F (175°C) for 5–8 minutes.

Hi, I’m Sorenna Blythe, the baker and writer behind Mix Whisk Bake. I share simple, reliable recipes and honest kitchen moments to help home bakers bake with confidence and joy. When I’m not testing new treats, you’ll find me sipping coffee and dreaming up my next bake.


