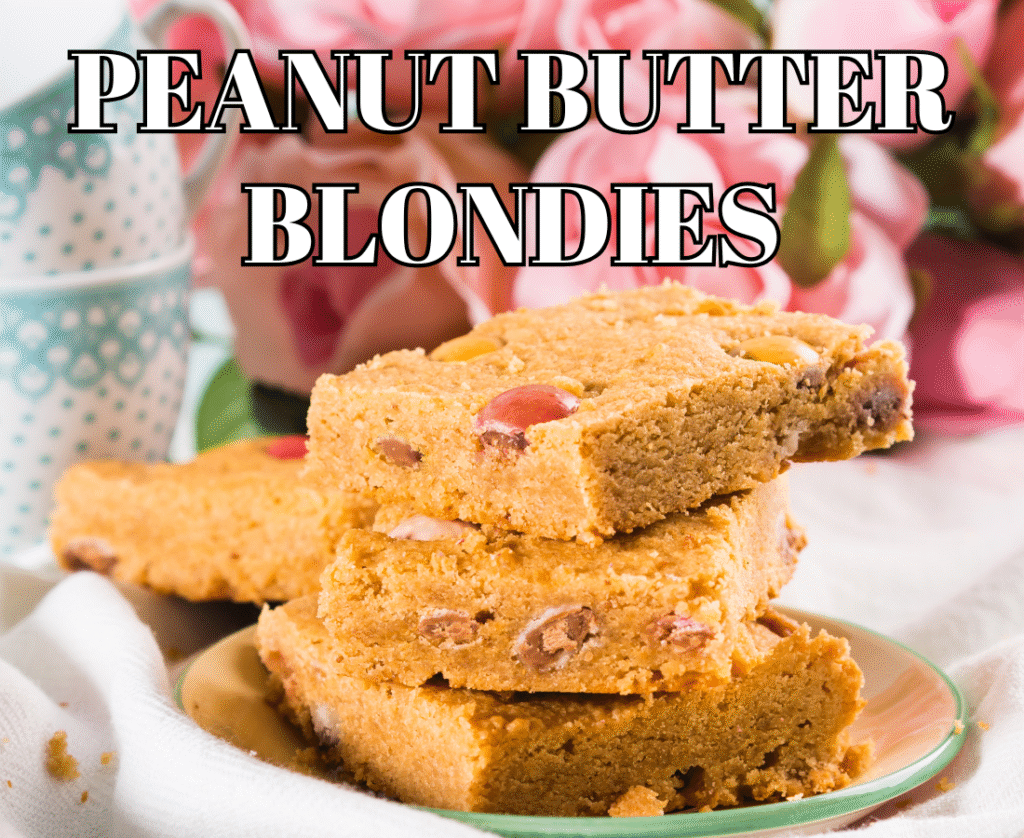
Peanut butter blondies are the kind of treat that makes you stop mid-bite and think, Wow, that was a good idea. They’re thick, chewy, and loaded with rich peanut butter flavor in every corner.
You don’t need any fancy tools or complicated steps here, but just simple ingredients and a bowl.
It’s the kind of recipe you can whip together when the craving hits or when you remember last-minute that you promised to bring something “homemade.”
If you love peanut butter or just want a fast dessert that never lets you down, these blondies are about to become your new go-to.
Why You’ll Love These Peanut Butter Blondies
One-bowl, no mixer needed
This recipe keeps things delightfully low-maintenance. Toss, stir, and scrape — that’s it.
No electric mixer, no extra bowls, no arm workout unless you want one. Cleanup is fast, which means more time for eating and less time washing.
Thick, chewy, and packed with peanut butter
These blondies bite back with a chewy middle and tender edges. The peanut butter isn’t shy, it’s front-and-center in every forkful.
Think dense, not cakey; gooey, not gummy. They hit that perfect crosswalk between cookie and brownie.
Customizable with mix-ins like chocolate chips, pretzels, or peanuts
Want extra texture? Toss in chocolate chips or chopped peanuts. Crave a salty-sweet vibe? Add crushed pretzels or a sprinkle of sea salt.
Swirl in Nutella or fold in butterscotch chips for a twist. Mix-ins let you make the blondies your own without changing the core recipe.
Ready in under 30 minutes
From bowl to pan takes minutes. A short bake and a quick cool, and you’re in business. Perfect for last-minute guests or sudden snack attacks.
Fast doesn’t mean sloppy because these still taste like you spent an afternoon fussing over them.
Perfect for parties, lunchbox treats, or make-ahead desserts
They slice up cleanly for platters and travel well in lunchboxes. Make a batch ahead, and they hold their texture for days. Freeze extras for emergencies, and yes, blondie emergencies happen.
They’re crowd-pleasers: tiny kids, picky teens, and grown-ups with strong opinions all approve.
Ingredients You’ll Need
Main Ingredients
- Peanut butter
Adds rich, nutty flavor and helps create that classic chewy blondie texture. - Butter
Gives the blondies a soft, tender crumb and boosts the overall flavor. - Brown sugar
Brings sweetness and moisture while adding a subtle caramel note. - Granulated sugar
Balances the sweetness and helps create a lightly crackled top. - Eggs
Bind the batter and give the blondies structure without making them cakey. - Vanilla extract
Enhances the peanut butter flavor and adds a warm, sweet aroma. - All-purpose flour
Provides the base structure and keeps the blondies thick and sturdy. - Baking powder
Gives a slight lift so the blondies stay soft, not dense. - Salt
Balances the sweetness and boosts the peanut butter flavor.
Optional Mix-ins
- Chocolate chips
Add melty pockets of sweetness that pair perfectly with peanut butter. - Peanut butter chips
Double down on the peanut butter flavor for an extra-rich bite. - Chopped peanuts
Bring a satisfying crunch that contrasts the soft, chewy base. - Swirled melted peanut butter
Creates a beautiful marbled top and adds extra creaminess. - Sea salt flakes (for topping)
A little sprinkle enhances flavor and gives that bakery-style finish.
How to Make Peanut Butter Blondies (Step-by-Step)
1. Preheat the oven & prepare the pan
Set your oven to 175°C (350°F). Line an 8×8 or 9×9-inch pan with parchment paper, leaving a little overhang. That overhang is your “handle” because it makes lifting the blondies out a cinch.
Grease the paper lightly so the edges don’t stick.
2. Melt butter and combine with peanut butter
Gently melt the butter in a small saucepan or in short bursts in the microwave. Stir in the peanut butter until the mixture is glossy and smooth.
If the peanut butter is stiff, this step tames it. Let the combo cool for a minute so it won’t cook the eggs in the next step.
3. Whisk in sugars, eggs, and vanilla
Add the brown and granulated sugar to the warm peanut-butter-butter mix and whisk. Then beat in the eggs, one at a time, until the batter looks uniform. Stir in the vanilla.
You’re building structure and flavor here, so mix until smooth, but don’t overwork it.
4. Add dry ingredients and fold gently
Sift or whisk together the flour, baking powder, and salt. Add the dry mix to the wet batter in two parts.
Fold with a spatula until just combined.
Stop when you no longer see streaks of flour because overmixing steals chewiness.
5. Stir in chocolate chips or other mix-ins
Fold in chocolate chips, chopped peanuts, or whatever goodies you chose. Reserve a handful to sprinkle on top for looks and extra melty pockets.
Mix-ins are optional but highly recommended. Consider them personality accessories for your blondies.
6. Spread the batter evenly into the pan
Spoon the batter into the prepared pan and smooth the top with a spatula. Tap the pan gently on the counter to remove air pockets.
If you want a swirl, drop spoonfuls of melted peanut butter or Nutella on top now and run a knife through the surface.
7. Add extra chocolate chips or a peanut butter swirl on top
Scatter the reserved chocolate chips or drizzle more melted peanut butter. This gives a bakery-style finish and makes the blondies look irresistible.
Sprinkle a pinch of sea salt if you like a salty-sweet contrast.
8. Bake until edges are golden and the center is set
Bake for about 20–25 minutes at 175°C (350°F) for an 8×8 pan; a 9×9 may need a few minutes less. The edges should be golden and set. The center will still be slightly soft but not liquid.
A toothpick inserted near the center should come out with a few moist crumbs, not raw batter.
Remember: blondies continue to firm up as they cool. Don’t overbake.
9. Cool before slicing
Let the pan cool on a wire rack for at least 20–30 minutes. Use the parchment overhang to lift the whole slab out. Slice with a sharp knife, wiping the blade between cuts for clean edges.
If you can wait longer, chilling briefly makes neater squares — patience pays off.
Tips for the Best Blondies
Don’t overbake — the center should look slightly soft
Pull the blondies when the edges are set, and the center still looks a bit soft. They continue to cook as they cool, so underbaking slightly gives you that chewy, fudgy texture.
A toothpick should come out with a few moist crumbs, not raw batter. If it comes out dry, you’ve gone too far, and dry blondies are a sad sight.
Use room-temperature peanut butter for easier mixing
Room-temperature peanut butter blends smoothly with the melted butter. Cold peanut butter can stay lumpy and make the batter uneven.
Give it 20–30 minutes on the counter if it’s straight from the fridge. This small step saves elbow grease and keeps the batter silky.
Use parchment paper for clean removal
Line the pan with parchment and leave an overhang on two sides. That overhang acts like handles; you lift the whole slab out in one go. No scraping, no crumbling, no heroic knife battles.
Parchment also makes cleanup faster.
For thicker blondies, use an 8×8 pan
Smaller pan, taller blondies. It’s simple math that tastes great. An 8×8 pan concentrates the batter and gives deeper, chewier squares.
Just watch the baking time closely because thicker bars may need a few extra minutes. Rotate the pan halfway through if your oven has hot spots.
For a stronger peanut butter flavor, use ½ cup more PB
Want the peanut punch to sing louder? Add another half-cup. This boosts flavor and chew without breaking the recipe.
If you increase the peanut butter, check the texture; you may need a touch more flour if the batter feels too loose. Balance is key because you want bold, but not greasy.
Variations
Chocolate Peanut Butter Blondies
Want chocolate in the mix? Fold cocoa into the batter for a cocoa-kissed base.
Stir ¼–⅓ cup unsweetened cocoa powder into the dry ingredients and reduce the flour by the same amount so the batter stays balanced.
You can also make a layered version: pour half the batter, add a thin chocolate ganache or a layer of melted chocolate, then top with the remaining batter.
Keep an eye on bake time because the added cocoa or chocolate can make the center look a touch firmer when done.
Result: a rich, slightly fudgy blondie that tastes like a PB&chocolate hug.
Swirled Blondies
Swirls make things look fancy without the fuss. Drop spoonfuls (about ¼–½ cup total) of Nutella, peanut butter, or jam over the batter and drag a knife in an “S” pattern to marble.
For jam, warm it briefly so it’s easy to dollop. For Nutella, thin with a teaspoon or two of hot water if it’s stiff. A quick swirl gives dramatic ribbons of flavor and pretty bites in every square.
Pro tip: don’t over-swirl, keep distinct ribbons for the best texture and look.
Crunchy Blondies
Add crunch for contrast. Fold in about ½ cup chopped peanuts, pretzel pieces, or toffee bits. Keep some larger pieces for the top so you get that eye-catching crunch and texture.
If you use salted mix-ins, skip extra salt in the batter or reduce it slightly. Crunchy mix-ins turn these blondies into a salty-sweet party.
Gluten-Free Version
Swap in a 1:1 gluten-free all-purpose flour blend for the same volume of regular flour. If your blend doesn’t have xanthan gum, add ¼–½ teaspoon per cup of flour to help with structure and chew.
Expect a slightly different texture, sometimes a touch crumblier or denser, but still delicious. Bake time may vary by a few minutes; watch for set edges and moist crumbs in the center.
These modifications let folks with gluten needs enjoy the same peanut-buttery comfort.
Serving Suggestions
Serve these blondies warm with a scoop of vanilla ice cream so the hot-and-cold contrast melts the edges into gooey goodness and turns every bite into a tiny celebration.
Warm them for 8–12 seconds in the microwave or pop them in a 150°C (300°F) oven for 5 minutes if you prefer oven-warmed warmth.
Drizzle with gently melted peanut butter or chocolate for an instant upgrade — thin the peanut butter with a teaspoon of hot water or melt chocolate in short bursts, then use a spoon or small piping bag to make zigzags or polka dots; finish with a pinch of flaky sea salt for that irresistible salty-sweet pop.
For extra chewiness, chill the blondies until firm before slicing; cold blondies hold cleaner squares, concentrate the peanut-butter flavor, and travel well in lunchboxes or picnic tins.
Storage & Freezing
Let the blondies cool completely before storing so you don’t trap steam and end up with soggy squares.
Store at room temperature in an airtight container for 3–4 days; layer with parchment between pieces to prevent sticking.
If you need them to last a bit longer, refrigerate in a sealed container for up to one week, but note that chilling firms them up and can actually improve sliceability.
For long-term storage, freeze for up to 3 months: cut into squares, wrap each piece tightly in plastic wrap, then tuck them into a freezer bag or airtight box and label with the date.
Individual wrapping makes grab-and-go snacks and portion control a breeze.
To thaw, move wrapped blondies to the fridge overnight or leave at room temp for an hour; warm briefly in the microwave (8–12 seconds) or in a 150°C (300°F) oven for 5–8 minutes to revive that fresh-baked feel.
Avoid repeated freeze-thaw cycles because they sap moisture and chewiness. Simple, practical steps keep your blondies tasting like you just pulled them from the oven.
Common Mistakes to Avoid
Overbaking — leads to dry, cakey blondies
Pull the blondies when the edges are set, and the center still looks slightly soft. They keep cooking after you take them out, so err on the side of underdone.
A toothpick with a few moist crumbs is your friend; a dry toothpick is a red flag. If yours came out dry, next time, shave off 2–4 minutes of bake time and check earlier.
Using natural peanut butter without adjusting the moisture
Natural peanut butter separates and is thinner or oilier than commercial creamy types. If you use it as-is, the batter can become greasy or runny.
Stir natural peanut butter well first, then measure; if it feels very loose, reduce the added butter by a tablespoon or add 1–2 tablespoons more flour.
Alternatively, mix half natural and half regular peanut butter for a more predictable result.
Overmixing the batter
Mix until the dry ingredients disappear, then stop. Stirring too much develops gluten and turns chewy bliss into cakey regret.
Fold gently and with purpose. If you suspect you overmixed, bake a little less and accept a slightly lighter texture next time.
FAQs
Can I use natural peanut butter?
Yes, but with care. Natural peanut butter is runnier and separates easily, which can make the blondies greasy or too soft.
Stir it very well before measuring, and if it still seems thin, reduce the butter slightly or add 1–2 tablespoons of extra flour. For the most consistent texture, a no-stir creamy peanut butter works best.
How do I make these blondies extra thick?
Use an 8×8 pan instead of a 9×9. The smaller pan gives you taller, chewier bars with a fudgier center. You can also add an extra ¼ cup of flour or increase the peanut butter slightly for a denser bite.
Just keep an eye on the bake time because thicker blondies may need a few extra minutes.
Can I double the recipe?
Absolutely. Double everything and bake in a 9×13-inch pan. Add a few extra minutes to the bake time, and check for doneness starting around the 25-minute mark.
Make sure to line the pan with parchment so you can lift the big batch out in one piece.
How do I know when the blondies are done?
Look for set edges and a center that still looks a bit soft but not jiggly. A toothpick should come out with moist crumbs attached, not wet batter.
If it comes out completely dry, they’re already over-baked. The blondies will firm up as they cool, so trust the process.
Can I use almond or other nut butters?
Yes. Almond butter, cashew butter, and even sunflower seed butter can work. Choose a thicker, no-stir version for the best texture.
Natural, runnier nut butters may require a touch more flour to keep the batter balanced. The flavor will change slightly, but the chewiness stays the same.
Irresistible Peanut Butter Blondies (Quick & Simple!)
Difficulty: Easy12
Blondies10
minutes25
minutes35
minutesIngredients
1/2 cup unsalted butter, melted
1 cup creamy peanut butter
1 cup brown sugar
1/4 cup granulated sugar
2 large eggs
2 tsp vanilla extract
1 cup all-purpose flour
1 tsp baking powder
1/2 tsp salt
1 cup chocolate chips (optional)
Directions
- Preheat oven to 350°F (175°C). Line an 8×8 baking pan with parchment paper.
- Mix melted butter and peanut butter until smooth.
- Whisk in brown sugar, granulated sugar, eggs, and vanilla.
- Fold in flour, baking powder, and salt until just combined.
- Stir in chocolate chips, reserving a handful for the top.
- Spread batter into the pan and sprinkle with remaining chips.
- Bake 20–25 minutes, or until edges are set and the center is slightly soft.
- Cool completely before slicing.
Notes
- For thicker blondies, use an 8×8 pan; for thinner, use a 9×9.
- Add pretzels, peanuts, or Nutella swirls for variations.
- Don’t overbake because a slightly soft center gives the best chewy texture.

Hi, I’m Sorenna Blythe, the baker and writer behind Mix Whisk Bake. I share simple, reliable recipes and honest kitchen moments to help home bakers bake with confidence and joy. When I’m not testing new treats, you’ll find me sipping coffee and dreaming up my next bake.


