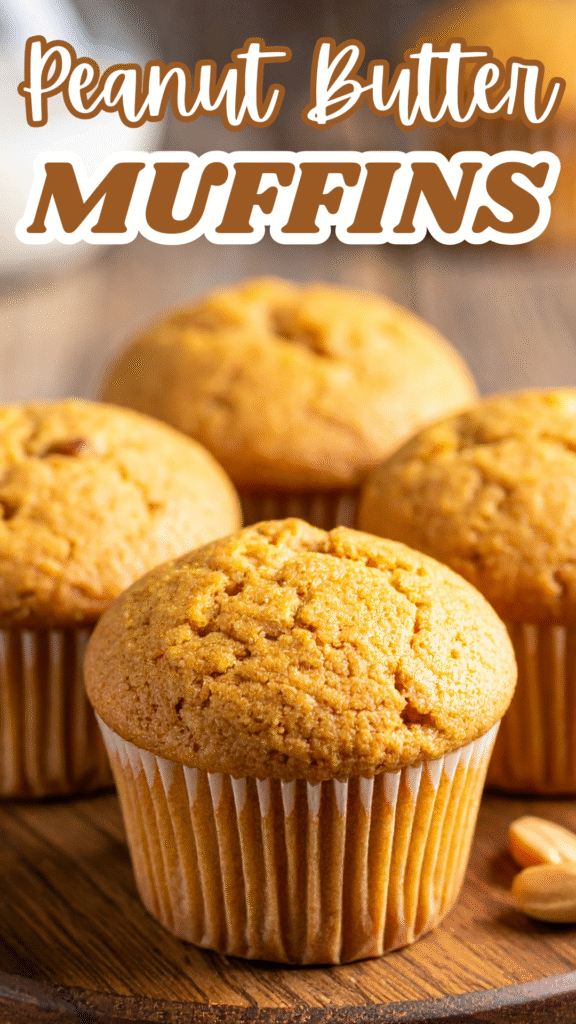
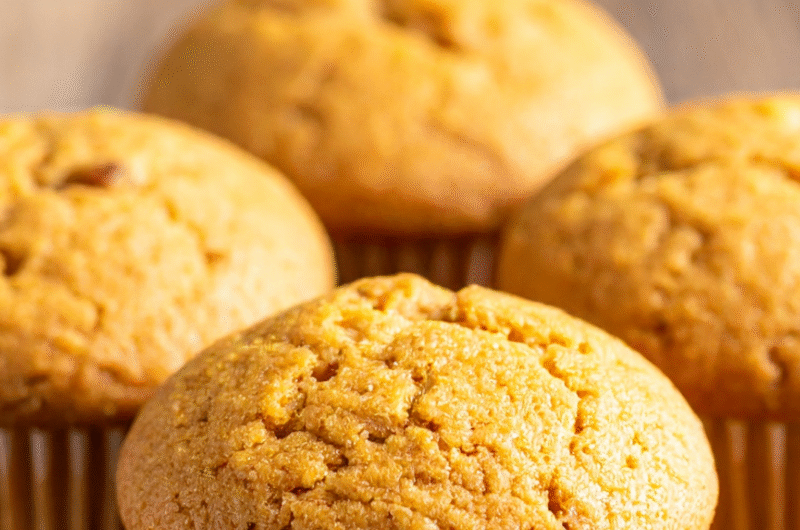
Peanut butter muffins are the kind of treat you reach for when the morning feels rushed, and your stomach is already negotiating for something good.
They’re soft, moist, and packed with that rich peanut butter flavor we all know and love. Think of them as a warm hug in muffin form that’s quick to make and even quicker to disappear.
The best part? You don’t need anything fancy. Just a few pantry staples, a bowl, and a couple of minutes.
Before you know it, you’ve got a batch of muffins that taste like you put in way more effort than you actually did. Perfect for breakfast. Perfect for snacking. Perfect for… well, everything.
Why You’ll Love These Peanut Butter Muffins
Quick and easy (one bowl optional)
These muffins are a grab-and-go winner. Mix wet ingredients in one bowl, add dry, stir, and you’re almost done. No fancy equipment. No multiple bowls to wash. That saves time and dishwasher drama.
Batter comes together fast, so you can get muffins in the oven while your coffee brews. Perfect for mornings when you’re half-dressed and fully hungry.
Protein-boosted from peanut butter
Peanut butter isn’t just flavor, but it’s fuel. A scoop or two adds real protein to each muffin. That protein helps keep you full longer than a plain sweet treat.
So these muffins make breakfast feel less like a sugar crash waiting to happen. They’re ideal after a workout or as a mid-afternoon pick-me-up that won’t send you spinning.
Freezer-friendly and great for meal prep
Bake once, eat all week. These muffins freeze beautifully. Cool them fully, wrap or bag, then stash in the freezer. Thaw a couple overnight or zap one for 20–30 seconds in the microwave.
You’ll have a fresh-tasting muffin without the morning rush. Meal prep becomes a small act of kitchen kindness toward your future self.
Customizable with mix-ins (chocolate chips, banana, jelly swirls)
Think of the base muffin as a blank canvas. Chocolate chips turn it into a dessert that’s still breakfast-friendly. Sliced banana adds moisture and a natural sweetness.
A jelly swirl gives you a PB&J vibe without the sandwich. Chopped peanuts add crunch. Mix-ins let you tailor muffins to kids, adults, or picky eaters. Swap and test because that’s only half the fun!
Ingredients Needed
- Peanut butter (creamy)
Provides the main flavor and keeps the muffins soft and rich. Creamy peanut butter blends smoothly into the batter without lumps. - Flour
Gives the muffins structure and helps them rise properly. All-purpose flour works best for a tender crumb. - Baking powder + baking soda
These two team up to create lift. They ensure your muffins rise tall instead of turning out dense or heavy. - Eggs
Bind the batter and add moisture. They also help the muffins stay light and fluffy. - Sugar (brown or combo)
Brown sugar adds moisture and a deeper, caramel-like sweetness. A mix of brown and white sugar works great too. - Milk
Thins the batter and keeps it tender. Any milk, dairy, or non-dairy will do the job. - Oil or melted butter
Adds richness and prevents dryness. Oil gives a softer texture; butter adds more flavor. - Vanilla extract
Enhances the peanut butter flavor and adds warmth. Even a small splash makes a difference. - Salt
Balances the sweetness and sharpens every flavor in the muffin. - Optional add-ins (chocolate chips, banana, chopped peanuts, etc.)
These boost flavor, texture, and fun. Mix-ins let you customize each batch to match your cravings.
Ingredient Substitutions & Variations
Natural peanut butter vs. regular
Natural peanut butter can work, but it changes the texture slightly. It’s runnier and less sweet, so the muffins may come out a bit denser.
Stir it very well before adding it to the batter to avoid oily spots. If you prefer a fluffier, sweeter muffin, stick to regular creamy peanut butter.
Dairy-free swaps (almond milk, coconut oil)
Going dairy-free is surprisingly easy here. Almond milk, oat milk, or soy milk all work without altering the flavor.
Coconut oil is a great replacement for butter or vegetable oil, and it adds a subtle hint of coconut that pairs nicely with peanut butter. None of these swaps requires adjusting the recipe.
How to make them whole wheat
Whole wheat flour gives the muffins a heartier, nuttier flavor. To keep them soft, replace only half of the all-purpose flour with whole wheat.
Using 100% whole wheat will still work, but the muffins will be denser, so add an extra tablespoon or two of milk to help loosen the batter.
Peanut butter & jelly swirl
For a fun twist, dollop a small spoonful of jelly on top of each muffin and swirl it in with a toothpick before baking.
Strawberry, raspberry, or grape jelly all work beautifully. It creates a classic PB&J vibe without the sandwich.
Peanut butter banana muffins
Banana adds moisture and natural sweetness, making the muffins extra soft. Mash one ripe banana into the wet ingredients before mixing in the dry.
You can even reduce the sugar slightly since bananas add sweetness. It’s a great way to use up overripe bananas and add a new layer of flavor.
Step-by-Step Instructions
1. Preheat oven and prep muffin tin
Preheat your oven to 375°F (190°C). Line a 12-cup muffin tin with paper liners or lightly grease each cup. Use a scoop or spoon to portion batter evenly later because it keeps muffins uniform.
Let the oven fully preheat; a cold oven gives flat tops.
2. Whisk wet ingredients (peanut butter, eggs, sugar, milk, oil, vanilla)
In a large bowl, add the peanut butter, eggs, sugar, milk, oil (or melted butter), and vanilla. Whisk until the mixture looks smooth and homogenous.
If your peanut butter is stiff, warm it briefly in the microwave for 10–15 seconds to loosen. A smooth, wet base helps the dry ingredients blend with minimal mixing.
3. Add dry ingredients and mix until just combined
Sift or whisk together flour, baking powder, baking soda, and salt in a separate bowl. Add the dry mix to the wet ingredients in two batches.
Stir gently with a spatula until you can’t see dry streaks. Stop there. Overmixing develops gluten and makes muffins tough. Batter should be slightly thick but pourable.
4. Fold in optional mix-ins
If you’re adding chocolate chips, nuts, or mashed banana, fold them in now. Use a light hand and a few quick folds. Reserve a small handful of chips or nuts to sprinkle on top for a bakery look.
Folding keeps the muffin texture tender and avoids sinking mix-ins to the bottom.
5. Portion into muffin cups
Fill each liner about ¾ full — roughly 2–3 tablespoons of batter per cup, depending on size. For taller domes, mound a little extra batter in the center of each cup.
Tap the pan gently on the counter to remove big air bubbles. This step keeps muffins even and prevents big holes.
6. Bake until golden and springy
Bake at 375°F (190°C) for 15–18 minutes for standard muffins. Start checking at 14 minutes if your oven runs hot.
They’re done when tops are golden, and a toothpick inserted in the center comes out with a few moist crumbs. Avoid the “completely dry” toothpick test because that often means overbaked.
7. Cool and serve
Let muffins cool in the pan for 5 minutes. Then transfer them to a wire rack to cool for another 10–15 minutes. That short rest finishes the cooking and firms the crumb.
Serve warm, or wrap cooled muffins and stash them in the fridge or freezer.
Tips for Perfect Peanut Butter Muffins
How to avoid dense muffins
Dense muffins usually come from too much flour or too little lift. Spoon flour into your measuring cup instead of scooping straight from the bag, because that prevents packing it in.
Use fresh baking powder and baking soda so the muffins rise properly. And remember: peanut butter is thick, so the batter should be slightly loose, not dough-like.
If it feels too heavy, add a tablespoon of milk to lighten it.
Why not to overmix
Overmixing is the fastest way to go from fluffy to rubbery. When you stir too much, gluten develops, and the muffins lose their softness. Mix only until the dry spots disappear.
A few lumps in the batter are a good sign. Once the batter looks smooth enough, walk away from the bowl.
The best peanut butter type for texture
Regular creamy peanut butter gives the most reliable results. It’s smooth, stable, and blends beautifully into the batter.
Natural peanut butter can work, but you need to stir it thoroughly because the oil separates. If the oil isn’t mixed evenly, you may end up with greasy or uneven muffins.
Crunchy peanut butter is fun for texture, but it can make the batter harder to mix, so use it sparingly.
How to get tall, bakery-style muffin tops
Start with a hotter oven. Baking at 375°F (190°C) helps the batter rise quickly and creates that dome shape. Fill the muffin cups about three-quarters full or slightly more.
Avoid letting the batter sit for too long; get it into the oven soon after mixing. A quick sprinkle of chocolate chips or chopped peanuts on top also gives them that bakery look.
Serving Suggestions
Warm with extra peanut butter
Heat a muffin for a few seconds and spread a little extra peanut butter on top. It melts into all the cracks and tastes like a warm PB cookie in muffin form.
Perfect when you need comfort food without the guilt trip.
With jelly or jam
A spoonful of jam turns your muffin into a mini PB&J. Strawberry, raspberry, or even grape works beautifully. It’s simple, nostalgic, and honestly feels like a childhood lunchbox got an upgrade.
With banana slices or honey
Add fresh banana slices for extra sweetness and a soft contrast to the muffin’s texture. Drizzle honey on top if you want something sticky, sweet, and satisfying.
It’s the kind of topping that makes a quick breakfast feel a little fancy.
Pairing with coffee, milk, or smoothies
These muffins pair well with pretty much anything you’d drink in the morning. Coffee brings out the roasted notes in the peanut butter. A cold glass of milk is classic and kid-friendly.
Smoothies turn it into a full breakfast you can eat on the go.
Storage & Freezing Instructions
Room-temperature storage
Keep your muffins in an airtight container at room temperature for up to 3 days.
They stay soft longer if you place a small piece of paper towel in the container because it absorbs extra moisture without drying them out.
Avoid leaving them uncovered on the counter; they’ll dry out faster than you think.
Refrigeration tips
If you want them to last a little longer, store them in the fridge. Refrigeration keeps them fresh for about 5–6 days, but it can firm them up slightly.
To bring back their softness, warm each muffin in the microwave for 10–15 seconds before eating. It’s a tiny step that makes a big difference.
How to freeze and thaw for quick breakfasts
These muffins freeze like champs, which makes them perfect for meal prep. Let them cool fully, then wrap each muffin individually in plastic wrap or parchment.
Place the wrapped muffins in a freezer-safe bag or container and freeze for up to 3 months. To thaw, leave one on the counter for 20–30 minutes or microwave straight from frozen for 20–30 seconds.
You’ll have a warm, fresh-tasting muffin faster than you can scroll through your morning notifications.
FAQs
Can I use natural peanut butter?
Yes, but it works a little differently. Natural peanut butter tends to be runnier and less sweet, and the oil often separates. If you use it, stir it extremely well and expect slightly denser muffins.
For the fluffiest texture, regular creamy peanut butter is still the better choice.
Why did my muffins turn out dry?
Dry muffins usually mean too much flour or too much baking time. Always spoon and level your flour instead of scooping, which prevents overpacking.
Check your muffins a couple of minutes early because ovens vary more than we think. Also, watch your peanut butter brand; some are thicker and can make the batter too stiff.
Can I make these gluten-free?
Absolutely. Use a 1:1 gluten-free baking flour blend designed for baking. These blends usually contain xanthan gum, which helps mimic the structure of traditional flour.
The texture will be slightly different but still soft and enjoyable.
Can I use crunchy peanut butter?
Yes! Crunchy peanut butter adds extra texture and a little surprise in every bite. Just know that it can make the batter thicker, so don’t overmix.
If the batter looks too stiff, add a tablespoon of milk to loosen it.
Can I double the recipe?
No problem at all. This recipe doubles beautifully for meal prep or feeding a crowd. Just make sure you use a large enough bowl so nothing spills during mixing.
Baking time stays about the same, but keep an eye on them near the end.
Easy Peanut Butter Muffins (Moist, Fluffy & Packed With Flavor)
Difficulty: Easy12
Muffins10
minutes18
minutes28
minutesSoft, moist peanut butter muffins made with simple pantry staples. Perfect for quick breakfasts, snacks, or meal prep.
Ingredients
1 cup creamy peanut butter
2 large eggs
¾ cup brown sugar (or a mix of brown and white)
1 cup milk (any kind)
¼ cup oil or melted butter
1 tsp vanilla extract
2 cups all-purpose flour
1 tsp baking powder
½ tsp baking soda
½ tsp salt
Optional: ½–1 cup chocolate chips, chopped peanuts, mashed banana, or jelly for swirling
Directions
- Preheat oven to 375°F (190°C). Line a 12-cup muffin tin.
- In a large bowl, whisk peanut butter, eggs, sugar, milk, oil, and vanilla until smooth.
- Add flour, baking powder, baking soda, and salt. Mix gently until just combined.
- Fold in any mix-ins without overmixing.
- Divide batter into muffin cups, filling each about ¾ full.
- Bake for 15–18 minutes, or until tops are golden and a toothpick comes out with a few crumbs.
- Cool for 5 minutes in the pan, then transfer to a rack to finish cooling.
Notes
- For fluffier muffins, avoid overmixing the batter.
- Natural peanut butter works but may create a denser texture.
- Freeze muffins for up to 3 months; reheat in the microwave for 20–30 seconds.
- Add a jelly swirl or chocolate chips for an easy variation.

Hi, I’m Sorenna Blythe, the baker and writer behind Mix Whisk Bake. I share simple, reliable recipes and honest kitchen moments to help home bakers bake with confidence and joy. When I’m not testing new treats, you’ll find me sipping coffee and dreaming up my next bake.


