Pumpkin season brings out the best cozy flavors—warm spices, creamy filling, and that rich pumpkin taste we wait for all year.
If you love pumpkin pie but don’t love the extra work, these pumpkin pie bars are the answer.
They give you the same smooth, spiced filling with a simple crust—no rolling, no tricky slicing, and no stress. Just press, pour, bake, and chill.
These bars are perfect for Thanksgiving, holiday parties, or making ahead when your week gets busy.
In this post, you’ll learn exactly how to make them step by step, plus simple tips to get clean slices and the perfect texture every time.
Why You’ll Love These Pumpkin Pie Bars
No Rolling Out Pie Crust
Traditional pumpkin pie can feel like a project. You have to roll the dough evenly, transfer it carefully, and hope it doesn’t tear.
That step alone stops many people from baking a pie at home.
Pumpkin pie bars skip all of that. You simply press the crust mixture straight into the pan. No special tools.
No chilling and re-rolling. It saves time and removes the stress, which makes this recipe perfect for beginner bakers or busy days.
Easier to Slice and Serve
Regular pie slices can be messy. The filling shifts, the crust crumbles, and the first slice rarely looks neat.
With pumpkin pie bars, you cut clean squares instead. Once chilled, they slice beautifully with a sharp knife.
This makes them ideal for dessert tables, potlucks, and family gatherings where you want something simple and tidy.
You can even cut them smaller for bite-sized portions. That flexibility makes serving much easier.
Creamy, Smooth Filling
The filling is the heart of this recipe. It’s rich, gently spiced, and perfectly creamy. You still get that classic pumpkin pie flavor—warm cinnamon, nutmeg, and smooth pumpkin in every bite.
Because the filling bakes evenly in a pan, it sets beautifully. The texture stays soft without being runny. When baked just right, the center has a slight jiggle, which means it will firm up perfectly as it cools.
Great for Feeding a Crowd
One pan makes multiple servings. That’s a big win during holidays or birthdays when you need enough dessert for everyone.
You don’t need to bake multiple pies. One batch can easily serve a group, and doubling the recipe is simple if you need more. It’s practical, cost-effective, and saves oven space.
Make-Ahead Friendly
Pumpkin pie bars actually taste better after chilling. The flavors deepen, and the texture firms up, making them easier to cut.
You can bake them a day in advance and store them in the fridge until you’re ready to serve. This takes pressure off your schedule, especially around busy holidays.
When dessert is already done and waiting, hosting feels much calmer.
Ingredients You’ll Need
For the Crust
- 2 cups (250g) all-purpose flour
OR 2 cups (200g) graham cracker crumbs for a sweeter, slightly crunchier base - ½ cup (100g) granulated sugar
- ¾ cup (170g) unsalted butter, melted
- ¼ teaspoon salt
This combination creates a firm, buttery base that holds the creamy filling without becoming soggy.
For the Pumpkin Filling
- 2 cups (450g) pumpkin purée (pure pumpkin, not pumpkin pie filling)
- 3 large eggs
- ¾ cup (150g) brown sugar
(You can use white sugar if preferred, but brown sugar adds deeper flavor.) - 1 cup (240ml) heavy cream
OR 1 cup (240ml) evaporated milk for a lighter option - 2 teaspoons pumpkin pie spice
- 1 teaspoon vanilla extract
- ¼ teaspoon salt
How to Make Pumpkin Pie Bars (Step-by-Step)
Follow these steps in order. Each one helps you get clean slices, a firm crust, and a smooth filling.
1. Prepare the Pan
Preheat your oven to 350°F (175°C). Starting with a fully heated oven helps the crust bake evenly.
Line a 9×13-inch baking pan with parchment paper, leaving extra overhang on the sides.
This makes lifting the bars out much easier later. Lightly grease the paper to prevent sticking. A well-prepared pan saves frustration when it’s time to slice.
2. Make and Pre-Bake the Crust
In a mixing bowl, combine the flour (or graham crumbs), sugar, salt, and melted butter. Stir until the mixture looks like damp sand. There should be no dry patches.
Press the mixture firmly and evenly into the bottom of the prepared pan. Use the bottom of a measuring cup to smooth it out. Pressing it down tightly helps the crust hold together after baking.
Bake for 15–18 minutes, or until lightly golden around the edges. Pre-baking prevents a soggy bottom and gives the bars structure. Remove from the oven and set aside while you prepare the filling.
3. Mix the Pumpkin Filling
In a large bowl, whisk the eggs first. This helps them blend smoothly into the mixture.
Add the pumpkin purée, brown sugar, pumpkin pie spice, vanilla, salt, and cream. Whisk until completely smooth. Scrape the sides of the bowl to ensure everything is fully combined.
Avoid overmixing. You want a smooth filling, not extra air, which can cause cracks during baking.
4. Pour and Smooth
Carefully pour the pumpkin mixture over the warm crust. Pour slowly to keep the crust intact.
Use a spatula to gently spread the filling into the corners if needed. Lightly tap the pan on the counter to release any air bubbles. This step helps the top bake evenly and look smooth.
5. Bake Until Set
Place the pan back into the oven and bake for 35–45 minutes.
The edges should look set, while the center should have a slight jiggle when gently shaken.
That small movement means it will finish setting as it cools. If the center looks wet or liquid, bake for a few more minutes and check again.
Do not overbake. Overbaking can cause cracks and a dry texture.
6. Cool Completely
Remove the pan from the oven and place it on a wire rack. Let the bars cool at room temperature for about 1–2 hours.
Cooling slowly helps the filling finish setting properly. Cutting too early will result in messy slices.
7. Chill Before Slicing
Once cooled, transfer the pan to the refrigerator. Chill for at least 2 hours, or overnight for best results.
Chilling firms up the filling and makes slicing clean and easy. When ready to cut, lift the bars out using the parchment overhang. Use a sharp knife and wipe it clean between cuts for neat squares.
Now your pumpkin pie bars are ready to serve.
Tips for Perfect Pumpkin Pie Bars
These simple tips will help you get smooth filling, clean slices, and consistent results every time.
Don’t Overbake (The Center Should Slightly Jiggle)
Pumpkin filling continues to set as it cools. If you bake it until the center is completely firm in the oven, it will likely become dry and may crack as it cools.
When you gently shake the pan, the edges should look set while the center has a slight wobble.
That gentle jiggle is exactly what you want. It means the texture will finish setting into a creamy, smooth consistency after cooling.
If you’re unsure, check a few minutes earlier rather than later. You can always bake a little longer, but you can’t undo overbaking.
Use Pure Pumpkin Purée, Not Pumpkin Pie Filling
This step matters more than most people realize. Pure pumpkin purée contains only pumpkin. Pumpkin pie filling already includes sugar and spices.
If you use pumpkin pie filling by mistake, the bars may turn out too sweet and overly spiced. The texture can also change because the ingredient ratios are different.
Always check the label before you start. It should say “100% pure pumpkin.”
Let Them Cool Fully Before Cutting
Cutting too early is the fastest way to ruin clean slices. Even if the bars look set, the filling is still soft while warm.
Let them cool at room temperature first. Then chill them in the refrigerator for at least two hours. This gives the custard time to firm up properly.
Patience here makes a big difference. Fully cooled bars slice neatly and hold their shape.
Use Parchment Paper for Easy Removal
Lining your pan with parchment paper makes lifting the bars simple and safe. Leave extra paper hanging over the sides so you can use it as handles.
Once chilled, lift the entire slab out in one motion. Place it on a cutting board before slicing. This gives you better control and cleaner edges.
It’s a small step during prep, but it saves time and prevents broken pieces later.
Variations & Customizations
One of the best things about pumpkin pie bars is how easy they are to adjust. Small changes can create a new flavor or fit different dietary needs without changing the method.
Graham Cracker Crust Version
If you prefer a slightly sweeter, more classic holiday flavor, use graham cracker crumbs instead of flour.
Mix 2 cups graham cracker crumbs, ½ cup sugar, and ¾ cup melted butter. Press firmly into the pan and pre-bake as directed.
The result is a crisp, buttery base with a light caramel note that pairs beautifully with the spiced filling.
This option works especially well for gatherings because it feels familiar and comforting.
Gluten-Free Option
To make these bars gluten-free, replace the all-purpose flour with a 1:1 gluten-free baking flour blend. Make sure it includes xanthan gum for structure.
You can also use gluten-free graham crackers for the crust. Press the mixture firmly and pre-bake as usual to prevent crumbling.
The filling is naturally gluten-free, so no changes are needed there.
Dairy-Free Alternative
For a dairy-free version, replace the heavy cream with full-fat coconut milk. It provides richness and keeps the filling smooth.
For the crust, use a plant-based butter substitute in the same amount. Choose one designed for baking to ensure it sets properly.
The texture remains creamy, and the flavor stays balanced without tasting overly coconut-like.
Add Chocolate Chips
If you want a slightly richer dessert, stir ½ cup semi-sweet chocolate chips into the pumpkin filling before pouring it over the crust.
The chocolate melts gently as the bars bake, creating small pockets of sweetness. It adds depth without overpowering the pumpkin flavor.
This variation is especially popular with kids and anyone who loves a chocolate twist.
Swirl with Cream Cheese
For a bakery-style look and flavor, make a simple swirl. Beat 8 oz (225g) softened cream cheese with ¼ cup sugar and 1 egg yolk until smooth.
Drop spoonfuls of the mixture over the pumpkin filling. Use a knife to gently swirl it through the top before baking.
This creates a light, tangy contrast that balances the sweetness and makes the bars look beautiful when sliced.
How to Store & Freeze
Pumpkin pie bars need to be refrigerated because the filling contains eggs and cream.
Once the bars have fully cooled, place them in an airtight container or cover the pan tightly with plastic wrap and store them in the fridge.
They will stay fresh for up to 4 days, and the flavor often becomes even better by the second day as the spices settle. If you want to keep them longer, freezing works very well.
First, chill the bars completely so they are firm. Then slice them and wrap each piece tightly in plastic wrap, followed by a layer of foil, or place them in a freezer-safe container with parchment between layers to prevent sticking.
Freeze for up to 2 months for the best quality. When ready to enjoy, transfer the bars to the refrigerator and let them thaw overnight.
For a quicker option, let a slice sit at room temperature for about 30–45 minutes. Avoid microwaving, as it can change the texture and make the filling too soft.
Proper storage keeps the crust firm, the filling creamy, and every slice just as satisfying as the day you baked it.
Serving Suggestions
Pumpkin pie bars are delicious on their own, but a few simple additions can make them feel extra special.
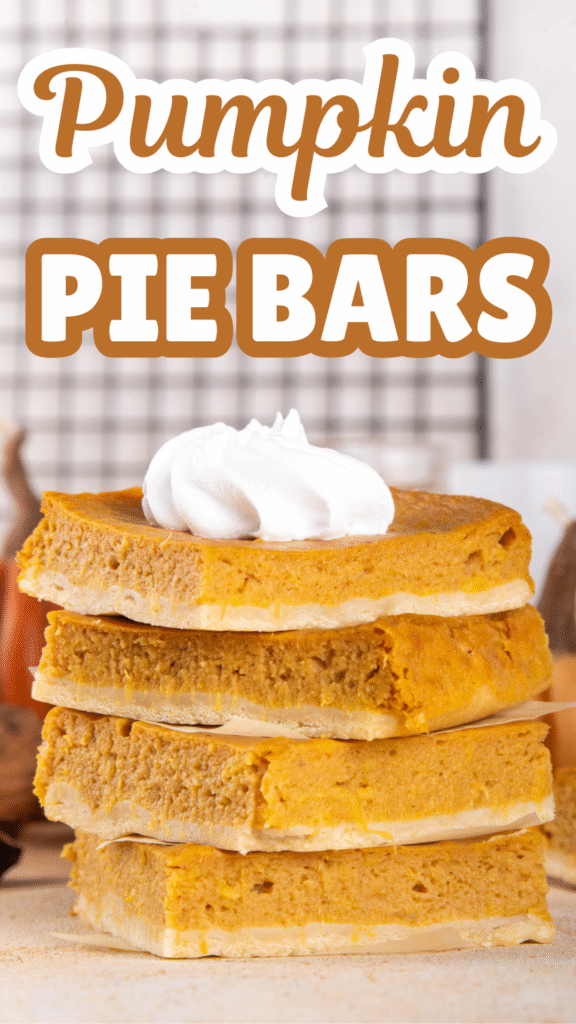
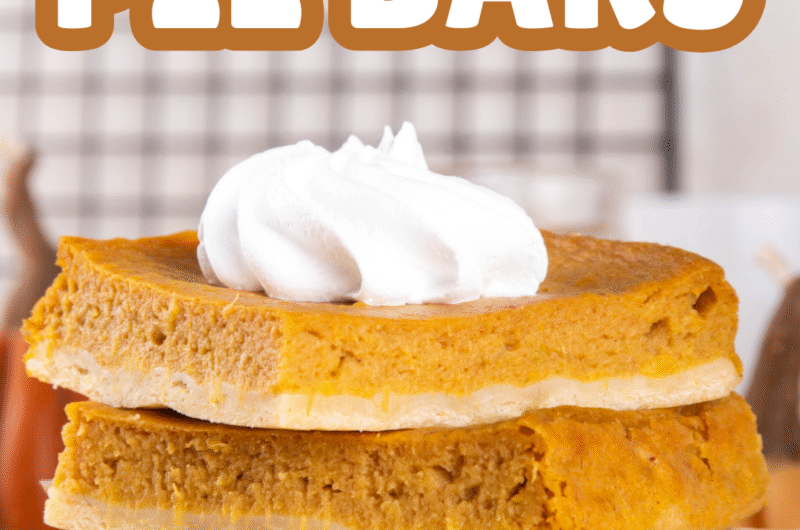
Add a generous spoonful of freshly whipped cream right before serving to bring lightness and balance to the rich filling; it softens each bite and makes the spices stand out.
For a deeper, sweeter finish, drizzle warm caramel sauce lightly over the top just before plating, allowing it to settle into the surface without overpowering the pumpkin flavor.
A small sprinkle of ground cinnamon adds warmth and a beautiful touch of color, especially if you’re serving these for guests.
To complete the experience, pair the bars with a hot cup of coffee or chai.
The roasted notes of coffee or the gentle spice of chai complement the pumpkin perfectly and turn a simple dessert into a cozy, satisfying moment.
Final Thoughts
Pumpkin pie bars give you everything you love about classic pumpkin pie in a simpler, easier form. With a buttery crust, smooth spiced filling, and clean slices, they’re practical and crowd-friendly.
Give this recipe a try, even if you’ve never made pumpkin pie before. Follow the steps, trust the process, and let them chill fully for the best results.
If you make them, I’d love to hear how they turned out. Leave a comment or rating below and share your experience.
FAQs
Can I use fresh pumpkin purée?
Yes, but make sure it is well-drained and thick. If it’s too watery, the bars may not set properly.
Why did my bars crack?
Cracks usually happen from overbaking or overmixing. Bake just until the center slightly jiggles, and avoid whipping too much air into the filling.
How do I know when they’re done?
The edges should look set, and the center should have a small wobble when gently shaken. It will firm up as it cools.
Can I make these ahead of time?
Absolutely. Bake them a day in advance and chill in the fridge. They slice even better the next day.
Do pumpkin pie bars need to be refrigerated?
Yes. Because of the eggs and cream, they should be stored in the refrigerator and kept covered until ready to serve.
Pumpkin Pie Bars – Easy, Creamy & Perfect for Fall
Difficulty: Easy12
Bars15
minutes1
hour1
hour15
minutesButtery crust topped with a smooth, warmly spiced pumpkin filling. These pumpkin pie bars are simple to make, easy to slice, and perfect for holidays or make-ahead desserts.
Ingredients
- For the Crust:
2 cups (250g) all-purpose flour
½ cup (100g) granulated sugar
¾ cup (170g) unsalted butter, melted
¼ teaspoon salt
- For the Filling:
2 cups (450g) pumpkin purée
3 large eggs
¾ cup (150g) brown sugar
1 cup (240ml) heavy cream
2 teaspoons pumpkin pie spice
1 teaspoon vanilla extract
¼ teaspoon salt
Directions
- Preheat oven to 350°F (175°C). Line a 9×13-inch pan with parchment paper.
- Mix crust ingredients until combined. Press firmly into the pan.
- Bake the crust for 15–18 minutes until lightly golden.
- Whisk eggs, then add pumpkin, sugar, cream, spices, vanilla, and salt. Mix until smooth.
- Pour filling over warm crust and smooth the top.
- Bake 35–45 minutes, until edges are set and the center slightly jiggles.
- Cool completely, then chill for at least 2 hours before slicing.
Notes
- Do not overbake; the center should have a gentle wobble.
- Chill fully for clean slices.
- Store covered in the refrigerator for up to 4 days.
- Bars can be frozen for up to 2 months.

Hi, I’m Sorenna Blythe, the baker and writer behind Mix Whisk Bake. I share simple, reliable recipes and honest kitchen moments to help home bakers bake with confidence and joy. When I’m not testing new treats, you’ll find me sipping coffee and dreaming up my next bake.


