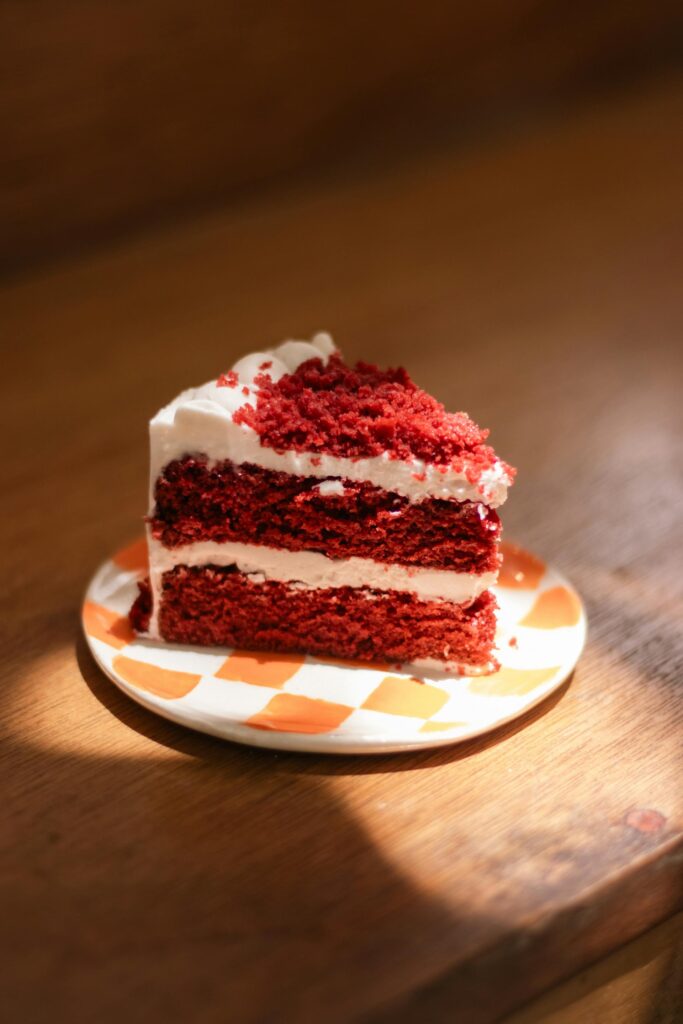
Red velvet cake isn’t just a pretty face, but it’s a classic with charm, character, and a rich, velvety bite that’s hard to forget.
It’s got that signature hint of cocoa, a slight tang from buttermilk and vinegar, and a crumb so tender it practically melts on your tongue.
This isn’t just red-colored chocolate cake. It’s its own thing—bold, balanced, and topped with dreamy cream cheese frosting that ties it all together.
In this post, you’ll get a step-by-step recipe that’s simple to follow, even if you’re not a seasoned baker.
The result? A bakery-worthy cake that’s perfect for birthdays, holidays, or any “just because” celebration.
Let’s bring a little wow to your next dessert table!
What is Red Velvet Cake?
Red velvet cake has roots that run deep, most famously tied to the American South, where it’s been charming dessert tables since the early 1900s.
While its exact origin is debated, it gained major popularity during the Great Depression when food coloring companies promoted it as a vibrant treat to lift spirits.
But red velvet isn’t just about looks. Its flavor is a delicate dance: a whisper of cocoa (not full-blown chocolate), a gentle tang from buttermilk and vinegar, and a soft hint of vanilla.
The texture? Buttery, tender, and velvety smooth, which is true to its name. What seals the deal is the cream cheese frosting.
Its rich, slightly tangy bite balances the sweetness of the cake and adds that creamy, luscious finish.
Ingredients You’ll Need
Here’s everything you need to bring this red velvet beauty to life. Each ingredient plays a key role in creating that perfect balance of flavor, texture, and color.
For the Cake
- All-purpose flour – 2 ½ cups
The structure builder. Gives the cake its soft, sturdy crumb. - Granulated sugar – 1 ½ cups
Sweetens the batter and helps lock in moisture. - Unsweetened cocoa powder – 1 tbsp
Adds a subtle chocolatey base without overpowering. - Baking soda – 1 tsp
The leavening agent that gives the cake a light, fluffy rise. - Salt – ½ tsp
Enhances all the flavors and balances the sweetness. - Eggs – 2 large
Help bind everything together while adding richness. - Buttermilk – 1 cup
The secret to that classic red velvet tang and tender crumb. - Vegetable oil – 1 cup
Keeps the cake super moist—no dry slices here. - White vinegar – 1 tsp
Reacts with baking soda and buttermilk to lift the cake and deepen the color. - Vanilla extract – 2 tsp
Adds warm, sweet notes that tie all the flavors together. - Red gel food coloring – 2 tbsp (or to preference)
Creates that bold red hue without thinning the batter like liquid dyes.
For the Cream Cheese Frosting
- Cream cheese (softened) – 8 oz
The star of the frosting—tangy, creamy, and rich. - Unsalted butter (softened) – ½ cup
Adds smoothness and structure to the frosting. - Powdered sugar – 3–4 cups
Sweetens and thickens to the perfect pipeable consistency. - Vanilla extract – 1 tsp
Rounds out the tang with a touch of warmth. - Pinch of salt
Just enough to cut the sweetness and sharpen the flavor.
Tip: Make sure all your ingredients are at room temperature for a smoother batter and frosting.
Equipment Checklist
Before you start baking, make sure you’ve got the right tools on hand. A smooth baking process starts with a well-prepped kitchen.
- Two 9-inch round cake pans
Ideal for even layers and the classic red velvet presentation. - Stand mixer or hand mixer
Makes creaming, mixing, and whipping frosting a breeze (your arms will thank you). - Mixing bowls
At least two—one for dry ingredients, one for wet. Bonus points for a large bowl to combine everything. - Offset spatula
For smooth, fuss-free frosting and easy layer assembly. - Cooling racks
Helps the cake cool evenly and prevents soggy bottoms. - Parchment paper
Line your pans for easy release—no sticking, no crumbling.
Optional but helpful: a cake leveler or serrated knife for trimming layers evenly.
Step-by-Step Instructions
Let’s break it down into bite-sized steps so you can bake with confidence (and maybe a little swagger). No stress, just simple directions and a few tricks to help you nail it the first time.
1. Prep the Pans & Preheat Oven
Preheat your oven to 350°F (175°C). Grease two 9-inch round cake pans and line the bottoms with parchment paper.
This ensures the cakes release cleanly and don’t leave half their hearts behind in the pan.
2. Mix Dry Ingredients
In a large bowl, whisk together flour, sugar, cocoa powder, baking soda, and salt. Make sure everything is evenly combined, as this avoids clumps and surprises later on.
3. Whisk Wet Ingredients Separately
In another bowl, beat together eggs, buttermilk, oil, vinegar, and vanilla extract until smooth. This mixture should look creamy and a little frothy, but don’t worry, that’s a good thing.
4. Combine Wet & Dry
Slowly pour the wet mix into the dry ingredients. Stir gently with a spatula or use your mixer on low speed.
The goal is just to combine, so don’t overmix, or you’ll end up with a dense cake instead of that dreamy soft crumb.
5. Add Food Coloring (Tip: start small!)
Add the red gel food coloring a bit at a time. Stir and see how bold you want it.
You’re going for a deep, vibrant red, and not neon. Gel color works best because it won’t water down your batter like liquid dyes.
6. Pour into Pans & Bake (25–30 min at 350°F)
Divide the batter evenly between the two pans. Tap them gently on the counter to release air bubbles.
Bake for 25–30 minutes, or until a toothpick comes out clean from the center. The tops should spring back when lightly pressed.
7. Cool Completely Before Frosting
Let the cakes cool in the pans for 10–15 minutes, then transfer them to cooling racks. Don’t rush this—frosting a warm cake is a recipe for sliding layers and melty messes.
8. Make Cream Cheese Frosting
In a mixing bowl, beat softened cream cheese and butter until smooth. Gradually add powdered sugar, then mix in the vanilla and a pinch of salt.
Beat until it’s fluffy and spreadable. Taste-test with a spoon (for quality control, of course).
9. Frost and Assemble the Layers
Place one cake layer on your serving plate. Spread a thick layer of frosting on top. Add the second cake, then frost the top and sides. Use an offset spatula for smoother swipes.
Want a clean finish? Chill the cake for 10–15 minutes between frosting layers to keep everything in place.
Bonus Tip: If the cake domes in the middle, slice the tops off with a serrated knife to level them. Your layers will sit evenly, and you get to sneak a taste of the scraps, which is a win-win.
Storage Tips
Once your red velvet masterpiece is frosted and admired (and maybe photographed for the ’Gram), it’s time to think about storage.
To keep it fresh, store the frosted cake in the fridge in an airtight container or cake dome because it’ll stay moist and delicious for up to 5 days.
If you’ve baked the layers ahead of time and want to freeze them, wait until they’re completely cool, then wrap each layer tightly in plastic wrap, followed by a layer of foil.
They’ll hold up beautifully in the freezer for up to 2 months. When you’re ready to use them, thaw the layers overnight in the fridge.
And here’s a baker’s trick to keep your cake from drying out: before storing, press a piece of plastic wrap directly against any exposed cake areas (like cut slices) to lock in the moisture.
It’s a small step, but it makes a big difference—no one likes a dry bite, especially when cream cheese frosting is involved.
Variations & Creative Twists
Red velvet doesn’t have to stick to tradition because sometimes it likes to let its hair down and have a little fun.
Want a bite-sized version? Turn the batter into cupcakes by pouring it into a lined muffin pan and baking for about 18–20 minutes.
They’re perfect for parties or portion control (in theory). For Valentine’s Day or anniversaries, try a heart-shaped cake pan, but just be sure to grease the nooks well.
You can also go big with a sheet cake if you’re feeding a crowd or want something easy to transport—skip the layers, frost right in the pan, and dig in.
Feeling fancy? Bake the batter in mini springform pans or jars to make individual red velvet cakes for gifting—wrap them in ribbon, and you’ve got instant dessert love.
To surprise your tastebuds, fold in white chocolate chips for sweet pockets of meltiness or add a thin layer of raspberry filling between the cake layers for a tart twist that cuts through the richness.
And if classic cream cheese frosting feels a little heavy, whip it up with some extra air, literally. Beat it longer to create a whipped cream cheese frosting that’s lighter, fluffier, and spreads like a dream.
Final Words
Red velvet cake isn’t just a recipe, but it’s an experience. Moist, flavorful, and topped with tangy cream cheese frosting, it’s the kind of dessert that gets people talking (and reaching for seconds).
Give it a go, have fun with it, and don’t forget to share your creation. Tag us, we’d love to see your red velvet magic in action!
FAQs
Can I use beet juice instead of food coloring?
Yes, for a natural red hue, but just adjust the moisture slightly.
Can I make it dairy-free?
Use almond milk + vinegar for buttermilk and vegan butter/cream cheese.
Why do we use vinegar?
It reacts with baking soda for a rise and enhances the red color.
Can I use Dutch-process cocoa?
Stick to natural cocoa for proper chemical reactions and color.

Red Velvet Cake Recipe with Cream Cheese Frosting
Difficulty: Intermediate12
slices20
minutes30
minutes50
minutesA moist, tender red velvet cake with subtle cocoa flavor and tangy cream cheese frosting— that is perfect for birthdays, holidays, or just because.
Ingredients
- For the Cake:
2 ½ cups all-purpose flour
1 ½ cups granulated sugar
1 tbsp unsweetened cocoa powder
1 tsp baking soda
½ tsp salt
2 large eggs
1 cup buttermilk
1 cup vegetable oil
1 tsp white vinegar
2 tsp vanilla extract
2 tbsp red gel food coloring (or to taste)
- For the Frosting:
8 oz cream cheese, softened
½ cup unsalted butter, softened
3–4 cups powdered sugar
1 tsp vanilla extract
Pinch of salt
Directions
- Preheat oven to 350°F (175°C). Grease and line two 9-inch round cake pans with parchment paper.
- In a large bowl, whisk together flour, sugar, cocoa powder, baking soda, and salt.
- In a separate bowl, mix eggs, buttermilk, oil, vinegar, and vanilla until smooth.
- Gradually mix the wet ingredients into the dry ingredients until just combined, but don’t overmix.
- Stir in red food coloring until the desired shade is reached.
- Divide batter evenly between pans. Bake for 25–30 minutes, or until a toothpick comes out clean.
- Cool completely before frosting.
- Beat cream cheese and butter until creamy. Add powdered sugar gradually, then mix in vanilla and salt.
- Frost between layers and over the top and sides using an offset spatula.
Notes
- For best results, use gel food coloring because it gives rich color without thinning the batter.
- You can bake the cake layers ahead and freeze them for up to 2 months.
- For a lighter twist, whip the frosting longer to create a fluffier texture.

Hi, I’m Sorenna Blythe, the baker and writer behind Mix Whisk Bake. I share simple, reliable recipes and honest kitchen moments to help home bakers bake with confidence and joy. When I’m not testing new treats, you’ll find me sipping coffee and dreaming up my next bake.


