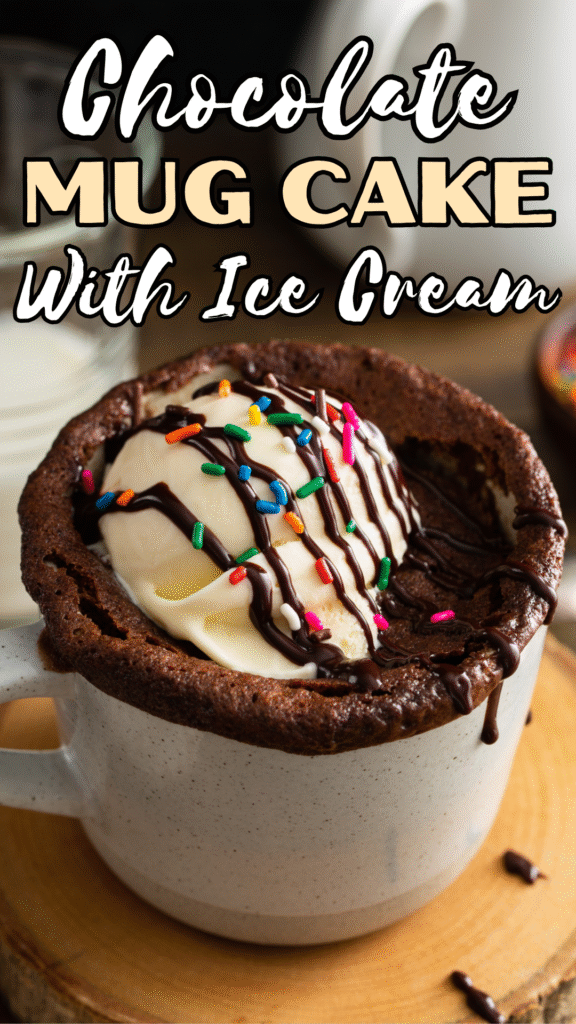
Craving something chocolatey but don’t want to bake a whole cake? This chocolate mug cake is your answer. It’s rich, soft, and ready in just a few minutes.
Mug cakes are perfect when you want a quick treat without a pile of dishes. You mix everything in one mug, pop it in the microwave, and just like that, dessert is done.
Don’t worry if you’re new to baking because this one is as simple as it gets.
Now here’s the best part: that warm, gooey cake topped with a scoop of cold ice cream. The contrast is what makes it special.
You’ll notice how the ice cream melts slightly into the cake, creating the perfect bite every time.
Why You’ll Love This Recipe
Ready in Under 10 Minutes
This is the kind of dessert you can make the moment a craving hits. From mixing to microwaving, everything comes together in just a few minutes.
There’s no waiting for an oven to preheat or layers to cool. You’ll go from “I want something sweet” to your first warm bite in almost no time.
Minimal Ingredients and Cleanup
You likely already have everything you need in your kitchen. Basic pantry staples come together to create something rich and satisfying.
Even better, you mix and cook it in the same mug. That means fewer dishes and less cleanup, which always feels like a win.
Perfect Single-Serving Dessert
This recipe is made for one, so there’s no temptation to overindulge or deal with leftovers. It’s just enough to satisfy your sweet tooth without going overboard.
If you want to share, you can easily make a second mug. If not, this one is all yours.
Rich, Gooey Chocolate Flavor
The texture is soft and slightly fudgy, with a deep chocolate taste in every bite. If you add chocolate chips, you’ll get little pockets of melted chocolate throughout.
Don’t worry if the center looks a bit soft because that’s exactly what makes it so good. Pair it with ice cream, and you’ll notice how the flavors melt together into something truly comforting.
Ingredients
For the Chocolate Mug Cake
- 4 tablespoons all-purpose flour
- 2 tablespoons unsweetened cocoa powder
- 2 tablespoons granulated sugar
- 1/4 teaspoon baking powder
- 3 tablespoons milk
- 2 tablespoons oil (or melted butter)
- 1/4 teaspoon vanilla extract
- 1–2 tablespoons chocolate chips (optional, but recommended for extra gooeyness)
For Serving
- 1 scoop vanilla ice cream (or your favorite flavor)
Optional toppings:
- Chocolate syrup
- Sprinkles
- Chopped nuts
- Whipped cream
Equipment Needed
- 1 large microwave-safe mug (about 300–350 ml capacity)
- 1 spoon or a small whisk
- Any standard microwave
Step-by-Step Instructions
1. Mix Dry Ingredients in the Mug
Start by adding the flour, cocoa powder, sugar, and baking powder directly into your mug. Use your spoon to mix everything well.
You want the color to look even, with no streaks of white flour or clumps of cocoa. This step helps your cake cook evenly, so don’t rush it.
2. Add Wet Ingredients and Stir Until Smooth
Pour in the milk, oil (or melted butter), and vanilla extract. Now stir gently but thoroughly. Make sure you scrape the bottom and sides of the mug so nothing is left dry.
You’re aiming for a smooth, lump-free batter. Don’t worry if it looks a bit thin, as that’s normal.
3. Fold in Chocolate Chips (Optional)
If you’re using chocolate chips, add them now. Gently stir them into the batter so they’re evenly spread out.
You’ll notice they sink slightly, which is perfect. They’ll melt into little pockets of chocolate as the cake cooks.
4. Microwave Until Cooked but Still Soft
Place the mug in the microwave and cook for about 60–90 seconds, depending on your microwave’s power. Start with 60 seconds and check.
The top should look set, but the center can still be a little soft. Be careful not to overcook, or the cake may turn dry. It’s better to slightly undercook than overdo it.
5. Let Cool Slightly
Carefully remove the mug because it will be hot. Let the cake sit for a minute or two.
This helps it finish setting and makes it easier to enjoy. You’ll notice the texture becomes soft and fluffy as it rests.
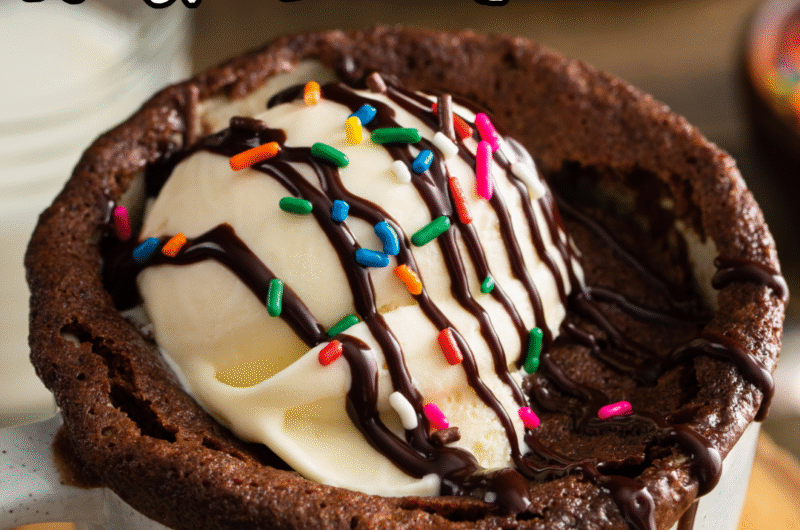
6. Top with a Scoop of Ice Cream and Serve Immediately
Add a scoop of ice cream right on top of the warm cake.
Watch it melt slightly into the surface because that’s exactly what you want. Grab a spoon and dig in while it’s still warm.
Tips for the Perfect Mug Cake
Don’t Overmix the Batter
Once you add the wet ingredients, stir just until everything comes together. You’re looking for a smooth batter, not one that’s been mixed for too long.
Overmixing can make the cake dense instead of soft. If you still see tiny lumps, don’t worry because they usually disappear as the cake cooks.
Adjust Microwave Time Based on Wattage
Microwaves don’t all cook the same. Some are stronger, which means your cake may cook faster than expected.
Start with a shorter time, then add a few extra seconds if needed. You’ll notice that once the top looks set and slightly springy, it’s ready.
Avoid Overcooking to Keep It Moist
It’s easy to leave the mug in the microwave a little too long. The cake will keep cooking slightly after you take it out, so it’s best to stop while the center is still a bit soft.
This keeps the texture moist and slightly gooey. If it turns out a little dry, just reduce the cooking time next time.
Use a Large Mug to Prevent Overflow
Choose a mug that has enough space for the batter to rise. A smaller mug can cause the cake to spill over while cooking, which creates a mess and wastes some of your batter.
A larger mug gives the cake room to expand and cook evenly, making the whole process much smoother.
Flavor Variations
Double Chocolate (Extra Chocolate Chips)
If you love a deep chocolate flavor, this is the easiest upgrade. Simply add a few extra chocolate chips to the batter. You can even sprinkle a few on top before microwaving.
You’ll notice the cake becomes richer, with more melted chocolate in every bite.
Peanut Butter Swirl
Add a spoonful of peanut butter right on top of the batter, then gently swirl it in with a toothpick or spoon.
Don’t mix it completely because you want ribbons of peanut butter throughout the cake.
As it cooks, the peanut butter softens and blends into the chocolate, creating a smooth, slightly nutty flavor.
Nutella-Filled Center
For a gooey surprise, drop a small spoonful of Nutella into the center of the batter before microwaving. Try to cover it slightly so it stays in the middle while cooking.
When you dig in, you’ll find a warm, melted center that takes the cake to another level.
Mint Chocolate Version
Add a tiny drop of mint extract to the batter along with the vanilla. A little goes a long way, so keep it light.
You’ll notice a fresh, cool flavor that pairs really well with the rich chocolate. This one feels a bit like a homemade dessert version of a mint chocolate treat.
Mocha (Add Instant Coffee)
Stir in a small pinch of instant coffee or espresso powder with the dry ingredients. It won’t make the cake taste like coffee.
Instead, it brings out the chocolate flavor and makes it taste deeper and richer. If you enjoy coffee and chocolate together, this is a great option to try.
Best Ice Cream Pairings
- Classic vanilla
A simple, creamy choice that lets the rich chocolate cake shine. You’ll notice how it melts smoothly into the warm cake, creating a perfect balance. - Chocolate fudge
For true chocolate lovers, this doubles down on richness. It makes every bite extra indulgent and deeply satisfying. - Cookies and cream
Adds a bit of crunch and texture. The cookie pieces bring a fun contrast to the soft, warm cake. - Salted caramel
A mix of sweet and slightly salty flavors. This pairing enhances the chocolate and adds a deeper, more complex taste. - Strawberry for contrast
A lighter, fruity option that balances the richness of the cake. The fresh flavor helps cut through the chocolate and keeps things from feeling too heavy.
Make It Your Own
Dairy-Free Substitutions
You can easily make this mug cake dairy-free with a few simple swaps. Use plant-based milk like almond, soy, or oat milk in place of regular milk.
For the fat, choose oil instead of butter, or use a dairy-free margarine.
When it comes to serving, pick a dairy-free ice cream, as there are plenty of good options available now. You’ll still get a soft, rich cake with great flavor.
Gluten-Free Flour Options
If you need a gluten-free version, replace the all-purpose flour with a gluten-free flour blend. Look for one labeled “all-purpose” or “1:1,” which means it’s designed to be used as a direct substitute.
The texture may be slightly different, but it should still be soft and enjoyable. Don’t worry if it looks a bit more delicate because that’s normal with gluten-free baking.
Low-Sugar Alternatives
You can reduce or replace the sugar without losing the overall feel of the dessert.
Try using a sugar substitute that measures like regular sugar, such as stevia blends or erythritol-based options.
You can also slightly reduce the sugar if you prefer a less sweet cake.
If you’re adding toppings like ice cream or chocolate chips, you may not need as much sweetness in the base. Adjust to your taste and see what works best for you.
Storage & Reheating
This mug cake is best enjoyed right after it’s made, when it’s warm, soft, and slightly gooey in the center—that’s when the texture and flavor really shine.
If you do have leftovers, you can cover the mug and keep it at room temperature for a few hours or in the fridge for up to a day, but you’ll notice it becomes firmer as it sits.
To bring it back to life, reheat it in the microwave for about 10–15 seconds; this helps soften the cake and warm it through without drying it out.
Don’t overheat, or it can turn tough. The texture changes over time because the moisture in the cake settles and the crumb tightens, which is completely normal for quick cakes like this.
A quick warm-up helps restore some of that softness, but for the best experience, it’s always worth enjoying it fresh when you can.
Final Thoughts
This chocolate mug cake is the kind of dessert you can rely on when you want something quick, warm, and satisfying.
It’s simple to make, uses basic ingredients, and delivers that rich, gooey texture every time.
Feel free to try the different variations and make it your own. You’ll quickly find your favorite!
FAQs
Yes. Bake it in an oven-safe ramekin at 180°C (350°F) for about 12–15 minutes, or until set in the center.
This usually happens from overmixing or overcooking. Stir just until combined, and keep a close eye on the microwave time.
Yes. This recipe is naturally egg-free, so you don’t need to add anything extra.
Use a microwave-safe mug that holds about 300–350 ml. A larger mug helps prevent overflow and cooks the cake more evenly.
Chocolate Mug Cake with Ice Cream Recipe (Ready in Minutes!)
Difficulty: Easy1
servings3
minutes2
minutes5
minutesA quick, rich chocolate mug cake made in minutes and topped with creamy ice cream for the perfect warm-and-cold dessert.
Ingredients
4 tbsp all-purpose flour
2 tbsp cocoa powder
2 tbsp sugar
1/4 tsp baking powder
3 tbsp milk
2 tbsp oil (or melted butter)
1/4 tsp vanilla extract
1–2 tbsp chocolate chips (optional)
1 scoop ice cream (for serving)
Directions
- In a microwave-safe mug, mix flour, cocoa powder, sugar, and baking powder.
- Add milk, oil, and vanilla. Stir until smooth.
- Fold in chocolate chips if using.
- Microwave for 60–90 seconds until set but slightly soft in the center.
- Let cool for 1 minute, then top with ice cream and serve.
Notes
- Do not overcook; the cake should stay soft and slightly gooey.
- Use a larger mug to prevent overflow.
- Adjust cooking time based on your microwave strength.

Hi, I’m Sorenna Blythe, the baker and writer behind Mix Whisk Bake. I share simple, reliable recipes and honest kitchen moments to help home bakers bake with confidence and joy. When I’m not testing new treats, you’ll find me sipping coffee and dreaming up my next bake.


