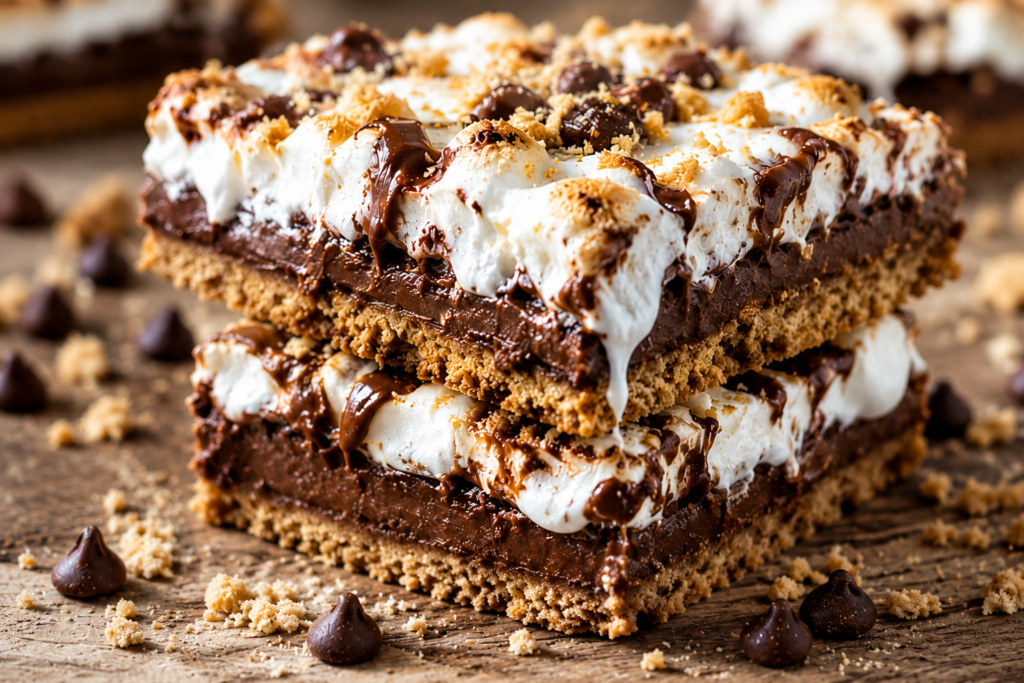
There’s something about s’mores that never gets old.
The mix of crunchy graham crackers, melted chocolate, and gooey marshmallows brings back memories of campfires, summer nights, and simple homemade treats.
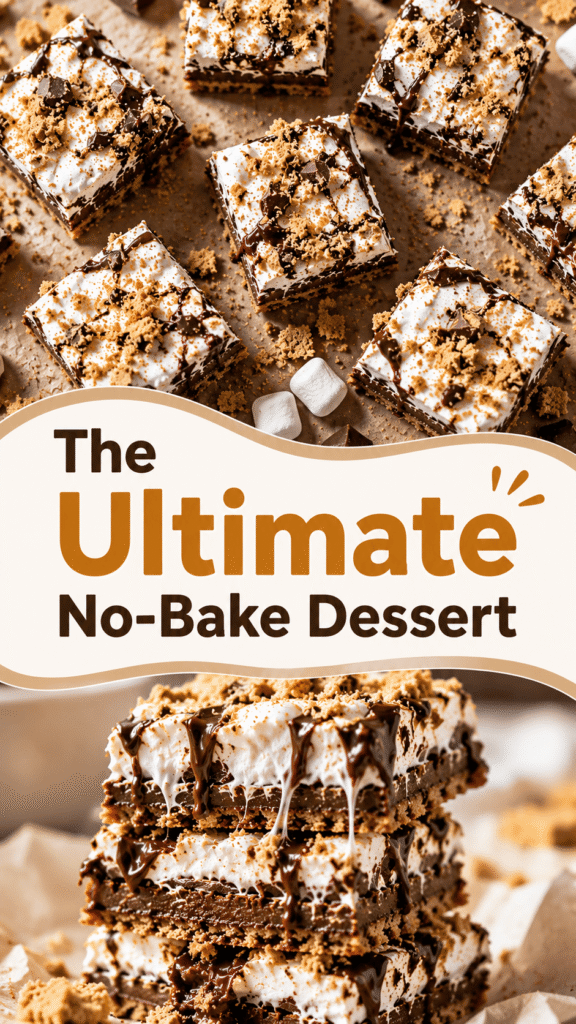
These easy no-bake s’mores bars give you all those classic flavors without needing an oven or a fire pit.
They’re quick to make, use simple ingredients, and come together with very little effort, which makes them perfect for busy days, summer parties, potlucks, or holiday dessert tables.
Each bite is rich, soft, and packed with layers of creamy chocolate and fluffy marshmallow goodness.
Even better, this is a fun kid-friendly recipe that beginners can make with confidence.
Once you slice into these chilled bars, it’s hard to stop at just one.
Why You’ll Love These No-Bake S’mores Bars
- No baking required — You can make these bars without turning on the oven, which is perfect for warm days.
- Ready with simple pantry ingredients — Everything comes together with easy-to-find ingredients you may already have at home.
- Rich chocolate + gooey marshmallow combo — Every bite has the classic s’mores flavor with creamy chocolate and soft marshmallow layers.
- Perfect make-ahead dessert — These bars chill beautifully in the fridge, making party prep much easier.
- Great for hot weather — A cool, no-bake treat is always a win during summer gatherings and holidays.
- Easy to customize with toppings and mix-ins — Add caramel, peanut butter, crushed cookies, or extra chocolate to make them your own.
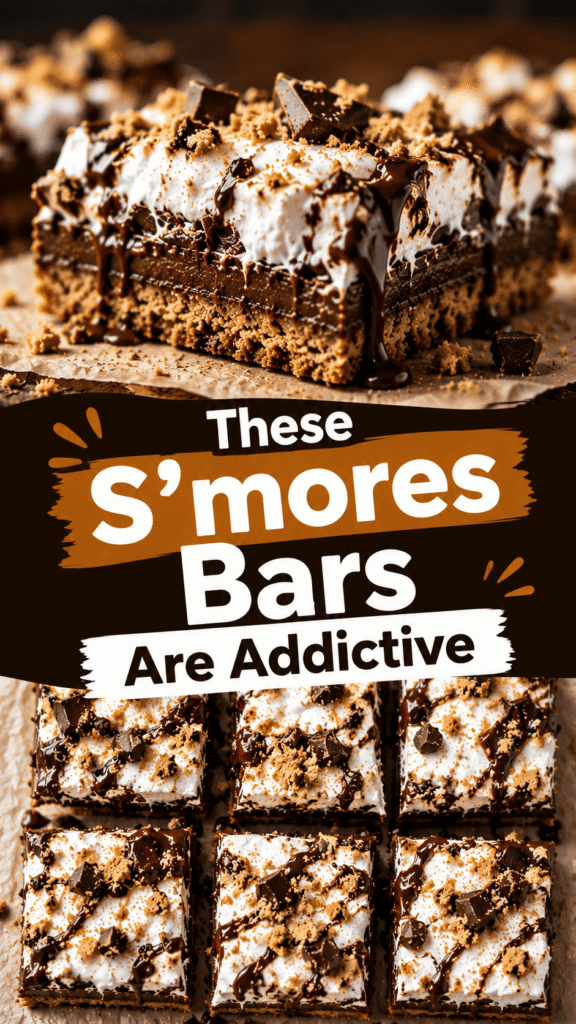
Ingredients You’ll Need
For the Graham Cracker Base
- 2 cups graham cracker crumbs
- ½ cup unsalted butter, melted
- ¼ cup brown sugar
For the Chocolate Layer
- 1 cup milk chocolate chips
- 1 cup semi-sweet chocolate chips
- 1 can (14 ounces) sweetened condensed milk
For the Marshmallow Layer
- 2 cups mini marshmallows
- 1 cup marshmallow fluff or marshmallow creme
Optional Toppings
- ¼ cup crushed graham crackers
- ¼ cup melted chocolate for drizzling
- 4 mini chocolate bars, chopped
- 1 teaspoon flaky sea salt flakes
Kitchen Tools Needed
- 8×8 or 9×9 baking pan — Gives the bars the perfect thickness and helps them set evenly.
- Mixing bowls — Useful for preparing the crust and chocolate layers separately.
- Spatula — Makes spreading and smoothing the layers quick and easy.
- Microwave-safe bowl — Needed for melting the chocolate mixture safely.
- Parchment paper — Helps lift the bars out easily for clean slicing and less mess.
How to Make No-Bake S’mores Bars
Step 1: Prepare the Pan
Start by lining your 8×8 or 9×9 baking pan with parchment paper.
Leave a little extra parchment hanging over the sides so you can easily lift the bars out later.
This small step makes slicing cleaner and saves you from sticky cleanup afterward.
If the parchment keeps moving around, lightly grease the pan first to help it stay in place.
Step 2: Make the Graham Cracker Crust
Add the graham cracker crumbs, melted butter, and brown sugar to a mixing bowl.
Stir everything together until the crumbs look evenly coated and slightly wet, similar to damp sand.
Pour the mixture into the prepared pan.
Use the back of a spoon, spatula, or even the bottom of a measuring cup to firmly press the crust into an even layer.
Pressing the crust down well helps the bars hold together once sliced.
Take a moment to smooth out the corners so every bite has an even layer of crunchy graham cracker crust.
Step 3: Melt the Chocolate Layer
Add the milk chocolate chips, semi-sweet chocolate chips, and sweetened condensed milk to a microwave-safe bowl.
Microwave in short 20 to 30-second intervals, stirring after each one to prevent the chocolate from overheating.
Keep stirring until the mixture becomes smooth, creamy, and glossy.
The chocolate layer should be thick but easy to spread.
Pour the melted chocolate mixture over the graham cracker crust.
Use a spatula to gently spread it into an even layer all the way to the edges of the pan.
The rich chocolate layer is what gives these bars that classic s’mores flavor everyone loves.
Step 4: Add the Marshmallow Layer
Carefully spread the marshmallow fluff over the chocolate layer.
This part can get a little sticky, so working slowly helps.
Lightly greasing your spatula can make spreading the fluff much easier.
Once the marshmallow layer is spread evenly, sprinkle the mini marshmallows over the top.
Try to distribute them evenly so every bar gets plenty of gooey marshmallow goodness.
If you want extra texture, this is also a great time to add crushed graham crackers or chopped chocolate pieces on top.
Step 5: Chill Until Set
Place the pan in the refrigerator and let the bars chill for at least 2 to 3 hours.
This gives the layers time to firm up and makes slicing much easier.
Once the bars feel firm to the touch, lift them out of the pan using the parchment paper.
Use a sharp knife to cut them into squares or rectangles.
For cleaner slices, wipe the knife between cuts.
Serve chilled and enjoy every bite of the crunchy crust, creamy chocolate, and soft marshmallow layers.
Tips for the Best No-Bake S’mores Bars
Use Parchment Paper for Easy Removal
Lining the pan with parchment paper makes removing the bars much easier once they are chilled.
The extra parchment hanging over the sides works like handles, helping you lift the entire dessert out in one piece.
This also keeps the layers neat and prevents the crust from sticking to the pan.
If you skip this step, cutting and serving the bars can become messy very quickly.
Chill Fully Before Slicing
Giving the bars enough time to chill is one of the most important steps in the recipe.
The layers need time to firm up so the bars hold their shape when sliced.
If you try cutting them too early, the chocolate and marshmallow layers may slide apart.
For the cleanest results, let the bars chill for at least 2 to 3 hours.
If you have extra time, chilling them a little longer can make slicing even easier.
Slightly Grease the Knife for Cleaner Cuts
A lightly greased knife helps prevent the marshmallow layer from sticking while cutting.
You only need a tiny amount of butter or cooking spray on the blade.
Wiping the knife clean between slices also helps create smooth, neat edges.
This simple trick makes the bars look more polished, especially if you are serving them at parties or gatherings.
Use High-Quality Chocolate for Richer Flavor
Since chocolate is one of the main flavors in this dessert, using good-quality chocolate makes a noticeable difference.
Higher-quality chocolate melts more smoothly and gives the bars a richer, creamier taste.
You can use your favorite chocolate chips or chopped chocolate bars, depending on what you have at home.
Mixing milk chocolate with semi-sweet chocolate creates a balanced sweet flavor without being overwhelming.
Add Crushed Graham Crackers on Top for Texture
A sprinkle of crushed graham crackers on top adds a little crunch and makes the bars look extra inviting.
It also gives each bite more of that classic s’mores flavor.
For even more texture, you can combine the crumbs with chopped chocolate or mini marshmallows before sprinkling them on top.
Small finishing touches like this make the dessert feel homemade, fun, and packed with flavor.
Fun Variations
- Peanut Butter S’mores Bars — Stir ½ cup of creamy peanut butter into the melted chocolate mixture for a rich and nutty twist.
- Cookies & Cream Version — Mix crushed chocolate sandwich cookies into the chocolate and marshmallow layers for extra crunch and cookies-and-cream flavor.
- Salted Caramel S’mores Bars — Drizzle caramel sauce over the top and finish with flaky sea salt for a sweet and salty dessert.
- Dark Chocolate S’mores Bars — Replace the milk chocolate chips with dark chocolate for a deeper and less sweet flavor.
How to Store
Refrigerator
These no-bake s’mores bars store beautifully in the fridge, which makes them perfect for making ahead.
Place the bars in an airtight container once they are fully chilled and sliced.
Keeping them covered helps prevent the marshmallow layer from drying out and keeps the bars tasting fresh.
You can also place parchment paper between layers if you are stacking the bars to stop them from sticking together.
Store the bars in the refrigerator for up to 5 days.
The chilled texture keeps the chocolate firm and the layers easy to bite into.
If the bars become too firm straight from the fridge, let them sit at room temperature for a few minutes before serving.
Freezer
These bars also freeze surprisingly well, which is great if you want to save extras for later.
Wrap each bar individually in plastic wrap or parchment paper before placing them into a freezer-safe container or zip-top bag.
Wrapping them separately makes it easier to grab one or two whenever you want a quick dessert.
Freeze the bars for up to 2 months for the best flavor and texture.
When you are ready to enjoy them, let the bars thaw in the refrigerator or sit at room temperature for about 15 to 20 minutes.
The layers stay deliciously soft and chocolatey even after freezing, making this an easy treat to keep on hand for cravings or last-minute guests.
What to Serve With S’mores Bars
- Iced coffee — The cool, bold coffee flavor balances the sweetness of the chocolate and marshmallow layers perfectly.
- Hot chocolate — A cozy drink that pairs beautifully with the rich graham cracker and chocolate flavors.
- Vanilla milkshakes — Creamy vanilla milkshakes make these bars feel even more fun and dessert-like.
- Summer party dessert platters — Add the bars to a tray with cookies, fruit, and brownies for an easy crowd-pleasing dessert spread.
Final Thoughts
These easy no-bake s’mores bars are the perfect dessert when you want something simple, chocolatey, and fun to make.
With their crunchy graham cracker crust, rich chocolate filling, and gooey marshmallow topping, every bite tastes like a classic summer treat.
The best part is how easy they are to customize.
Try your favorite toppings, mix-ins, or chocolate combinations to make them your own.
FAQs
Do no-bake s’mores bars need to stay refrigerated?
Yes, keeping them refrigerated helps the bars stay firm and keeps the layers from becoming too soft.
Can I use marshmallows instead of marshmallow fluff?
Yes, you can use regular marshmallows, but marshmallow fluff gives the bars a smoother and creamier layer.
Can I make these ahead of time?
Absolutely. These bars are great for making a day in advance since they need time to chill and set.
Can I use different chocolates?
Yes, milk chocolate, semi-sweet chocolate, and dark chocolate all work well in this recipe.
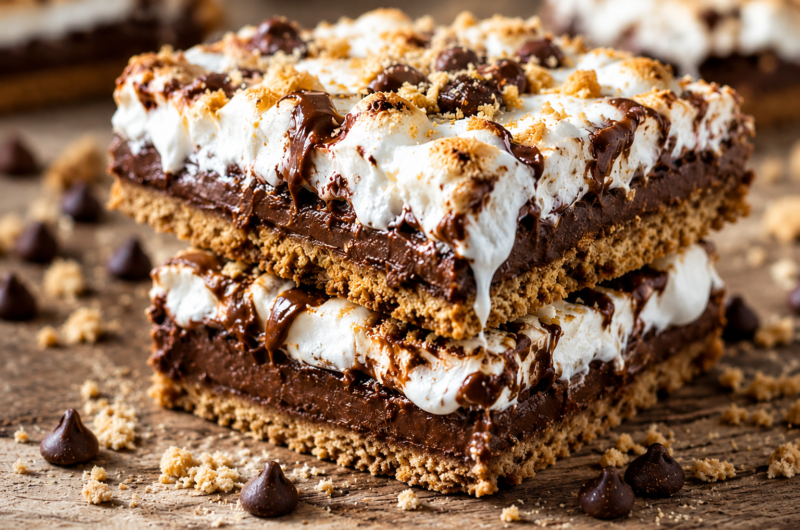
Gooey No-Bake S’mores Dessert Bars Everyone Loves
Difficulty: Easy12
Bars15
minutes5
minutes2
hours20
minutesThese easy no-bake s’mores bars are layered with buttery graham crackers, rich chocolate, and gooey marshmallow for the perfect quick dessert.
Ingredients
2 cups graham cracker crumbs
½ cup melted butter
¼ cup brown sugar
1 cup milk chocolate chips
1 cup semi-sweet chocolate chips
1 can (14 ounces) sweetened condensed milk
1 cup marshmallow fluff
2 cups mini marshmallows
Directions
- Line an 8×8-inch pan with parchment paper.
- Mix graham cracker crumbs, melted butter, and brown sugar until combined, then press into the pan.
- Melt the chocolate chips and sweetened condensed milk together until smooth.
- Spread the chocolate mixture over the crust.
- Spread marshmallow fluff on top and sprinkle with mini marshmallows.
- Refrigerate for 2 to 3 hours until firm, then slice into bars and serve.
Notes
- Chill fully before slicing for cleaner bars.
- Lightly grease the knife to prevent sticking.
- Add crushed graham crackers or extra chocolate drizzle on top for extra flavor and texture.

Hi, I’m Sorenna Blythe, the baker and writer behind Mix Whisk Bake. I share simple, reliable recipes and honest kitchen moments to help home bakers bake with confidence and joy. When I’m not testing new treats, you’ll find me sipping coffee and dreaming up my next bake.