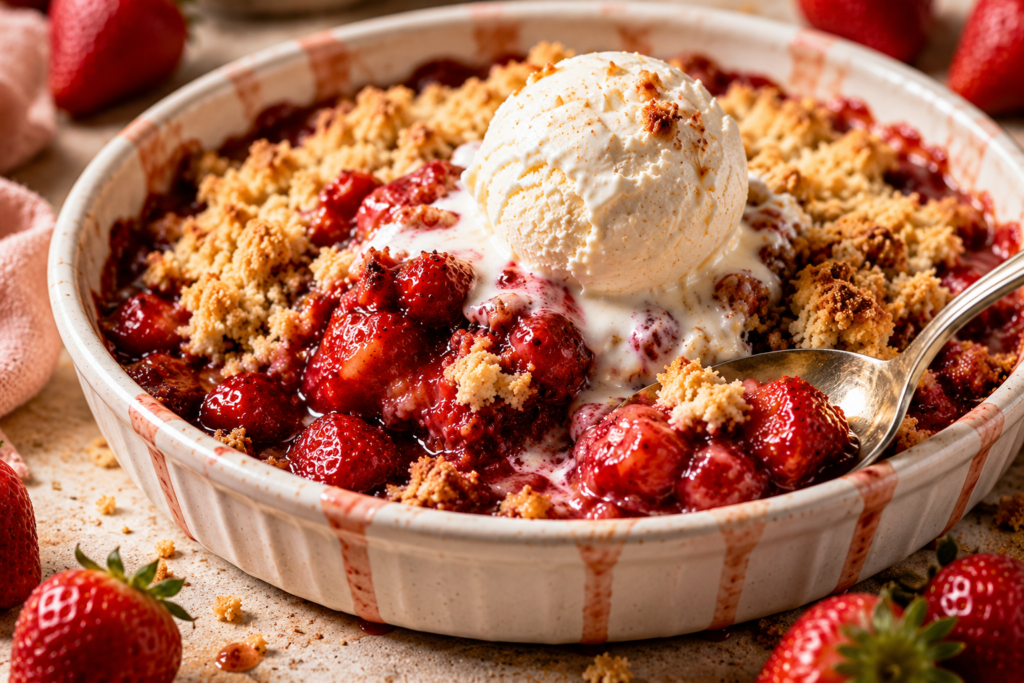
There’s something so comforting about a warm strawberry crumble fresh from the oven.
The sweet, juicy strawberries paired with a buttery golden topping make this dessert simple, cozy, and hard to resist.
This easy baked strawberry crumble is perfect for summer gatherings, casual family dinners, or those nights when you want a homemade dessert without a lot of work.
You only need a few basic ingredients, and the recipe comes together quickly, even if you’re new to baking.
Serve it warm with a scoop of vanilla ice cream or a spoonful of whipped cream for the perfect finishing touch.
Every bite is soft, crisp, fruity, and full of fresh strawberry flavor.
Why You’ll Love This Easy Strawberry Crumble
- Quick and beginner-friendly — This recipe comes together with simple steps that are easy to follow, even for first-time bakers.
- Made with simple pantry ingredients — You only need a handful of everyday ingredients you may already have at home.
- Perfect balance of sweet and tart flavors — The juicy strawberries and buttery crumble topping create a delicious mix of bright and cozy flavors.
- Great for fresh or frozen strawberries — You can enjoy this dessert year-round using whichever strawberries you have on hand.
- Easy make-ahead dessert option — Prep it in advance and bake when you’re ready for a warm homemade treat.
What Is Strawberry Crumble?
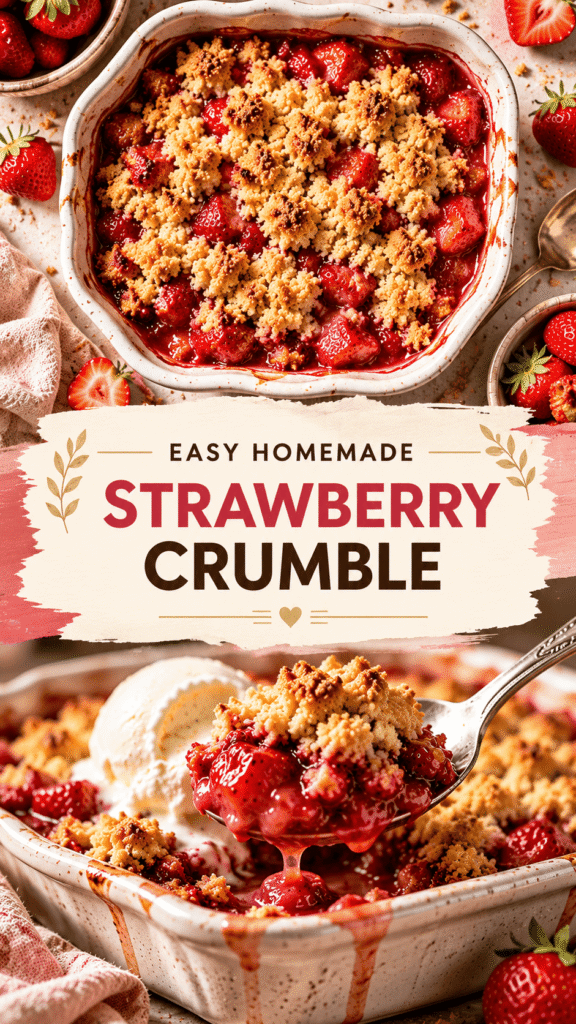
Strawberry crumble is a simple baked dessert made with a layer of sweet strawberries topped with a buttery mixture of flour, sugar, and butter that turns golden and crisp in the oven.
It is often confused with crisps and cobblers because they are all fruit-based desserts, but each one has a slightly different topping and texture.
A crumble usually has a soft, crumbly topping without much oats, while a crisp often includes oats for extra crunch, and a cobbler is topped with biscuit dough or a cake-like batter instead of crumbs.
The filling in a strawberry crumble becomes warm, juicy, and slightly jammy as it bakes, which pairs perfectly with the crisp buttery topping on top.
The flavor is sweet, fresh, and comforting, with the strawberries bringing a bright fruity taste that balances beautifully with the rich crumble mixture.
One of the best things about a crumble is how forgiving it is, especially for beginner bakers who want an easy dessert that still tastes homemade and impressive.
You do not need special baking skills, fancy equipment, or perfect measurements to make a good crumble, which makes it a great recipe to keep on hand for busy days.
Most crumble recipes also use simple ingredients that are easy to find, and you can swap fruits or adjust the sweetness based on what you like.
Because the topping is meant to look rustic and crumbly, there is no pressure to make it look perfect, which makes baking this dessert feel relaxed and enjoyable.
It is the kind of cozy dessert that feels just as right for a casual weeknight treat as it does for sharing at family dinners, summer parties, or holiday gatherings.
Ingredients You’ll Need
For the Strawberry Filling
- 5 cups fresh strawberries, sliced — Fresh strawberries give the crumble a juicy, naturally sweet flavor.
- 1/3 cup granulated sugar — Helps sweeten the berries and create a syrupy filling.
- 1 tablespoon lemon juice — Brightens the flavor and balances the sweetness.
- 2 tablespoons cornstarch — Thickens the strawberry juices as the crumble bakes.
- 1 teaspoon vanilla extract — Adds warm, smooth flavor to the filling.
For the Crumble Topping
- 1 cup all-purpose flour — Forms the base of the buttery crumble topping.
- 1/2 cup brown sugar — Adds sweetness and a rich caramel-like flavor.
- 1/2 cup rolled oats — Gives the topping extra texture and crunch.
- 1/2 cup unsalted butter, cold and cubed — Creates a crisp, golden crumble when baked.
- 1 teaspoon ground cinnamon — Adds warmth and cozy flavor.
- 1/4 teaspoon salt — Balances the sweetness and enhances the overall flavor.
Best Strawberries for Crumble
Fresh vs Frozen Strawberries
Fresh strawberries are usually the best choice when they are in season because they have the brightest flavor and the best texture once baked.
Ripe fresh berries become soft and juicy in the oven while still holding a little shape, which gives the crumble a delicious homemade texture.
Frozen strawberries also work very well, especially when fresh berries are expensive or out of season.
They are a great option for quick baking because they are already cleaned and ready to use straight from the freezer.
If you use frozen strawberries, do not thaw them first because extra liquid can make the filling too watery during baking.
You may also want to add an extra teaspoon of cornstarch to help thicken the filling as the fruit bakes.
Both fresh and frozen strawberries can make a delicious crumble, so use whichever option is easier and more convenient for you.
How to Pick Ripe Strawberries
Look for strawberries that are bright red with fresh green tops and a sweet smell.
Good strawberries should feel firm but not hard, with no soft spots or mushy areas.
Smaller strawberries often have more flavor than very large ones, although both can work well in this recipe.
Avoid berries that look dull, pale, or overly wet in the container because they may spoil quickly.
If possible, taste one before baking since naturally sweet strawberries will give your crumble the best flavor.
Sweeter berries may also let you reduce the sugar slightly if you prefer desserts that are less sweet.
Tips for Washing and Prepping Berries
Wash strawberries just before using them to help keep them fresh and firm.
Rinse them gently under cold water instead of soaking them because strawberries absorb water very easily.
After washing, dry the berries well with a clean towel or paper towels so the filling does not become too watery.
Remove the green tops with a small knife or strawberry huller, then slice the berries into even pieces for consistent baking.
If your strawberries are very large, cut them into smaller chunks so they soften evenly in the oven.
Taking a few extra minutes to prep the berries properly makes a big difference in the final texture and flavor of the crumble.
Kitchen Tools Needed
- Mixing bowls — Used for preparing both the strawberry filling and crumble topping separately.
- Baking dish — Holds the crumble while it bakes and helps the filling cook evenly.
- Measuring cups and spoons — Helps you measure ingredients accurately for the best texture and flavor.
- Pastry cutter or fork — Used to mix the cold butter into the crumble topping until crumbly.
How to Make Easy Baked Strawberry Crumble
Step 1: Prepare the Strawberries
Start by preheating your oven to 350°F so it is fully heated when the crumble is ready to bake.
Wash the strawberries under cold water, dry them well, and remove the green tops before slicing them into even pieces.
Cutting the strawberries into similar sizes helps them cook evenly and gives the filling a better texture.
If your strawberries are very large, chop them into smaller chunks so every bite feels balanced with the crumble topping.
Place the sliced strawberries into a large mixing bowl and set them aside while you prepare the filling ingredients.
Step 2: Mix the Filling Ingredients
Add the sugar, lemon juice, cornstarch, and vanilla extract to the bowl of strawberries.
Gently stir everything together until the strawberries are evenly coated and the cornstarch is fully mixed in.
The sugar helps the berries release their juices while baking, and the cornstarch thickens the filling so it becomes rich and syrupy instead of watery.
The lemon juice brightens the flavor and keeps the dessert from tasting overly sweet.
Let the strawberry mixture sit for a few minutes while you make the topping so the flavors can blend together.
Step 3: Make the Crumble Topping
In a separate bowl, combine the flour, brown sugar, rolled oats, cinnamon, and salt.
Add the cold cubed butter and use a pastry cutter or fork to work it into the dry ingredients.
Keep mixing until the topping looks crumbly with small buttery pieces throughout the mixture.
Using cold butter is important because it helps create that crisp golden topping once baked.
Do not worry about making the topping look perfect since a slightly uneven texture gives the crumble its homemade feel.
Step 4: Assemble the Crumble
Lightly grease your baking dish to help prevent sticking and make serving easier later.
Spread the strawberry filling evenly across the bottom of the dish so every spoonful gets plenty of fruit.
Sprinkle the crumble topping evenly over the strawberries without pressing it down too firmly.
Keeping the topping loose and crumbly helps it bake into a crisp texture instead of becoming dense.
Make sure the strawberries are mostly covered so the topping bakes evenly across the surface.
Step 5: Bake Until Golden and Bubbly
Place the baking dish into the preheated oven and bake for about 35 to 40 minutes.
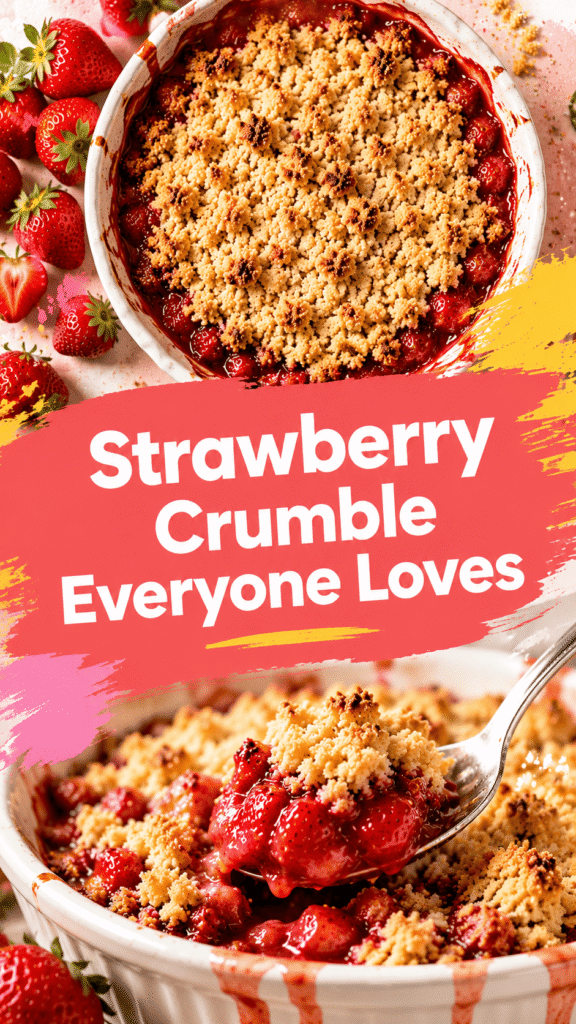
You will know the crumble is ready when the topping turns golden brown, and the strawberry filling is bubbling around the edges.
The bubbling filling is a good sign that the fruit has softened and thickened properly.
If the topping starts browning too quickly, loosely cover the dish with foil for the last few minutes of baking.
Your kitchen will smell warm, buttery, and full of sweet strawberry flavor as the crumble finishes baking.
Step 6: Cool Slightly Before Serving
Remove the crumble from the oven and let it cool for about 10 to 15 minutes before serving.
This short cooling time helps the filling set slightly so it is easier to scoop and serve.
The crumble is delicious on its own, but it becomes even better with a scoop of vanilla ice cream or fresh whipped cream on top.
Serve it warm while the topping is still crisp and the strawberries are soft and juicy.
Do not worry if the filling looks a little messy when scooped because that cozy homemade texture is part of what makes strawberry crumble so comforting and irresistible.
Tips for the Best Strawberry Crumble
Don’t Skip the Cornstarch
Cornstarch plays an important role in helping the strawberry filling thicken as it bakes.
Without it, the strawberries can release too much juice and leave the crumble watery at the bottom of the dish.
Even a small amount makes a big difference by turning the fruit juices into a smooth, syrupy filling that coats the berries beautifully.
If you are using frozen strawberries, adding a little extra cornstarch can help absorb the additional moisture they release while baking.
Make sure the cornstarch is mixed evenly with the strawberries so you do not end up with powdery spots in the filling.
Use Cold Butter for the Topping
Cold butter is one of the secrets to getting a crisp, crumbly topping instead of a soft or greasy one.
As the cold butter melts in the oven, it creates little pockets throughout the topping that turn golden and crunchy while baking.
If the butter becomes too warm before baking, the topping may spread too much and lose its crumbly texture.
Cut the butter into small cubes straight from the refrigerator to make it easier to mix into the dry ingredients.
You want the crumble mixture to look slightly uneven with small buttery crumbs rather than perfectly smooth dough.
Avoid Overmixing the Crumble
When making the topping, mix just until the ingredients come together into crumbs.
Overmixing can break the butter down too much and create a dense topping instead of a light crisp texture.
A rustic crumble is supposed to look slightly messy, so there is no need to make every crumb perfectly even.
Some larger crumbs mixed with smaller ones actually create a better texture once baked.
Keeping the topping light and crumbly helps every bite feel buttery, crisp, and full of texture.
Bake Until Bubbling Around the Edges
One of the easiest ways to know your strawberry crumble is fully baked is by checking the edges of the dish.
The filling should be bubbling around the sides while the topping looks golden brown and crisp on top.
If the crumble comes out too early, the filling may still be thin and runny in the center.
Allowing the fruit to fully bubble gives the cornstarch enough time to thicken the juices properly.
The bubbling strawberry filling combined with the golden topping is what gives this dessert its warm, cozy texture and rich homemade flavor.
Delicious Variations
- Strawberry blueberry crumble — Add fresh or frozen blueberries for extra sweetness and a deeper berry flavor.
- Strawberry rhubarb crumble — Mix in chopped rhubarb for a delicious sweet and tart combination.
- Gluten-free strawberry crumble — Use a gluten-free flour blend and certified gluten-free oats for an easy gluten-free version.
- Vegan strawberry crumble — Replace the butter with vegan butter or coconut oil to make the recipe completely dairy-free.
- Add chopped nuts for crunch — Stir chopped pecans, walnuts, or almonds into the topping for extra texture and flavor.
What to Serve with Strawberry Crumble
- Vanilla ice cream — The cold creamy texture melts into the warm crumble for a classic dessert pairing.
- Fresh whipped cream — Adds a light, fluffy finish that balances the rich buttery topping.
- Greek yogurt — A spoonful of Greek yogurt gives the dessert a creamy texture with a slightly tangy flavor.
- Caramel drizzle — A little caramel sauce adds extra sweetness and a rich buttery flavor that pairs beautifully with strawberries.
How to Store Leftovers
Refrigerator Storage Tips
Once the strawberry crumble has cooled completely, cover the baking dish tightly with plastic wrap, foil, or a fitted lid before placing it in the refrigerator.
Storing the crumble after it has cooled helps prevent extra moisture from building up and keeps the topping from becoming too soft too quickly.
The crumble will stay fresh in the refrigerator for about 3 to 4 days while still keeping its delicious flavor.
If you prefer, you can also transfer leftovers into smaller airtight containers for quick and easy servings later.
Keep in mind that the topping will naturally soften a little in the fridge because of the moisture from the strawberries, but it will still taste wonderful.
Can You Freeze Strawberry Crumble?
Strawberry crumble freezes very well, which makes it a great make-ahead dessert for busy days or special occasions.
You can freeze the crumble either before or after baking, depending on what works best for you.
If freezing before baking, assemble the crumble in a freezer-safe dish and wrap it tightly to protect it from freezer burn.
When you are ready to bake, place it straight into the oven from frozen and simply add a little extra baking time.
If freezing after baking, allow the crumble to cool completely before wrapping it tightly or transferring it to airtight containers.
Frozen strawberry crumble is best enjoyed within about 2 to 3 months for the best flavor and texture.
Labeling the container with the date can be helpful so you remember when it was made.
Best Way to Reheat
For the best texture, reheat the strawberry crumble in the oven instead of the microwave whenever possible.
Place the crumble in a 350°F oven for about 15 to 20 minutes or until warmed through and bubbling slightly again.
Reheating in the oven helps bring back some of the crispness in the topping while keeping the filling warm and juicy.
If you are only reheating a small portion, the microwave works too and takes just a minute or two.
The topping may be softer when microwaved, but the crumble will still taste warm, comforting, and delicious.
Adding a fresh scoop of vanilla ice cream after reheating makes leftovers feel just as special as the first serving.
Common Mistakes to Avoid
- Watery filling — Skipping the cornstarch or using overly juicy strawberries can leave the filling too thin after baking.
- Burnt topping — Baking too long or placing the crumble too close to the top heating element can cause the topping to brown too quickly.
- Using overly sweet strawberries — Very sweet strawberries can make the dessert taste overly sugary and less balanced.
- Overbaking the crumble — Leaving the crumble in the oven too long can dry out the filling and make the topping too hard.
Final Thoughts
This easy baked strawberry crumble is the kind of dessert that feels comforting, simple, and always satisfying.
With its juicy strawberry filling and buttery crisp topping, it is a recipe that is easy enough for beginners but delicious enough to share with family and friends.
You can easily make it your own by trying different fruits, adding nuts, or serving it with your favorite toppings.
Little changes can create a completely new dessert while keeping the same cozy homemade feel.
If you enjoyed this recipe, save it for later and share it with someone who loves easy homemade desserts just as much as you do.
FAQs
Can I use frozen strawberries?
Yes, frozen strawberries work well in this recipe. Use them straight from the freezer and add a little extra cornstarch if needed.
How do I keep the crumble topping crunchy?
Use cold butter and avoid covering the crumble while it is still warm, which can trap steam and soften the topping.
Can I make strawberry crumble ahead of time?
Yes, you can assemble the crumble ahead of time and store it in the refrigerator until ready to bake.
What size baking dish works best?
An 8×8-inch or 9×9-inch baking dish works well for this recipe and helps the crumble bake evenly.
Can I reduce the sugar?
Yes, you can reduce the sugar slightly if your strawberries are naturally sweet or if you prefer a less sweet dessert.
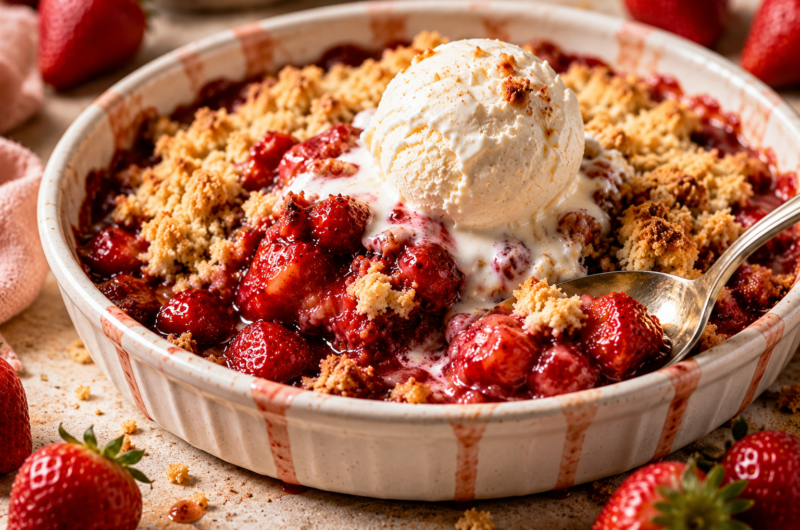
Easy Baked Strawberry Crumble You’ll Want All Summer Long
Difficulty: Easy6
servings15
minutes35
minutes50
minutesA warm and buttery strawberry crumble made with juicy strawberries and a crisp golden topping. Perfect for an easy homemade dessert.
Ingredients
5 cups fresh strawberries, sliced
1/3 cup granulated sugar
1 tablespoon lemon juice
2 tablespoons cornstarch
1 teaspoon vanilla extract
1 cup all-purpose flour
1/2 cup brown sugar
1/2 cup rolled oats
1/2 cup unsalted butter, cold and cubed
1 teaspoon ground cinnamon
1/4 teaspoon salt
Directions
- Preheat oven to 350°F and lightly grease a baking dish.
- Mix strawberries, sugar, lemon juice, cornstarch, and vanilla in a bowl. Spread into the baking dish.
- In another bowl, combine flour, brown sugar, oats, cinnamon, and salt. Cut in cold butter until crumbly.
- Sprinkle the crumble topping evenly over the strawberries.
- Bake for 35–40 minutes until golden and bubbling around the edges.
- Let cool slightly before serving with ice cream or whipped cream if desired.
Notes
- Use frozen strawberries if needed, but add a little extra cornstarch.
- Cold butter helps create a crisp topping.
- Store leftovers covered in the refrigerator for up to 4 days.

Hi, I’m Sorenna Blythe, the baker and writer behind Mix Whisk Bake. I share simple, reliable recipes and honest kitchen moments to help home bakers bake with confidence and joy. When I’m not testing new treats, you’ll find me sipping coffee and dreaming up my next bake.


