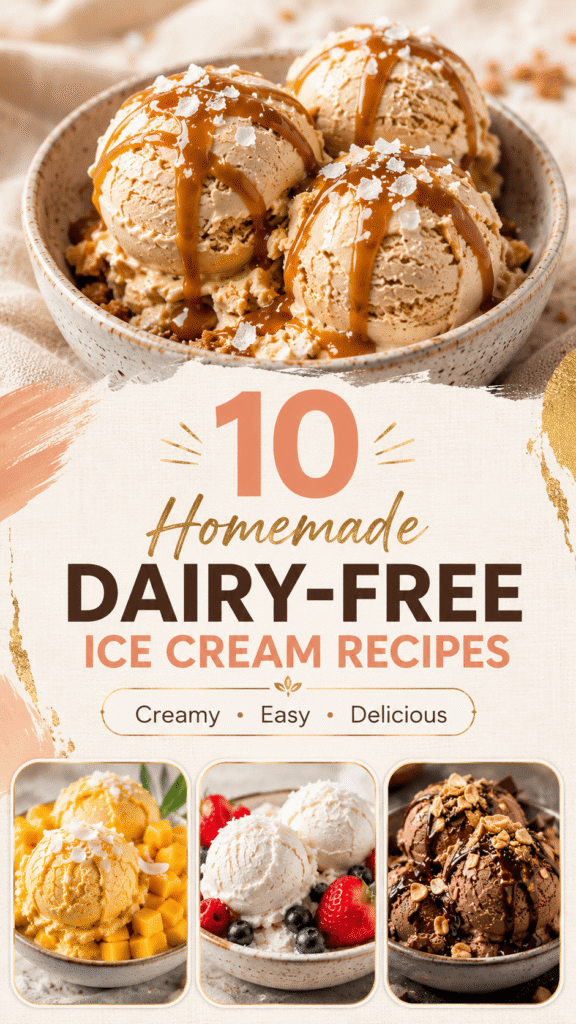
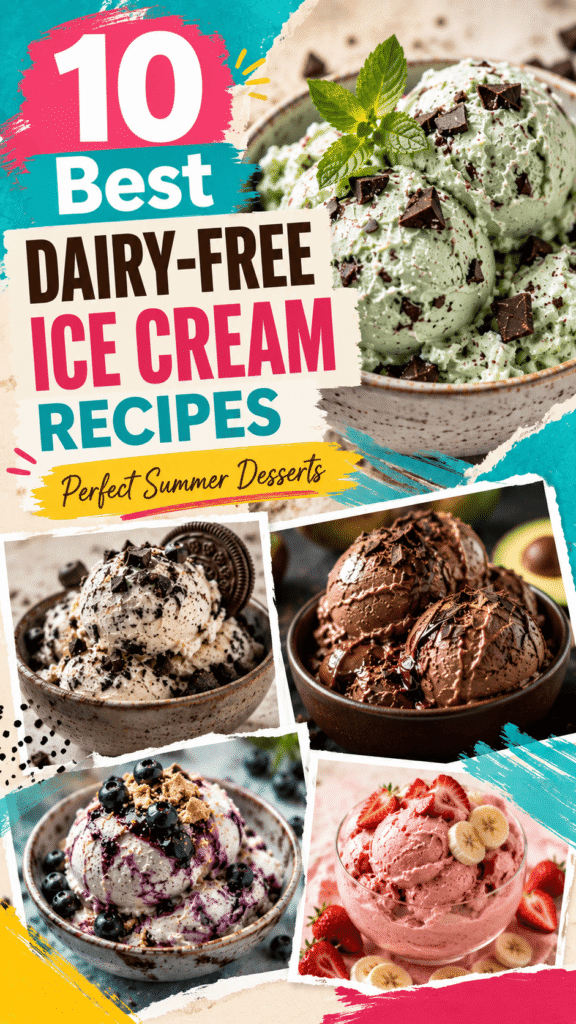
There’s nothing better than a cold, creamy scoop of ice cream on a hot day — and you don’t need dairy to make it delicious.
These homemade dairy-free ice cream recipes are smooth, flavorful, and surprisingly easy to make right in your own kitchen.
Many of these recipes use simple ingredients like coconut milk, bananas, oats, and nuts to create rich textures without any complicated steps.
Even if you’ve never made homemade ice cream before, don’t worry.
These recipes are beginner-friendly, fun to make, and perfect for sharing all summer long.
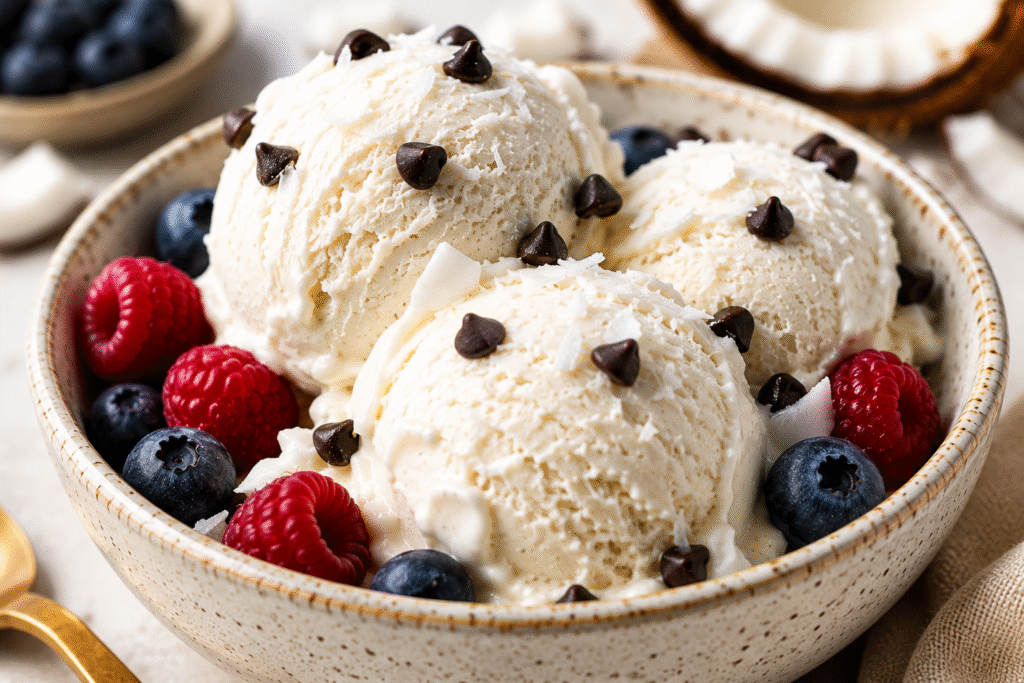
1. Creamy Vanilla Coconut Ice Cream
Why You’ll Love It
This dairy-free vanilla ice cream is rich, creamy, and incredibly easy to make.
The coconut milk gives it a smooth texture, while the vanilla adds that classic ice cream flavor everyone loves.
It’s also a perfect base recipe for adding your favorite toppings and mix-ins.
Ingredients
- 2 cans (13.5 oz each) full-fat coconut milk
- 1/2 cup maple syrup
- 2 teaspoons vanilla extract
- 1/8 teaspoon salt
Optional Add-Ins
- 1/4 cup dairy-free chocolate chips
- 1/4 cup crushed dairy-free cookies
- Fresh berries for serving
Instructions
Step 1: Mix the Base
Add the coconut milk, maple syrup, vanilla extract, and salt to a large bowl. Whisk until smooth and fully combined.
Step 2: Chill the Mixture
Cover the bowl and place it in the refrigerator for at least 1 hour. This helps create a creamier texture once frozen.
Step 3: Churn
Pour the chilled mixture into an ice cream maker and churn according to the manufacturer’s instructions, usually about 20–25 minutes.
Step 4: Add Mix-Ins
If using chocolate chips or crushed cookies, fold them in during the last few minutes of churning.
Step 5: Freeze
Transfer the ice cream to a freezer-safe container. Freeze for 2–3 hours for firmer scoops.
Helpful Tip
Let the ice cream sit at room temperature for 5–10 minutes before scooping for the creamiest texture.
2. Chocolate Peanut Butter Dairy-Free Ice Cream
Why You’ll Love It
If you love the combination of chocolate and peanut butter, this recipe is hard to beat.
It’s rich, creamy, and tastes like a frozen candy bar straight from the freezer.
Ingredients
- 2 cans (13.5 oz each) full-fat coconut milk
- 1/2 cup creamy peanut butter
- 1/3 cup cocoa powder
- 1/2 cup maple syrup
- 1 teaspoon vanilla extract
- 1/8 teaspoon salt
Optional Toppings
- Melted dairy-free chocolate
- Chopped peanuts
Instructions
Step 1: Blend Everything Together
Add the coconut milk, peanut butter, cocoa powder, maple syrup, vanilla, and salt to a blender. Blend until smooth and creamy.
Step 2: Chill
Place the mixture in the refrigerator for about 1 hour. Chilling the base helps improve the final texture.
Step 3: Churn the Ice Cream
Pour the chilled mixture into your ice cream maker and churn until thick and creamy.
Step 4: Freeze Until Firm
Transfer the ice cream to a freezer-safe container and freeze for 2–4 hours.
Step 5: Serve
Scoop into bowls and drizzle with melted dairy-free chocolate. Sprinkle chopped peanuts on top for extra crunch.
Helpful Tip
For a stronger peanut butter flavor, swirl an extra spoonful of peanut butter into the ice cream before freezing.
3. Strawberry Banana Nice Cream
Why You’ll Love It
This easy nice cream is naturally sweet, fruity, and refreshing.
Since bananas create a creamy texture on their own, you don’t need heavy cream or added sugar to make it delicious.
Ingredients
- 3 frozen bananas, sliced
- 2 cups frozen strawberries
- 2–4 tablespoons almond milk
- 1 teaspoon vanilla extract (optional)
Instructions
Step 1: Blend the Fruit
Add the frozen bananas and strawberries to a food processor or high-speed blender.
Step 2: Add Almond Milk Slowly
Pour in 2 tablespoons of almond milk and blend. Add more only if needed to help everything blend smoothly.
Step 3: Blend Until Creamy
Continue blending until the mixture becomes smooth and soft like soft serve ice cream. Stop occasionally to scrape down the sides if needed.
Step 4: Serve or Freeze
Serve immediately for a soft serve texture, or transfer to a freezer-safe container and freeze for 1–2 hours for firmer scoops.
Helpful Tip
Using very ripe bananas makes the nice cream sweeter and creamier without needing extra sweetener.
Optional Toppings
- Fresh strawberries
- Granola
- Dairy-free chocolate chips
- Sliced bananas
4. Mango Coconut Ice Cream
Why You’ll Love It
This mango coconut ice cream is smooth, tropical, and packed with fresh flavor.
The combination of sweet mango and creamy coconut makes it the perfect dessert for warm days, and it tastes like a mini vacation in every bite.
Ingredients
- 4 cups frozen mango chunks
- 1 can (13.5 oz) full-fat coconut cream
- 1/3 cup maple syrup
- 2 tablespoons lime juice
- 1 teaspoon vanilla extract
- Pinch of salt
Optional Toppings
- Toasted coconut flakes
- Fresh mango cubes
- Lime zest
Instructions
Step 1: Blend the Ingredients
Add the frozen mango, coconut cream, maple syrup, lime juice, vanilla extract, and salt to a high-speed blender or food processor.
Step 2: Blend Until Smooth
Blend until thick and creamy. You may need to stop and scrape down the sides a few times to help everything combine evenly.
Step 3: Taste and Adjust
Taste the mixture and add a little extra lime juice for brightness or more maple syrup if you prefer it sweeter.
Step 4: Freeze
For soft serve texture, serve immediately. For firmer scoops, transfer the mixture to a freezer-safe container and freeze for 2–3 hours.
Step 5: Add Toppings and Serve
Top with toasted coconut flakes and fresh mango cubes before serving for extra texture and flavor.
Helpful Tip
If the mixture feels too thick to blend, add 1–2 tablespoons of coconut milk to help it move more easily without making it icy.
5. Cookies and Cream Dairy-Free Ice Cream
Why You’ll Love It
This dairy-free cookies and cream ice cream is creamy, crunchy, and always a crowd favorite.
The cookie pieces stay crisp while the coconut milk base creates a rich and smooth texture.
Ingredients
- 2 cans (13.5 oz each) full-fat coconut milk
- 1/2 cup maple syrup
- 2 teaspoons vanilla extract
- 1/8 teaspoon salt
- 12 dairy-free sandwich cookies, roughly chopped
Instructions
Step 1: Prepare the Ice Cream Base
In a large bowl, whisk together the coconut milk, maple syrup, vanilla extract, and salt until smooth.
Step 2: Chill the Mixture
Cover and refrigerate the mixture for at least 1 hour. A chilled base helps create creamier ice cream.
Step 3: Churn the Ice Cream
Pour the chilled mixture into your ice cream maker and churn according to the manufacturer’s instructions until thick and creamy.
Step 4: Fold in the Cookies
During the final few minutes of churning, gently fold in the chopped sandwich cookies.
Step 5: Freeze Until Firm
Transfer the ice cream to a freezer-safe container and freeze for 2–3 hours before serving.
Helpful Tip
Adding the cookies at the end keeps them crunchy instead of soft and soggy.
Optional Serving Ideas
- Crushed cookies on top
- Dairy-free whipped cream
- Chocolate drizzle
6. Chocolate Avocado Ice Cream
Why You’ll Love It
This chocolate avocado ice cream is rich, smooth, and surprisingly creamy.
The avocado blends into the mixture beautifully, creating a silky texture while adding healthy fats that make the dessert extra satisfying.
Ingredients
- 2 ripe avocados
- 1 can (13.5 oz) full-fat coconut milk
- 1/3 cup cocoa powder
- 1/2 cup maple syrup
- 2 teaspoons vanilla extract
- Pinch of salt
- 2 tablespoons almond milk, if needed for blending
Instructions
Step 1: Prepare the Avocados
Cut the avocados in half, remove the pits, and scoop the flesh into a blender or food processor.
Step 2: Blend the Ingredients
Add the coconut milk, cocoa powder, maple syrup, vanilla extract, and salt. Blend until completely smooth and creamy.
Step 3: Adjust the Texture
If the mixture is too thick, add 1–2 tablespoons of almond milk and blend again.
Step 4: Chill the Mixture
Place the mixture in the refrigerator for about 30–60 minutes before freezing. This helps improve the texture.
Step 5: Freeze
Transfer the mixture to a freezer-safe container and freeze for 3–4 hours. Stir once halfway through freezing for a smoother consistency.
Step 6: Serve
Let the ice cream sit at room temperature for a few minutes before scooping.
Extra Notes
Avocado gives this ice cream an ultra-creamy texture without needing dairy or heavy cream.
It’s also a great option if you want a dessert that feels rich while still using wholesome ingredients.
Optional Toppings
- Dark chocolate shavings
- Chopped almonds
- Fresh raspberries
- Cocoa nibs
7. Blueberry Cheesecake Dairy-Free Ice Cream
Why You’ll Love It
This blueberry cheesecake dairy-free ice cream is creamy, fruity, and packed with rich cheesecake flavor without using any dairy.
The cashews create a smooth texture, while the blueberries and lemon juice add freshness and a slight tang that tastes just like cheesecake filling.
Ingredients
- 1 cup raw cashews, soaked for at least 4 hours and drained
- 1 can (13.5 oz) coconut cream
- 2 cups fresh or frozen blueberries
- 1/2 cup maple syrup
- 2 tablespoons lemon juice
- 1 teaspoon vanilla extract
- Pinch of salt
Optional Additions
- 1/3 cup crushed dairy-free graham crackers
- Extra blueberry sauce or swirl
Instructions
Step 1: Soak the Cashews
Place the cashews in water and soak for at least 4 hours or overnight. Drain and rinse before using.
Step 2: Blend the Base
Add the soaked cashews, coconut cream, blueberries, maple syrup, lemon juice, vanilla extract, and salt to a high-speed blender.
Step 3: Blend Until Smooth
Blend until the mixture becomes completely creamy and smooth. This may take 1–2 minutes, depending on your blender.
Step 4: Chill the Mixture
Transfer the mixture to the refrigerator and chill for 1 hour for the best texture.
Step 5: Churn the Ice Cream
Pour the chilled mixture into an ice cream maker and churn according to the manufacturer’s instructions.
Step 6: Add the Extras
Fold in crushed graham crackers and swirl in extra blueberry sauce if desired.
Step 7: Freeze Until Firm
Transfer to a freezer-safe container and freeze for 2–3 hours before scooping.
Helpful Tip
If you want an even stronger cheesecake flavor, add 1–2 tablespoons of dairy-free cream cheese to the blender mixture.
8. Mint Chocolate Chip Coconut Ice Cream
Why You’ll Love It
This homemade mint chocolate chip ice cream is cool, creamy, and refreshing with crunchy bits of chocolate in every bite.
The coconut milk creates a rich base while the peppermint gives it that classic minty flavor everyone recognizes.
Ingredients
- 2 cans (13.5 oz each) full-fat coconut milk
- 1/2 cup maple syrup
- 1 teaspoon peppermint extract
- 1 teaspoon vanilla extract
- 1/2 cup mini dairy-free chocolate chips
- Pinch of salt
Optional Additions
- 2–3 drops natural green food coloring
- Extra chocolate chips for topping
Instructions
Step 1: Mix the Base
In a large bowl, whisk together the coconut milk, maple syrup, peppermint extract, vanilla extract, and salt.
Step 2: Chill the Mixture
Cover and refrigerate the mixture for at least 1 hour before churning.
Step 3: Churn the Ice Cream
Pour the chilled mixture into your ice cream maker and churn until thick and creamy.
Step 4: Add the Chocolate Chips
During the last few minutes of churning, add the mini chocolate chips and mix gently.
Step 5: Freeze
Transfer the ice cream to a freezer-safe container and freeze for 2–3 hours for firmer scoops.
Helpful Tip
Mini chocolate chips work best because they spread evenly throughout the ice cream and are easier to bite into when frozen.
Optional Note
If you want the classic mint-chip look, add a few drops of natural green food coloring before churning.
9. Salted Caramel Dairy-Free Ice Cream
Why You’ll Love It
This salted caramel dairy-free ice cream is rich, sweet, and perfectly balanced with a hint of sea salt.
It feels extra special and tastes like something you would order from an ice cream shop.
Ingredients
- 2 cans (13.5 oz each) full-fat coconut milk
- 1 cup soft Medjool dates, pitted
- 1/3 cup coconut sugar
- 2 teaspoons vanilla extract
- 1/2 teaspoon sea salt
- 2 tablespoons almond butter
- 1/4 cup warm water
Optional Toppings
- Extra caramel sauce
- Flaky sea salt
Instructions
Step 1: Soften the Dates
If your dates feel firm, soak them in warm water for 10 minutes to soften.
Step 2: Blend the Mixture
Add the coconut milk, dates, coconut sugar, vanilla extract, sea salt, almond butter, and warm water to a blender.
Step 3: Blend Until Smooth
Blend until completely creamy and smooth with no date pieces remaining.
Step 4: Chill
Refrigerate the mixture for at least 1 hour before churning.
Step 5: Churn the Ice Cream
Pour the chilled mixture into an ice cream maker and churn until thick.
Step 6: Freeze Until Firm
Transfer to a freezer-safe container and freeze for 3–4 hours.
Serving Suggestions
Drizzle extra caramel sauce over each scoop and sprinkle flaky sea salt on top for even more flavor.
Helpful Tip
A pinch of extra salt added just before serving makes the caramel flavor taste even richer.
10. Mocha Almond Fudge Ice Cream
Why You’ll Love It
This mocha almond fudge ice cream is bold, chocolatey, and perfect for coffee lovers.
The crunchy almonds and rich chocolate flavor make every bite feel indulgent, while the coffee adds a deep roasted flavor.
Ingredients
- 2 cans (13.5 oz each) full-fat coconut milk
- 1/3 cup brewed espresso or strong coffee, cooled
- 1/3 cup cocoa powder
- 1/2 cup maple syrup
- 1 teaspoon vanilla extract
- 1/2 cup roasted almonds, chopped
- Pinch of salt
Optional Extras
- Fudge ribbon
- Dairy-free chocolate chunks
Instructions
Step 1: Mix the Base
In a blender, combine the coconut milk, cooled coffee, cocoa powder, maple syrup, vanilla extract, and salt.
Step 2: Blend Until Smooth
Blend until the cocoa powder is fully mixed in and the texture is silky smooth.
Step 3: Chill the Mixture
Place the mixture in the refrigerator for 1 hour before churning.
Step 4: Churn the Ice Cream
Pour the chilled mixture into your ice cream maker and churn according to the manufacturer’s instructions.
Step 5: Add Almonds and Extras
Fold in the chopped almonds, chocolate chunks, or fudge ribbon during the last few minutes of churning.
Step 6: Freeze
Transfer the ice cream to a freezer-safe container and freeze for 2–4 hours before serving.
Helpful Tip
Toast the almonds in a dry pan for a few minutes before adding them to the ice cream. This brings out more flavor and adds extra crunch.
Tips for Making Dairy-Free Ice Cream
Best Dairy-Free Bases
The base you choose can completely change the texture and flavor of your homemade ice cream.
Some options create a richer and creamier dessert, while others keep things lighter and refreshing.
The good news is that there are plenty of easy dairy-free ingredients that work beautifully.
- Coconut milk creates the creamiest texture and works especially well for rich flavors like chocolate, vanilla, and caramel.
- Cashew cream blends into a silky smooth base with a mild flavor that pairs well with fruit and cheesecake-style recipes.
- Almond milk is lighter and works best when combined with frozen fruit or thicker ingredients.
- Oat milk gives ice cream a soft and creamy texture with a subtle sweetness that tastes great in dessert recipes.
Helpful Freezing Tips
Homemade dairy-free ice cream can freeze a little firmer than store-bought versions, but a few simple tricks make a big difference.
These small tips help keep the texture smooth and scoopable.
- Freeze ice cream in shallow containers so it chills more evenly and is easier to scoop later.
- Let the ice cream sit at room temperature for 5–10 minutes before serving to soften naturally.
- If you are not using an ice cream maker, stir the mixture every 30–45 minutes during freezing to help prevent icy texture and create a creamier consistency.
Recommended Equipment
You do not need a complicated setup to make delicious dairy-free ice cream at home.
A few basic kitchen tools can make the process much easier, especially for beginners.
- High-speed blender for blending frozen fruit, nuts, and creamy ice cream bases
- Ice cream maker (optional) for extra smooth and fluffy texture
- Freezer-safe container with a lid for storing homemade ice cream properly
Final Thoughts
Making dairy-free ice cream at home is easier than most people think, and the flavor options are endless.
From fruity favorites to rich chocolate treats, these recipes make it simple to create something creamy and delicious with ingredients you already love.
Don’t be afraid to mix and match flavors, toppings, and add-ins to make each recipe your own.
Try a new combination, have fun with it, and enjoy every scoop along the way.
FAQs
What is the creamiest dairy-free milk for ice cream?
Coconut milk and cashew cream usually create the richest and creamiest texture for homemade dairy-free ice cream.
Can I make dairy-free ice cream without an ice cream maker?
Yes. Many dairy-free ice cream recipes can be blended and frozen without any special equipment.
How long does homemade dairy-free ice cream last?
Homemade dairy-free ice cream typically lasts about 1–2 weeks in the freezer when stored in an airtight container.
Is dairy-free ice cream healthier?
It can be, depending on the ingredients, sweeteners, and portion sizes used in the recipe.

Hi, I’m Sorenna Blythe, the baker and writer behind Mix Whisk Bake. I share simple, reliable recipes and honest kitchen moments to help home bakers bake with confidence and joy. When I’m not testing new treats, you’ll find me sipping coffee and dreaming up my next bake.