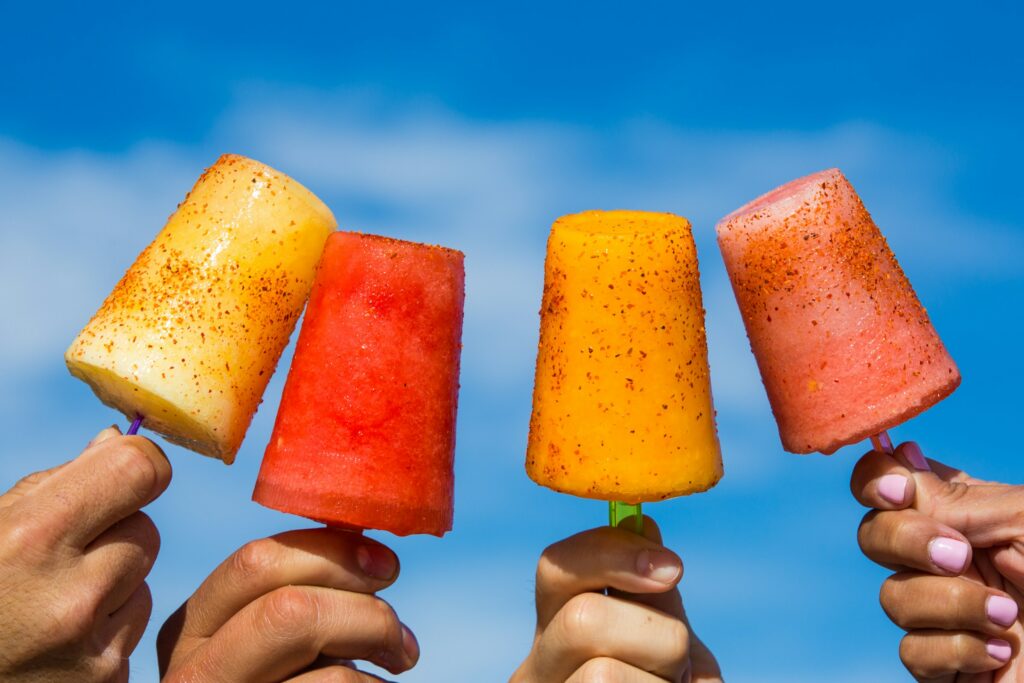
Nothing beats a cold homemade popsicle on a warm day.
They’re easy to make, fun to customize, and perfect when you want a simple dessert without spending hours in the kitchen.
Making popsicles at home is also budget-friendly and a great way to use fresh fruit, yogurt, chocolate, and other everyday ingredients.
You can keep them healthy, make them extra creamy, or mix in your favorite flavors to create something completely your own.
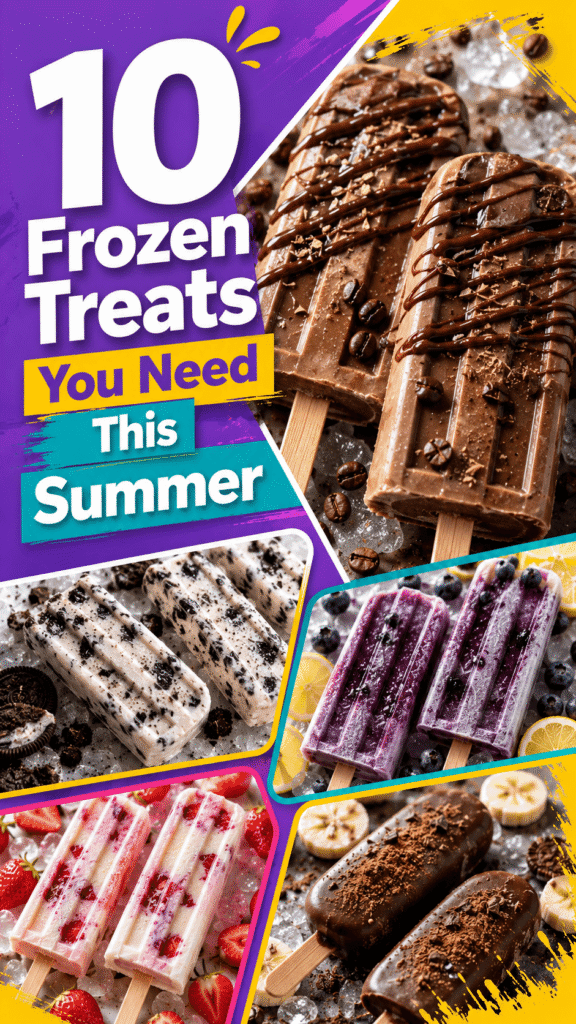
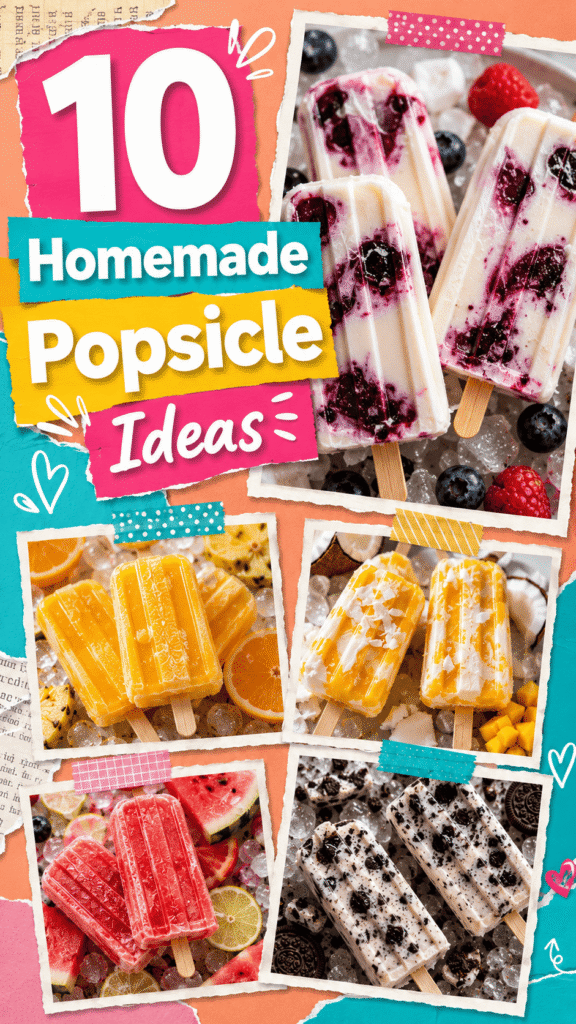
This list includes 10 easy popsicle recipes with fruity, creamy, and chocolatey options everyone will love.
1. Strawberry Yogurt Popsicles
These strawberry yogurt popsicles are creamy, fruity, and incredibly easy to make.
They have a fresh strawberry flavor with just the right amount of sweetness, and the yogurt gives them a smooth texture that feels extra refreshing on hot days.
They’re also a great beginner recipe because everything comes together in just a few minutes.
If you have fresh strawberries and yogurt in the fridge, you’re already halfway there.
Why You’ll Love This Recipe
- Made with simple everyday ingredients
- Naturally creamy without heavy cream
- Easy to customize with different mix-ins
- Great for kids and adults
- Perfect balance of sweet and tangy flavor
Ingredients
- 2 cups fresh strawberries, hulled and sliced
- 1 cup plain or vanilla Greek yogurt
- 3 tablespoons honey or maple syrup
- 1 teaspoon vanilla extract
- 2 tablespoons milk
Step-by-Step Instructions
- Add the strawberries to a blender and blend until mostly smooth. A few small fruit pieces are perfectly fine and add nice texture.
- Add the yogurt, honey, vanilla extract, and milk. Blend again until creamy and fully combined.
- Taste the mixture before freezing. If your strawberries are slightly tart, add another spoonful of honey.
- Pour the mixture into popsicle molds, leaving a little space at the top for expansion as they freeze.
- Insert popsicle sticks and freeze for at least 5 hours, or overnight for the best texture.
- To remove the popsicles easily, run warm water over the outside of the molds for a few seconds.
Optional Add-Ins
These small extras can completely change the flavor and texture in the best way.
Honey
A drizzle of extra honey adds more sweetness and helps create a smoother texture.
Granola
Sprinkle granola into the molds before freezing for a little crunch. It tastes especially good with vanilla yogurt.
Chocolate Chips
Mini chocolate chips turn these into a fun dessert-style popsicle. Add them after blending so they stay whole.
Helpful Tips
- Greek yogurt makes the popsicles creamier and adds extra protein.
- Fresh strawberries give the brightest flavor, but frozen strawberries work too. Let them thaw slightly before blending.
- If the mixture feels too thick, add another tablespoon of milk to help it blend smoothly.
2. Chocolate Banana Popsicles
Chocolate and banana are one of those combinations that always work.
The bananas add natural sweetness and a creamy texture, while the chocolate makes these popsicles taste rich and dessert-like without being too heavy.
These are perfect when you want something cold and chocolatey but still simple to make.
Why This Combo Works
Bananas freeze beautifully and create a soft, creamy texture without needing lots of added ingredients.
When blended with cocoa powder, they turn into a smooth frozen treat that tastes almost like chocolate ice cream on a stick.
The best part is how easy they are. No cooking. No complicated steps. Just blend, pour, and freeze.
Ingredients
- 3 ripe bananas
- 1 ½ cups milk
- 3 tablespoons unsweetened cocoa powder
- 2 tablespoons honey or maple syrup
- 1 teaspoon vanilla extract
- Pinch of salt
Step-by-Step Instructions
- Peel the bananas and slice them into smaller pieces for easier blending.
- Add the bananas, milk, cocoa powder, honey, vanilla extract, and salt to a blender.
- Blend until the mixture is completely smooth and creamy. Scrape down the sides if needed.
- Pour the chocolate banana mixture into popsicle molds evenly.
- Add popsicle sticks and freeze for 5 to 6 hours until fully solid.
- Run the molds under warm water for a few seconds before removing the popsicles.
Tips for Extra Creaminess
- Use very ripe bananas with brown spots for the sweetest flavor.
- Whole milk creates a richer texture, but almond milk or oat milk also works well.
- Adding 2 tablespoons of peanut butter makes these even creamier and gives them a delicious nutty flavor.
- Blend the mixture for an extra 30 seconds to make it ultra smooth.
3. Mango Coconut Popsicles
These mango coconut popsicles taste bright, tropical, and refreshing.
The sweet mango pairs perfectly with creamy coconut milk, creating a smooth frozen treat that feels like summer in every bite.
They’re especially great for warm afternoons because they’re light, fruity, and not overly sweet.
Tropical Flavor Inspiration
Mango and coconut are a classic tropical combination.
The mango brings natural sweetness and vibrant flavor, while the coconut milk adds richness without making the popsicles feel too heavy.
A little lime juice can also brighten everything and make the fruit flavors pop even more.
Ingredients
- 2 cups diced mango (fresh or frozen)
- 1 cup canned coconut milk
- 2 tablespoons honey or maple syrup
- 1 tablespoon lime juice
- 1 teaspoon vanilla extract
Step-by-Step Instructions
- Add the mango, coconut milk, honey, lime juice, and vanilla extract to a blender.
- Blend until smooth and creamy. The mixture should be thick but pourable.
- Taste and adjust the sweetness if needed. Mango sweetness can vary depending on ripeness.
- Pour the mixture into popsicle molds carefully.
- Insert popsicle sticks and freeze overnight for the best texture.
- When ready to serve, run warm water over the molds to release the popsicles easily.
Easy Variations
These simple additions can make the popsicles feel completely new every time you make them.
Pineapple
Add ½ cup pineapple chunks for extra tropical flavor and natural sweetness.
Lime Zest
A little lime zest adds fresh citrus flavor and makes the popsicles taste even brighter.
Toasted Coconut
Sprinkle toasted coconut flakes into the molds before freezing for added texture and flavor.
Helpful Tips
- Canned coconut milk gives the creamiest result. Shake the can well before using.
- Frozen mango works perfectly and saves prep time.
- If you want layered popsicles, blend the mango separately from the coconut milk and layer the mixtures in the molds before freezing.
4. Watermelon Lime Popsicles
These watermelon lime popsicles are cold, juicy, and incredibly refreshing on hot days.
The watermelon keeps them naturally sweet and light, while the lime adds a bright citrus flavor that makes every bite taste fresh.
They’re also one of the easiest popsicles you can make because the ingredient list is short and simple.
If you’ve never made homemade popsicles before, this is a great recipe to start with.
Refreshing Summer Treat
Watermelon has a high water content, which makes these popsicles extra icy and cooling.
A splash of lime juice balances the sweetness and keeps the flavor from tasting flat.
They’re perfect for pool days, summer parties, or a quick afternoon snack straight from the freezer.
Ingredients
- 4 cups seedless watermelon, cubed
- 2 tablespoons fresh lime juice
- 2 tablespoons honey or maple syrup
- 1 teaspoon lime zest (optional)
- Small pinch of salt
Step-by-Step Instructions
- Add the watermelon cubes to a blender and blend until smooth.
- Pour in the lime juice, honey, lime zest, and salt. Blend again for a few seconds until combined.
- Taste the mixture before freezing. If the watermelon isn’t very sweet, add a little more honey.
- Pour the mixture carefully into popsicle molds.
- Insert popsicle sticks and freeze for at least 5 hours, or overnight for the best texture.
- To remove the popsicles easily, run warm water over the outside of the molds for several seconds.
Best Tips for Juicy Flavor
- Use ripe watermelon for the sweetest flavor and brightest color.
- Chill the watermelon before blending so the mixture stays cold and refreshing.
- A tiny pinch of salt helps bring out the fruit flavor without making the popsicles salty.
- Fresh lime juice works much better than bottled juice here and gives the popsicles a fresher taste.
5. Cookies and Cream Popsicles
If you love cookies and cream ice cream, these popsicles are going to disappear quickly.
They’re creamy, crunchy, and filled with cookie pieces in every bite.
The best part is how easy they are to make. There’s no cooking involved, and the mixture comes together in just a few minutes.
Perfect for Oreo Lovers
The crushed chocolate cookies soften slightly as the popsicles freeze, creating that classic cookies and cream texture everyone loves.
The creamy vanilla base keeps them rich without feeling too heavy.
These are especially fun to make with kids because they can help crush the cookies and fill the molds.
Ingredients
- 2 cups heavy cream
- 1 cup milk
- ½ cup sweetened condensed milk
- 1 teaspoon vanilla extract
- 12 chocolate sandwich cookies, crushed
Step-by-Step Instructions
- In a large bowl, whisk together the heavy cream, milk, sweetened condensed milk, and vanilla extract until smooth.
- Crush the cookies into small chunks. Try not to crush them too finely because larger pieces give better texture.
- Fold most of the cookie pieces into the cream mixture, saving a small amount for topping.
- Pour the mixture into popsicle molds evenly.
- Sprinkle the remaining cookie pieces on top of each popsicle mold.
- Insert popsicle sticks and freeze overnight until completely firm.
- Run warm water over the molds for a few seconds before removing the popsicles.
Fun Serving Ideas
- Dip half of each popsicle in melted chocolate for an extra dessert-style treat.
- Sprinkle crushed cookies on top right before serving.
- Drizzle with caramel sauce for extra sweetness.
- Serve them at birthday parties or summer gatherings for an easy frozen dessert everyone recognizes and loves.
Helpful Tips
- Full-fat ingredients create the creamiest texture.
- Don’t overmix the cookies into the base, or they can become too soft.
- If you want cleaner cookie layers, add some crushed cookies halfway through filling the molds instead of mixing everything together.
6. Creamy Peanut Butter Popsicles
These peanut butter popsicles are rich, creamy, and packed with nutty flavor.
They taste a little like frozen peanut butter pie, but they’re simple enough to make anytime you want an easy homemade dessert.
They also freeze beautifully and stay creamy instead of icy, which makes them especially satisfying on warm days.
Rich and Nutty Frozen Dessert
Peanut butter naturally creates a smooth and creamy texture, so these popsicles feel indulgent without needing complicated ingredients.
A little vanilla and honey help balance the peanut butter flavor, while milk keeps everything light enough to blend easily.
Ingredients
- 1 cup creamy peanut butter
- 2 cups milk
- ½ cup Greek yogurt
- ¼ cup honey or maple syrup
- 1 teaspoon vanilla extract
- Pinch of salt
Step-by-Step Instructions
- Add the peanut butter, milk, Greek yogurt, honey, vanilla extract, and salt to a blender.
- Blend until completely smooth and creamy. Make sure the peanut butter is fully mixed in with no lumps remaining.
- Taste the mixture and adjust the sweetness if needed.
- Pour the mixture into popsicle molds evenly.
- Insert popsicle sticks and freeze overnight until fully firm.
- Run warm water over the molds for a few seconds before removing the popsicles.
Optional Chocolate Drizzle
Chocolate and peanut butter always work well together, and a quick drizzle makes these popsicles feel even more special.
Simple Chocolate Drizzle
- ½ cup chocolate chips
- 1 teaspoon coconut oil
- Melt the chocolate chips and coconut oil together in the microwave in short 20-second bursts, stirring between each one.
- Let the melted chocolate cool slightly.
- Drizzle the chocolate over the frozen popsicles just before serving.
- The chocolate will harden quickly against the cold popsicles, creating a crisp shell.
Helpful Tips
- Creamy peanut butter blends more smoothly than natural chunky peanut butter.
- Greek yogurt adds extra creaminess and keeps the texture soft.
- For a sweeter dessert, add mini chocolate chips directly into the popsicle mixture before freezing.
- If the mixture feels too thick, add a splash of milk to help it blend more easily.
7. Pineapple Orange Popsicles
These pineapple orange popsicles are bright, fruity, and packed with refreshing citrus flavor.
They taste light and sunny, making them perfect for warm afternoons or quick summer desserts.
The pineapple adds natural sweetness, while the orange gives the popsicles a fresh and slightly tangy finish.
Together, they create a tropical flavor that feels cheerful and refreshing with every bite.
Bright Citrus Flavor
Fresh citrus helps these popsicles taste clean and vibrant instead of overly sweet.
The pineapple keeps the texture juicy, and the orange juice balances everything beautifully.
They’re also a great option when you want a dairy-free frozen treat that still feels flavorful and satisfying.
Ingredients
- 2 cups pineapple chunks
- 1 cup fresh orange juice
- 2 tablespoons honey or maple syrup
- 1 teaspoon orange zest
- 1 tablespoon lemon juice
- ½ cup cold water
Step-by-Step Instructions
- Add the pineapple chunks, orange juice, honey, orange zest, lemon juice, and water to a blender.
- Blend until completely smooth and juicy.
- Taste the mixture and add more honey if you prefer a sweeter popsicle.
- Pour the mixture evenly into popsicle molds.
- Insert popsicle sticks carefully.
- Freeze for at least 6 hours, or overnight for the best texture.
- Run warm water over the molds for a few seconds before serving.
Make Them Extra Refreshing
- Add a few fresh mint leaves before blending for a cool, fresh flavor.
- Use chilled fruit for an even colder and fresher mixture.
- Add small pineapple chunks into the molds for extra texture.
- A squeeze of extra lemon juice can brighten the citrus flavor even more.
Helpful Tips
- Fresh orange juice gives the best flavor, but store-bought juice works if needed.
- Frozen pineapple is a convenient option and blends well.
- If the mixture feels too thick, add another splash of water before blending again.
8. Coffee Fudge Popsicles
These coffee fudge popsicles are rich, creamy, and perfect for coffee lovers.
They have a smooth chocolate flavor with just enough coffee to make them taste bold and satisfying without being overwhelming.
They feel like a frozen coffeehouse treat but are surprisingly simple to make at home.
Easy Frozen Treat for Coffee Fans
Coffee naturally deepens chocolate flavor, which makes these popsicles taste extra rich and smooth.
The creamy base helps balance the stronger coffee notes so the popsicles stay sweet and enjoyable.
They’re especially good after dinner or during warm afternoons when you want something cold with a little coffee kick.
Ingredients
- 1 ½ cups brewed coffee, cooled
- 1 cup milk
- ½ cup heavy cream
- ¼ cup cocoa powder
- ⅓ cup sweetened condensed milk
- 1 teaspoon vanilla extract
- Pinch of salt
Step-by-Step Instructions
- Brew the coffee and let it cool completely before using.
- In a blender, combine the coffee, milk, heavy cream, cocoa powder, sweetened condensed milk, vanilla extract, and salt.
- Blend until smooth and fully combined.
- Pour the mixture into popsicle molds carefully.
- Insert popsicle sticks and freeze overnight until fully firm.
- To remove the popsicles easily, run warm water over the outside of the molds for several seconds.
Tips for Stronger Coffee Flavor
- Use strong brewed coffee or espresso for a bolder flavor.
- Instant espresso powder can also be added for extra richness.
- Dark cocoa powder creates a deeper chocolate taste.
- Let the mixture chill in the fridge before freezing for smoother popsicles.
Helpful Tips
- Sweetened condensed milk helps keep the texture creamy instead of icy.
- If you prefer sweeter popsicles, add an extra tablespoon of condensed milk.
- For a mocha-style dessert, drizzle melted chocolate over the popsicles before serving.
9. Blueberry Lemon Popsicles
These blueberry lemon popsicles are fruity, bright, and slightly tangy.
The blueberries bring natural sweetness, while the lemon adds a fresh citrus flavor that keeps the popsicles light and refreshing.
They also have a beautiful natural color that makes them look just as good as they taste.
Sweet and Tangy Combination
Blueberries and lemon work wonderfully together because the sweetness of the berries balances the tart citrus flavor perfectly.
These popsicles are especially refreshing straight from the freezer on hot days, and they’re easy to make with either fresh or frozen blueberries.
Ingredients
- 2 cups blueberries
- ¾ cup Greek yogurt
- ¼ cup honey or maple syrup
- 2 tablespoons lemon juice
- 1 teaspoon lemon zest
- ¼ cup milk
Step-by-Step Instructions
- Add the blueberries, Greek yogurt, honey, lemon juice, lemon zest, and milk to a blender.
- Blend until smooth and creamy.
- Taste the mixture and adjust the sweetness if needed.
- Pour the mixture evenly into popsicle molds.
- Insert popsicle sticks and freeze for at least 6 hours.
- Run warm water over the molds briefly before removing the popsicles.
Optional Healthy Swaps
- Use coconut yogurt instead of Greek yogurt for a dairy-free option.
- Replace honey with maple syrup if preferred.
- Add chia seeds for extra texture and fiber.
- Use almond milk or oat milk instead of regular milk.
Helpful Tips
- Frozen blueberries work perfectly and help create a thicker mixture.
- Fresh lemon zest gives the popsicles a brighter flavor than juice alone.
- Blend longer for a smoother texture with no berry skins remaining.
10. Vanilla Berry Swirl Popsicles
These vanilla berry swirl popsicles are creamy, colorful, and beautiful once frozen.
The berry swirls create a marbled look that makes each popsicle feel special without adding extra work.
They taste creamy and fruity at the same time, with sweet vanilla balancing the fresh berry flavor perfectly.
Beautiful Layered Popsicles
The swirls give these popsicles a homemade look that feels fun and elegant at the same time.
Every popsicle turns out slightly different, which makes them even more charming.
They’re great for summer gatherings, birthdays, or anytime you want a frozen dessert that looks impressive but stays simple to make.
Ingredients
Vanilla Layer
- 1 ½ cups vanilla Greek yogurt
- ½ cup milk
- 2 tablespoons honey
Berry Swirl
- 1 cup mixed berries
- 1 tablespoon honey
- 1 teaspoon lemon juice
Step-by-Step Instructions
- In a bowl, mix the vanilla yogurt, milk, and honey until smooth.
- Add the berries, honey, and lemon juice to a blender and blend until mostly smooth.
- Spoon a layer of the vanilla mixture into each popsicle mold.
- Add a spoonful of the berry mixture on top.
- Continue layering both mixtures until the molds are filled.
- Use a skewer or butter knife to gently swirl the mixtures together. Don’t overmix or the colors will blend completely.
- Insert popsicle sticks and freeze overnight until fully firm.
- Run warm water over the molds before removing the popsicles.
Swirling Tips for a Marbled Look
- Swirl gently with small movements instead of stirring heavily.
- Leave some visible streaks for a prettier finished look.
- Thicker berry puree creates more defined swirls.
- Layering slowly helps keep the colors separate.
Helpful Tips
- Mixed berries create the brightest flavor and color.
- Greek yogurt keeps the vanilla layer creamy and smooth.
- If the berry mixture is too thin, simmer it for a few minutes and let it cool before swirling.
Best Tips for Making Homemade Popsicles
Making homemade popsicles is simple, but a few small tricks can make a big difference in texture and flavor.
These tips will help your popsicles turn out smoother, creamier, and easier to remove from the molds.
Even if this is your first time making them, don’t worry.
Once you make a batch or two, the process becomes incredibly easy and fun.
How to Prevent Ice Crystals
Ice crystals usually happen when there’s too much water in the mixture or when the popsicles freeze too slowly.
The good news is that a few simple ingredients can help keep them smoother.
Ingredients like yogurt, coconut milk, heavy cream, or bananas naturally create a creamier texture.
Sweeteners such as honey or maple syrup also help because they slightly soften the frozen mixture.
Try not to add too much plain water unless the recipe needs it.
Fruit already contains a lot of natural liquid, so adding extra water can make popsicles icy instead of smooth.
Blending the mixture really well also helps. A smoother base freezes more evenly and gives the popsicles a better texture.
If possible, freeze the popsicles toward the back of the freezer where temperatures stay colder and more consistent.
Helpful Texture Tips
- Use full-fat dairy for creamier popsicles
- Blend fruit mixtures until smooth
- Avoid overfilling molds
- Freeze popsicles quickly after preparing the mixture
- Add natural sweeteners instead of relying only on water-based ingredients
Best Popsicle Molds to Use
You don’t need fancy equipment to make great popsicles.
Almost any popsicle mold will work, but some are easier to use than others.
Silicone molds are one of the best options because the popsicles release more easily.
They’re flexible, beginner-friendly, and simple to clean.
Plastic molds are also popular and affordable. If you use plastic molds, running warm water over them before removing the popsicles makes a huge difference.
If you don’t have popsicle molds at all, don’t let that stop you. Small paper cups or yogurt containers work surprisingly well.
Simply cover the top with foil, poke a popsicle stick through the center, and freeze.
Good Mold Options
- Silicone popsicle molds
- Reusable BPA-free plastic molds
- Small paper cups
- Mini yogurt containers
- Ice pop freezer bags
How Long to Freeze Popsicles
Most homemade popsicles need at least 5 to 6 hours to freeze properly, but overnight freezing usually gives the best results.
Creamy popsicles often take slightly longer than fruit-based ones because of the thicker ingredients.
Try not to remove them too early. If the center is still soft, the popsicles can break apart while being removed from the molds.
For the firmest texture, freeze them overnight whenever possible. This is especially helpful for layered or swirl-style popsicles.
Quick Freezing Tips
- Keep the freezer door closed as much as possible
- Place molds on a flat surface
- Freeze popsicles uncovered until fully solid
- Make sure the popsicle sticks stay centered while freezing
Easy Ways to Remove Popsicles from Molds
Getting popsicles out of the molds can feel tricky the first time, but it’s actually very simple once you know the method.
The easiest way is to run warm water over the outside of the mold for about 10 to 20 seconds. Avoid using hot water because it can melt the popsicles too quickly.
After warming the mold slightly, gently wiggle the popsicle stick and pull slowly. Don’t force it. If it still feels stuck, run it under warm water for a few more seconds.
Silicone molds usually release the easiest because you can gently squeeze the sides to loosen the popsicle.
Helpful Removal Tips
- Use warm water, not hot water
- Pull slowly instead of twisting hard
- Dry the popsicles lightly before serving if they become wet
- Return popsicles to the freezer immediately if they soften too much
Easy Popsicle Recipe Variations
One of the best things about homemade popsicles is how easy they are to customize.
Once you learn the basic method, you can switch ingredients around to match your taste, dietary needs, or whatever you already have in the kitchen.
Dairy-Free Options
Making dairy-free popsicles is incredibly simple, and they can still turn out creamy and flavorful.
Coconut milk is one of the best substitutes because it adds richness without needing heavy cream or yogurt.
Full-fat canned coconut milk works especially well for creamy popsicles like mango coconut or chocolate banana.
Almond milk and oat milk are also great options. Oat milk creates a smoother texture, while almond milk keeps popsicles lighter and refreshing.
If a recipe uses Greek yogurt, dairy-free yogurt can usually be swapped in without changing the instructions too much.
Easy Dairy-Free Ingredient Swaps
- Coconut milk instead of heavy cream
- Oat milk instead of regular milk
- Dairy-free yogurt instead of Greek yogurt
- Coconut cream for extra richness
- Cashew milk for smooth blended fruit popsicles
Helpful Tip
Fruit naturally adds creaminess when blended well.
Bananas, mangoes, and strawberries are especially good for dairy-free popsicles because they create a soft texture without needing extra ingredients.
Sugar-Free Alternatives
Homemade popsicles are easy to adjust if you want less added sugar.
Ripe fruit already contains natural sweetness, so many recipes taste delicious with little or no extra sweetener.
Bananas, mangoes, pineapple, and watermelon are especially sweet on their own.
If you still want a little extra sweetness, there are plenty of simple options.
Easy Sugar-Free Sweeteners
- Mashed ripe bananas
- Dates blended into the mixture
- Unsweetened applesauce
- Stevia
- Monk fruit sweetener
When using sugar-free sweeteners, start with a small amount and taste the mixture before freezing.
Frozen desserts taste slightly less sweet once fully frozen, so the mixture should taste a little sweeter before it goes into the molds.
Helpful Tip
Adding a squeeze of lemon or lime juice can brighten fruit flavors naturally, helping the popsicles taste sweeter without adding extra sugar.
High-Protein Popsicle Ideas
High-protein popsicles are perfect for quick snacks, post-workout treats, or more filling frozen desserts.
Greek yogurt is one of the easiest ways to add protein while keeping the popsicles creamy.
Peanut butter, protein powder, and cottage cheese can also blend surprisingly well into frozen treats.
Chocolate, coffee, banana, and berry flavors work especially well for protein-packed popsicles because they pair naturally with creamy ingredients.
Simple High-Protein Add-Ins
- Vanilla or chocolate protein powder
- Greek yogurt
- Peanut butter
- Cottage cheese
- Chia seeds
Easy High-Protein Flavor Ideas
- Chocolate peanut butter banana
- Vanilla berry yogurt
- Strawberry cheesecake
- Mocha coffee fudge
- Blueberry vanilla protein popsicles
Helpful Tip
If using protein powder, blend it thoroughly to avoid a grainy texture.
Adding a banana or yogurt can also help keep the popsicles smooth and creamy.
Kid-Friendly Flavor Combos
Kids usually love bright colors, creamy textures, and familiar flavors.
Homemade popsicles are a fun way to let them help in the kitchen while creating treats they’ll actually get excited about.
Simple combinations often work best.
Fruit and chocolate flavors are always popular, and colorful layered popsicles make snack time feel extra fun.
Easy Kid-Friendly Popsicle Ideas
- Strawberry banana
- Cookies and cream
- Watermelon lime
- Chocolate banana
- Vanilla berry swirl
- Pineapple orange
- Peanut butter chocolate chip
Adding small fruit pieces, sprinkles, mini chocolate chips, or crushed cookies can make homemade popsicles even more exciting for kids.
Helpful Tip
If you’re making popsicles for younger children, smaller molds are often easier to hold and less messy to eat.
Homemade popsicles are meant to be fun and flexible.
Once you find a few favorite combinations, you can keep mixing flavors and creating new recipes all summer long.
Final Thoughts
Homemade popsicles are one of the easiest and most fun treats you can make at home.
From fruity watermelon lime popsicles to creamy cookies and cream flavors, there’s something here for every craving and every season.
Don’t be afraid to mix flavors, try new ingredients, or create your own combinations.
Some of the best popsicles come from simple experiments in the kitchen.
FAQs
How long do homemade popsicles last?
Homemade popsicles usually stay fresh in the freezer for about 2 to 3 weeks. For the best flavor and texture, keep them in an airtight container or tightly covered molds.
Can I make popsicles without molds?
Yes. Small paper cups, yogurt containers, or even ice cube trays work well. Cover the top with foil and place a popsicle stick through the center before freezing.
What ingredients make popsicles creamy?
Ingredients like Greek yogurt, coconut milk, heavy cream, bananas, and peanut butter help create a smoother and creamier texture.
Can I use frozen fruit?
Absolutely. Frozen fruit works very well in popsicle recipes and is often more convenient. Let it thaw slightly before blending for a smoother mixture.
How do I keep popsicles from sticking?
Run warm water over the outside of the molds for a few seconds before removing the popsicles. Silicone molds also make removal much easier.

Hi, I’m Sorenna Blythe, the baker and writer behind Mix Whisk Bake. I share simple, reliable recipes and honest kitchen moments to help home bakers bake with confidence and joy. When I’m not testing new treats, you’ll find me sipping coffee and dreaming up my next bake.