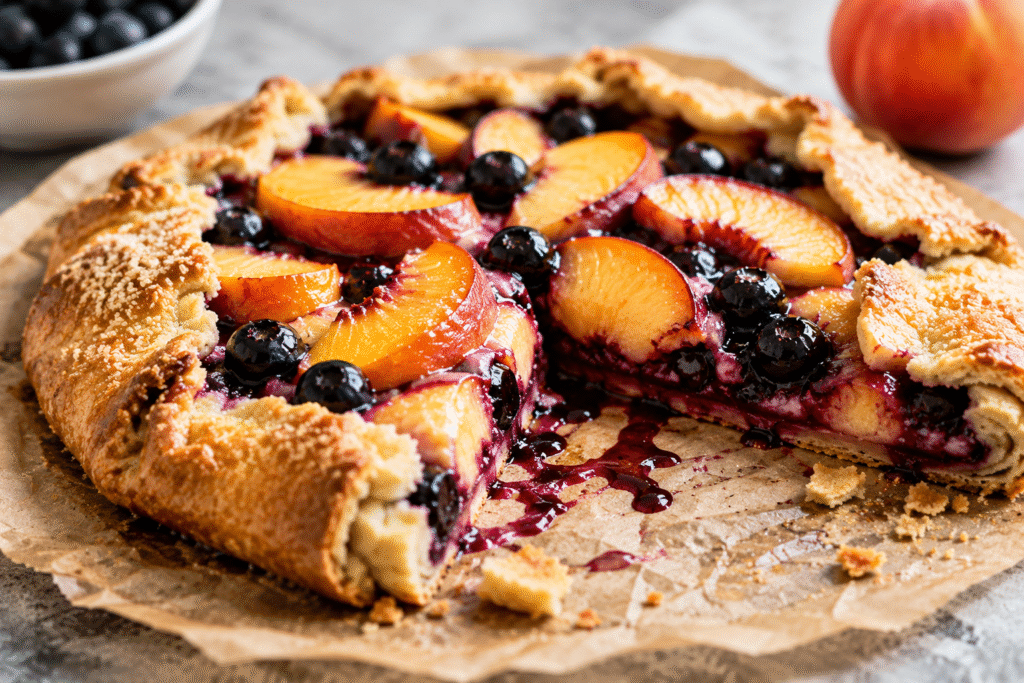
There’s something special about a rustic fruit galette.
It has all the cozy flavor of a homemade pie, but with far less effort.
A galette is simply a freeform pastry filled with fruit, folded by hand, and baked until golden and bubbly.
No perfect edges or fancy techniques needed.
That’s exactly why this dessert is so great for beginner bakers.
The crust is wonderfully flaky, the fruit filling turns sweet and juicy in the oven, and the rustic look makes every galette feel beautifully homemade.
Even if it’s your first time making pastry dough, this recipe is easy to follow and forgiving along the way.
Another reason to love a fruit galette is how flexible it is.
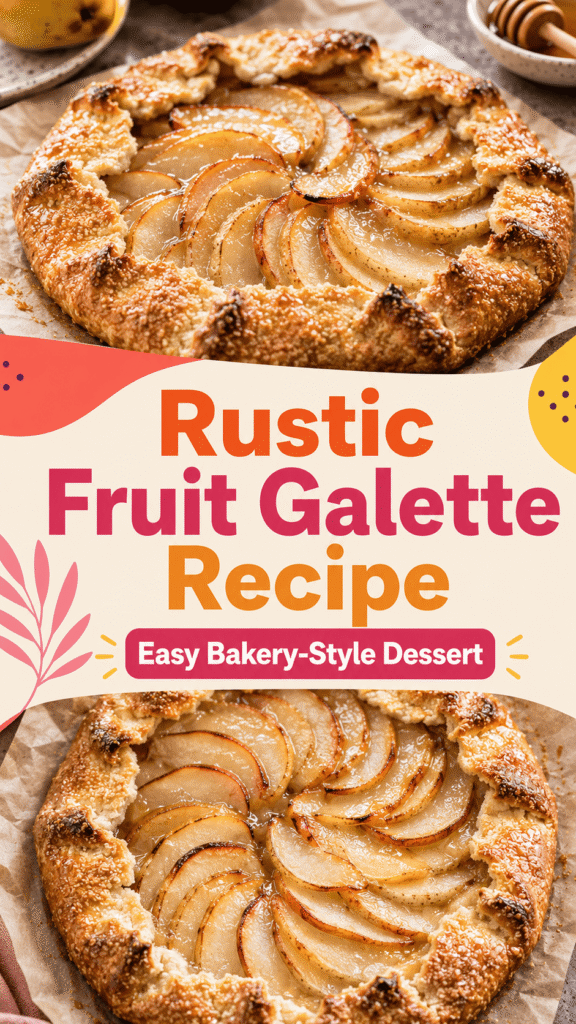
You can use fresh strawberries in spring, juicy peaches in summer, or cozy apples and pears in fall.
It’s the kind of simple dessert that works all year round and always feels comforting straight from the oven.
Why You’ll Love This Rustic Fruit Galette
- Easier than traditional pie — The freeform shape means no perfect crimping or complicated pie skills are needed.
- No special baking dish required — All you need is a simple baking sheet and parchment paper.
- Perfect balance of buttery crust and fruit filling — Every bite has flaky pastry and warm, juicy fruit together.
- Great for summer gatherings, brunches, or cozy desserts — It feels impressive enough for guests but simple enough for everyday baking.
- Customizable with different fruits and spices — You can easily switch up the flavors using whatever fruit is in season.
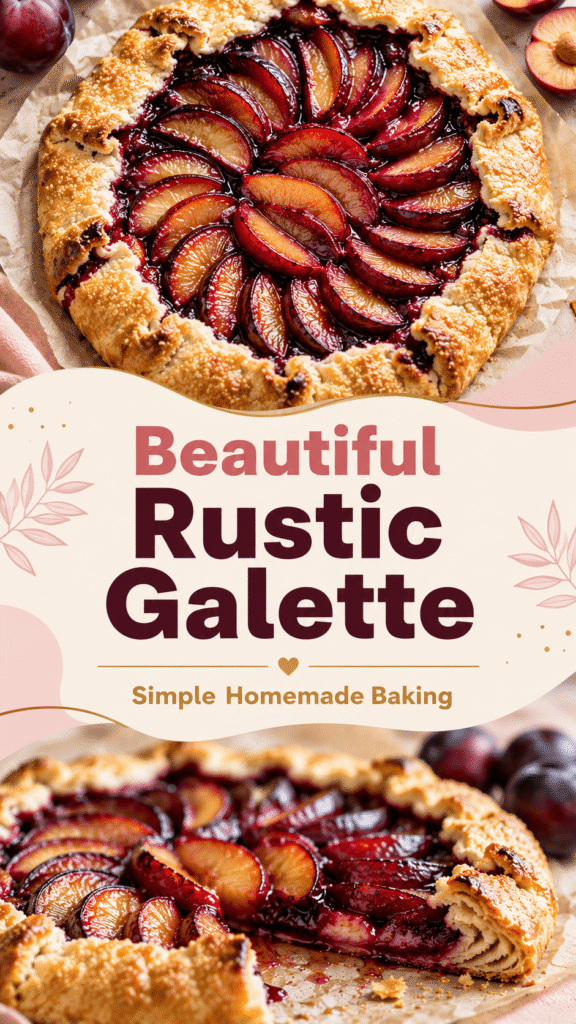
What Is A Fruit Galette?
A fruit galette is a simple French-style pastry that’s made by folding dough around a fruit filling instead of shaping it inside a pie dish.
Think of it as the relaxed, easier cousin of a traditional pie.
The dough is rolled out into a rough circle, the fruit is added to the center, and the edges are folded over by hand before baking.
There’s no need to worry about perfectly shaped crusts or neat lattice designs, which makes this dessert especially beginner-friendly.
Unlike a classic pie that usually needs a pie pan and more careful shaping, a galette is meant to look rustic and homemade.
In fact, the uneven folds and slightly messy edges are part of its charm.
Every galette comes out looking unique, and that’s what makes it feel warm and inviting straight from the oven.
Another great thing about fruit galettes is how flexible they are with seasonal ingredients.
Juicy peaches, strawberries, blueberries, blackberries, apples, pears, and plums all work beautifully.
Softer fruits create a jammy filling, while firmer fruits like apples and pears become tender and rich as they bake.
You can even mix fruits together for extra flavor.
A little cinnamon, vanilla, lemon zest, or brown sugar can completely change the feel of the dessert, so it’s easy to make this recipe your own with whatever you have in the kitchen.
Ingredients You’ll Need
For The Galette Crust
- 1 ¼ cups all-purpose flour
- ½ cup cold unsalted butter, cut into small cubes
- 1 tablespoon granulated sugar
- ¼ teaspoon salt
- 3–4 tablespoons ice water
For The Fruit Filling
- 3 cups mixed fresh fruit, such as:
- 1 cup sliced strawberries
- 1 cup sliced peaches
- 1 cup blueberries
- or sliced apples and pears
- ⅓ cup granulated sugar
- 1 tablespoon cornstarch
- 1 tablespoon fresh lemon juice
- 1 teaspoon vanilla extract
- ½ teaspoon ground cinnamon (optional)
Optional Toppings
- 1 egg beaten with 1 tablespoon of water for egg wash
- 1 tablespoon coarse sugar for extra crunch
- 1–2 teaspoons honey drizzle
- Powdered sugar for dusting
- Vanilla ice cream for serving
Best Fruits For A Rustic Galette
One of the best things about a rustic fruit galette is how easy it is to adapt throughout the year.
Different fruits bring different flavors and textures, so you can make this dessert feel fresh and seasonal anytime you bake it.
Summer Fruits
These fruits become juicy, sweet, and beautifully soft in the oven:
- Peaches — Sweet and tender with a rich flavor that pairs perfectly with vanilla and cinnamon.
- Nectarines — Similar to peaches but slightly firmer, making them great for holding their shape while baking.
- Berries — Strawberries, blueberries, raspberries, and blackberries create a jammy filling with bright flavor.
- Plums — Add a sweet-tart balance and gorgeous color to the galette.
Fall Fruits
These fruits create a cozy, comforting dessert with deeper flavor:
- Apples — A classic choice that turns soft and caramel-like when baked.
- Pears — Mildly sweet with a buttery texture that works beautifully with warm spices.
- Figs — Soft, rich, and naturally sweet with a slightly honey-like flavor.
Frozen Fruit Tips
Frozen fruit works well when fresh fruit is out of season, but it can release extra liquid as it bakes.
Too much moisture may lead to a soggy crust, so a few simple steps can help.
- Thaw frozen fruit before using it in the filling.
- Drain off any extra liquid after thawing.
- Pat the fruit lightly with paper towels if it still feels very wet.
- Add a little extra cornstarch if the fruit looks especially juicy.
- Avoid overfilling the galette, since excess liquid can spill during baking.
Kitchen Tools You’ll Need
You don’t need fancy equipment to make a beautiful fruit galette.
A few simple kitchen tools are enough to help the process feel easy and stress-free.
- Mixing bowls — Useful for preparing both the dough and the fruit filling separately.
- Rolling pin — Helps roll the dough into an even circle for the perfect flaky crust.
- Baking sheet — Supports the galette while it bakes and catches any bubbling fruit juices.
- Parchment paper — Prevents sticking and makes cleanup much easier.
- Pastry cutter or fork — Used to cut the cold butter into the flour to create a tender, flaky dough.
How To Make Rustic Fruit Galette
Step 1: Prepare The Dough
Start by adding the flour, sugar, and salt to a mixing bowl. Give everything a quick stir so the ingredients are evenly combined.
Next, add the cold butter cubes. The butter should stay as cold as possible because this is what helps create a flaky crust.
Use a pastry cutter or a fork to work the butter into the flour until the mixture looks crumbly with small pea-sized pieces of butter throughout.
Slowly add the ice water one tablespoon at a time, gently mixing after each addition.
The dough should start coming together without feeling sticky.
If it looks dry, add a little more water, but avoid overmixing.
Once the dough holds together when pressed, shape it into a disk, wrap it, and place it in the refrigerator for at least 30 minutes.
Chilling the dough helps relax the gluten and keeps the butter cold, which gives the crust a better texture after baking.
Step 2: Prepare The Fruit Filling
While the dough chills, prepare the fruit filling. Slice larger fruits like peaches, apples, or pears into even pieces so they cook evenly in the oven.
If you’re using berries, simply rinse and dry them well.
Place the fruit into a bowl and toss it with sugar, lemon juice, cornstarch, vanilla extract, and cinnamon if using.
The sugar brings out the fruit’s natural sweetness, while the cornstarch helps thicken the juices during baking so the filling does not become too runny.
Let the mixture sit for a few minutes to allow the flavors to blend together.
Step 3: Roll Out The Dough
Lightly flour your work surface and roll the chilled dough into a rough circle about 10 to 12 inches wide.
It does not need to be perfectly shaped. Rustic edges are part of what makes a galette feel homemade and relaxed.
Carefully transfer the rolled dough onto a parchment-lined baking sheet.
If the dough feels soft or warm while working with it, place it back into the refrigerator for a few minutes before adding the filling.
Step 4: Assemble The Galette
Spoon the fruit filling into the center of the dough, leaving about a 2-inch border around the edges.
Spread the fruit evenly so the galette bakes consistently.
Gently fold the edges of the dough over the fruit, working your way around the galette.
The folds do not have to look perfect. Small cracks or uneven folds are completely normal and add to the rustic look.
If any juice leaks slightly, don’t worry. That bubbling fruit is part of what makes homemade galettes so beautiful.
Step 5: Add Finishing Touches
Brush the folded crust lightly with egg wash to help it bake into a deep golden color.
Then sprinkle coarse sugar over the crust for a little extra crunch and sparkle.
These small finishing touches make the galette look bakery-style without adding extra work.
Step 6: Bake
Bake the galette in a preheated oven at 400°F (200°C) for about 35 to 40 minutes.
The crust should look golden brown, and the fruit filling should be bubbling gently in the center.
If the crust browns too quickly, loosely place a piece of foil over the edges during the last few minutes of baking.
You’ll know the galette is ready when the fruit looks soft and glossy, and the bottom crust feels crisp underneath.
Step 7: Cool And Serve
Let the galette cool for about 10 to 15 minutes before slicing. This gives the filling time to settle slightly, making it easier to serve.
Enjoy it warm on its own or serve it with vanilla ice cream, whipped cream, or a drizzle of honey.
It’s simple, cozy, and the kind of dessert that feels special without being difficult to make.
Tips For The Best Fruit Galette
- Keep butter cold for flaky crust — Cold butter creates steam while baking, which helps form light, flaky layers in the dough.
- Avoid overfilling — Too much fruit can cause the filling to spill over and make the crust soggy.
- Use parchment paper for easy cleanup — It prevents sticking and catches any bubbling fruit juices during baking.
- Chill assembled galette before baking — A short chill helps the crust hold its shape and bake up crisp and golden.
- Adjust sugar depending on fruit sweetness — Sweeter fruits need less sugar, while tart fruits may need a little extra for balance.
Delicious Flavor Variations
Berry Galette
A mixed berry galette is bright, juicy, and perfect for spring or summer baking.
Combine strawberries, blueberries, raspberries, or blackberries with a little lemon zest to add fresh flavor and balance the sweetness.
The berries bake down into a soft, jammy filling that tastes amazing with vanilla ice cream.
Peach Galette
Fresh peaches paired with cinnamon and brown sugar create a warm and comforting dessert with plenty of natural sweetness.
The peaches become soft and caramel-like in the oven, while the brown sugar adds a deeper flavor that works beautifully with the buttery crust.
Apple Cinnamon Galette
This cozy fall-inspired version feels like a simpler homemade apple pie.
Thinly sliced apples mixed with cinnamon create a rich, spiced filling that smells incredible while baking.
A small pinch of nutmeg or a drizzle of caramel sauce can make it even more comforting.
Tropical Galette
For a brighter twist, try a tropical galette with mango and pineapple.
The mango becomes smooth and sweet, while the pineapple adds a fresh, slightly tangy flavor.
A little lime zest or coconut sprinkled on top pairs especially well with this combination.
How To Store Leftovers
At Room Temperature
A freshly baked fruit galette is always best the same day it’s made, especially while the crust still has that crisp, flaky texture.
If you plan to enjoy the leftovers within a few hours, you can keep the galette loosely covered at room temperature.
This works especially well for less juicy fruit fillings like apples or pears.
Avoid sealing it too tightly, since trapped moisture can soften the crust.
Refrigerator Storage
If you have leftovers, place the galette in an airtight container or cover it well and store it in the refrigerator.
It will stay fresh for about 3 to 4 days. Keep in mind that the crust may soften slightly over time because of the fruit filling, but the flavor will still be delicious.
To bring back some of the crisp texture, warm slices in the oven at 350°F (175°C) for about 8 to 10 minutes.
A quick reheating makes a big difference and helps the crust taste freshly baked again.
Try to avoid microwaving if possible, since it can make the pastry soft instead of flaky.
Freezing Instructions
Fruit galettes freeze surprisingly well, which makes them great for preparing ahead of time.
You can freeze the galette either before or after baking, depending on what works best for you.
If freezing before baking, assemble the galette completely and place it on a baking sheet until firm. Once frozen, wrap it tightly and store it in the freezer for up to 2 months.
You can bake it straight from frozen by simply adding a few extra minutes to the baking time.
If freezing after baking, let the galette cool fully before wrapping it tightly.
When ready to serve, thaw it in the refrigerator overnight and warm it in the oven until heated through.
This helps keep the crust from becoming too soft while still bringing back that cozy homemade flavor.
What To Serve With Fruit Galette
- Vanilla ice cream — The cold, creamy texture melts beautifully over the warm fruit filling and flaky crust.
- Whipped cream — A light and simple topping that adds extra softness without overpowering the fruit flavors.
- Caramel sauce — A drizzle of caramel pairs especially well with apple, pear, or peach galettes.
- Coffee or tea pairing ideas — Serve with hot coffee, black tea, or herbal tea for a cozy dessert that feels perfect any time of day.
Common Mistakes To Avoid
- Warm dough — Dough that becomes too warm can lose its flaky texture and spread too much while baking.
- Soggy crust — Too much liquid from the fruit filling can prevent the bottom crust from crisping properly.
- Overly juicy filling — Skipping cornstarch or overfilling the galette may cause excess juices to spill during baking.
- Uneven baking — Fruit sliced in different sizes may cook unevenly, leaving some pieces too soft and others too firm.
- Overworking the dough — Mixing the dough too much can make the crust tough instead of light and tender.
Final Thoughts
A rustic fruit galette is one of those desserts that feels impressive without being complicated.
The simple folded crust, bubbling fruit filling, and homemade look make it perfect for both beginner and experienced bakers.
Don’t be afraid to experiment with different seasonal fruits and flavor combinations throughout the year.
Every galette comes out a little different, and that’s part of its charm.
If you try this recipe, share your favorite variation and enjoy the fun of making something beautifully rustic right in your own kitchen.
FAQs
Can I Make Galette Dough Ahead Of Time?
Yes. You can prepare the dough up to 2 days ahead and keep it wrapped in the refrigerator until ready to use.
Can I Use Store-Bought Pie Crust?
Absolutely. Store-bought pie crust is a great shortcut and works well for quick homemade galettes.
What Fruits Work Best?
Peaches, berries, apples, pears, plums, and nectarines are all excellent choices for a fruit galette.
How Do I Keep The Bottom From Getting Soggy?
Use cornstarch in the filling, avoid overly juicy fruit, and bake the galette until the crust is fully golden and crisp.
Can I Make A Gluten-Free Galette?
Yes. Simply use a gluten-free pie crust or a gluten-free flour blend designed for baking.
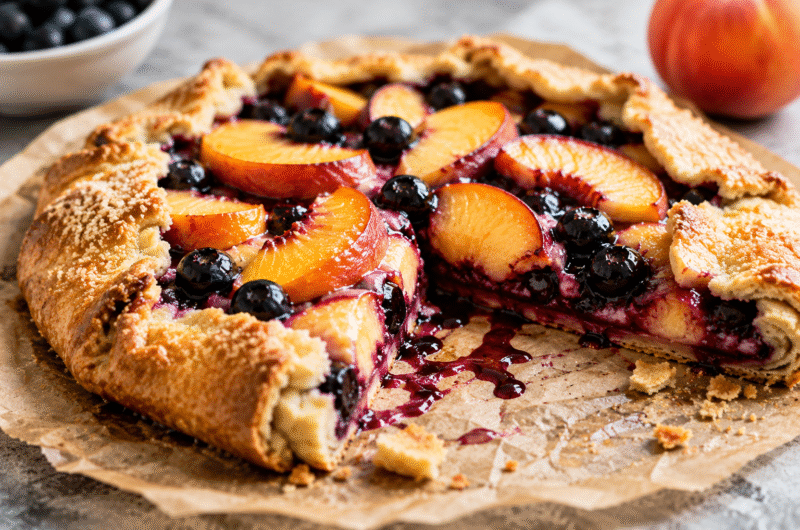
Rustic Fruit Galette: Easy Bakery-Style Dessert Anyone Can Make
Difficulty: Easy6
Slices20
minutes40
minutes1
hourThis rustic fruit galette is made with a flaky buttery crust and a juicy fruit filling for an easy homemade dessert that looks beautiful without much effort.
Ingredients
- For The Crust
1 ¼ cups all-purpose flour
½ cup cold unsalted butter, cubed
1 tablespoon sugar
¼ teaspoon salt
3–4 tablespoons ice water
- For The Filling
3 cups sliced peaches and blueberries
⅓ cup granulated sugar
1 tablespoon cornstarch
1 tablespoon lemon juice
1 teaspoon vanilla extract
- Optional Topping
1 egg for egg wash
Coarse sugar for sprinkling
Directions
- Preheat oven to 400°F (200°C) and line a baking sheet with parchment paper.
- Mix flour, sugar, and salt in a bowl. Cut in cold butter until crumbly. Add ice water gradually until the dough comes together. Chill for 30 minutes.
- Toss fruit with sugar, cornstarch, lemon juice, and vanilla.
- Roll the dough into a rough circle and place it on the baking sheet.
- Add fruit filling to the center, leaving a border around the edges. Fold edges over the filling.
- Brush crust with egg wash and sprinkle with coarse sugar.
- Bake for 35–40 minutes until golden and bubbly. Cool slightly before serving.
Notes
- Keep the butter cold for the flakiest crust.
- Avoid overfilling to prevent a soggy bottom.
- Delicious served warm with vanilla ice cream or whipped cream.

Hi, I’m Sorenna Blythe, the baker and writer behind Mix Whisk Bake. I share simple, reliable recipes and honest kitchen moments to help home bakers bake with confidence and joy. When I’m not testing new treats, you’ll find me sipping coffee and dreaming up my next bake.


